03 - CAN Gateway Connection to VBOX Video HD2

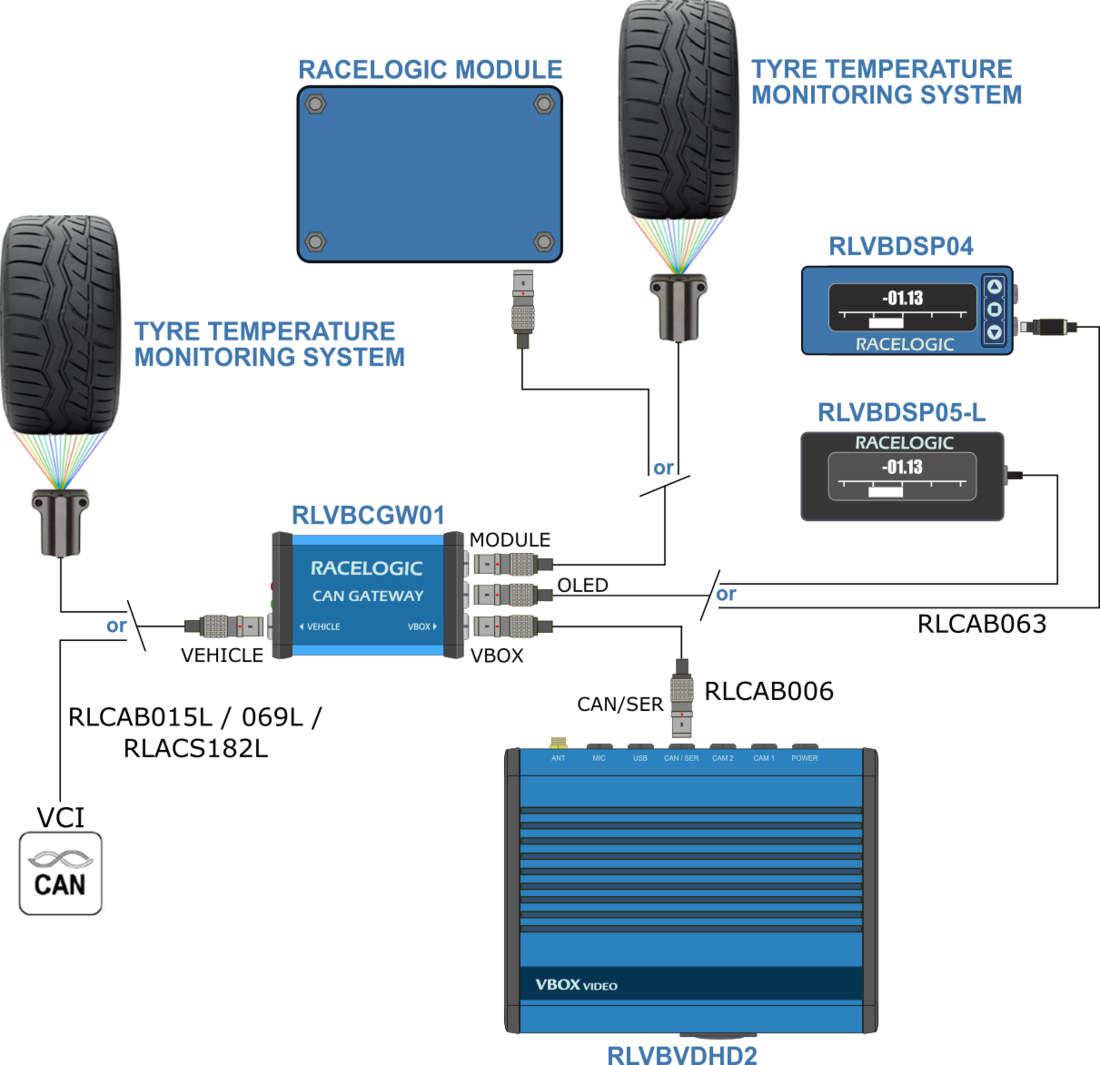
CAN Gateway can be connected to VBOX Video HD2 via a RLCAB006 (included in package) in order to record data from a vehicle CAN Bus and a Racelogic module/Racelogic Tyre Temperature Sensors at the same time. If Racelogic Tyre Temperature Sensors are being used, it can either be connected to the VEHICLE or MODULE socket, dependent on whether a VCI or Racelogic module is/ isn't being used.
It also allows the connection of an OLED Predictive Laptiming Display.
Hardware Setup
Software Setup
To use CAN Gateway with VBOX Video HD2, you will first need to select the correct setting within VBOX Video Setup Software and save the configuration file to the unit.
Please follow the steps below:
- Connect the CAN Gateway to a PC via USB using the supplied connector RLCAB117 to the USB connector on the front panel of the unit.
Note: If you are unable to connect CAN Gateway to a PC, you can save the configuration file to the PC and transfer the file over at a later date. - Insert the VBOX Video HD2 SD card in to the PC and open VBOX Video Setup Software, which can be downloaded here.
- Add a new scene or select a previously saved scene by selecting the 'File' button.
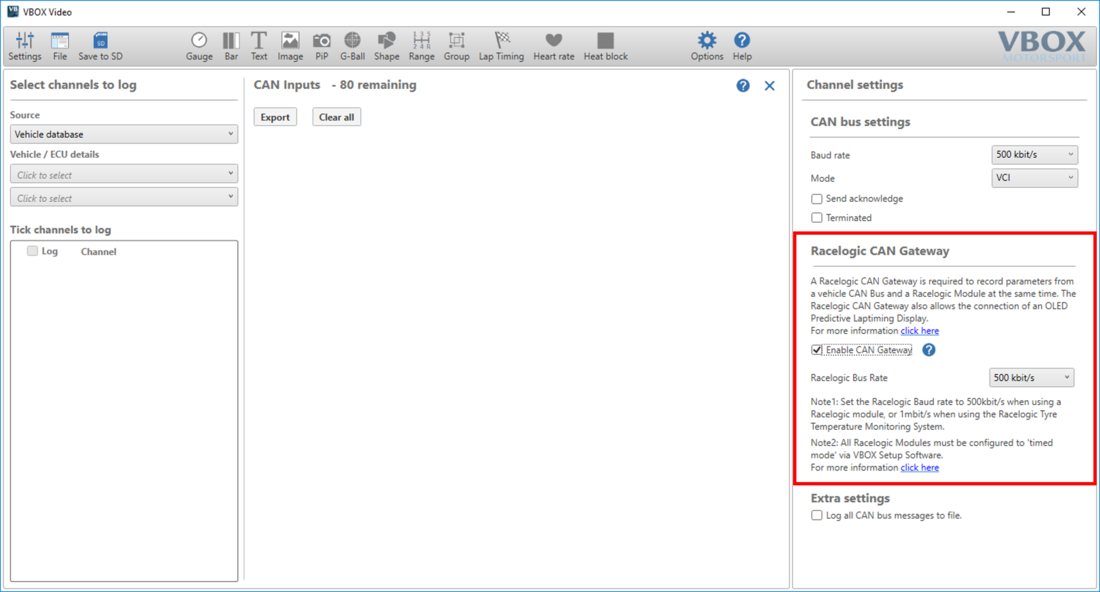
- Navigate to the 'Settings' button and select the 'CAN' menu.
- Select 'Enable CAN Gateway' from within the 'RACELOGIC CAN Gateway' area and then set the desired Racelogic Bus Rate from the drop down menu.
Note: The baud rate should be set to 500 kbit/s when using a Racelogic module, or 1 Mbit/s when using the Racelogic Tyre Temperature Sensors. - When you have finished configuring your scene, save the scene file to the SD card using the 'Save to SD' button.
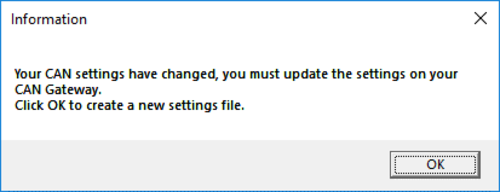
- A popup will appear, stating that the settings must be updated on CAN Gateway, click 'OK' to continue.
 |
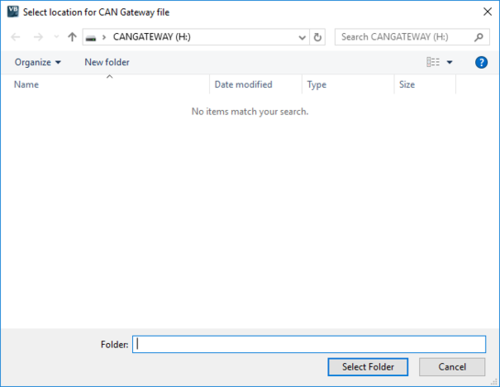 |
- The CAN Gateway file location will automatically open, click 'Select Folder' to save the GWCONFIG.RLC file to the unit.
- Power up the VBOX Video HD2 unit with cameras connected.
- Load the SD card into the front panel - the OK LED will flash green fast as the scene is loaded.
- The HD2 will double beep when the upgrade is complete - the OK LED will change to solid green.
Note: If a Racelogic module is connected, it must be configured to 'Timed mode' via VBOX Setup software, more information can be found here.