Web Server - Frequency Setup
This page contains information about the available settings on the Frequency Setup page in the LabSat 4 Web Server connected to a LabSat 4 Record & Replay variant.

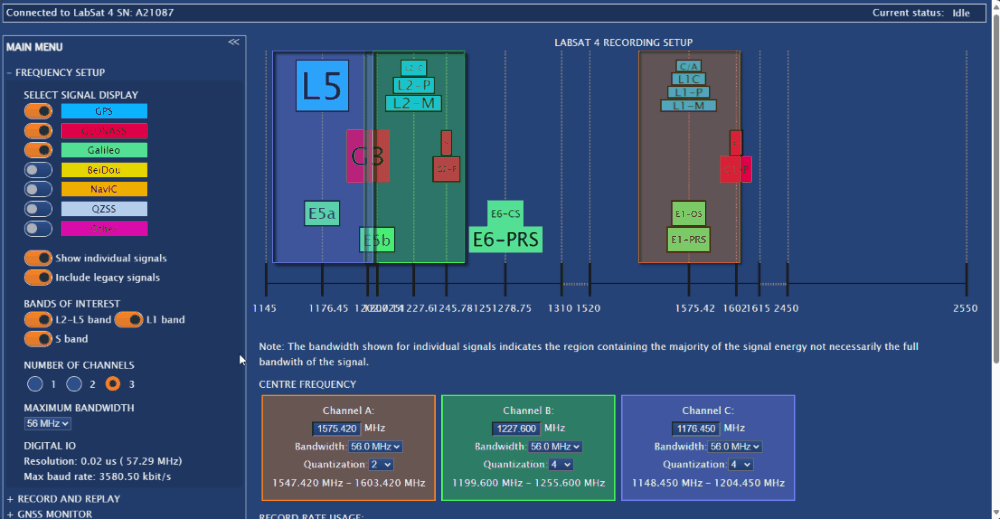
Select Signal Display
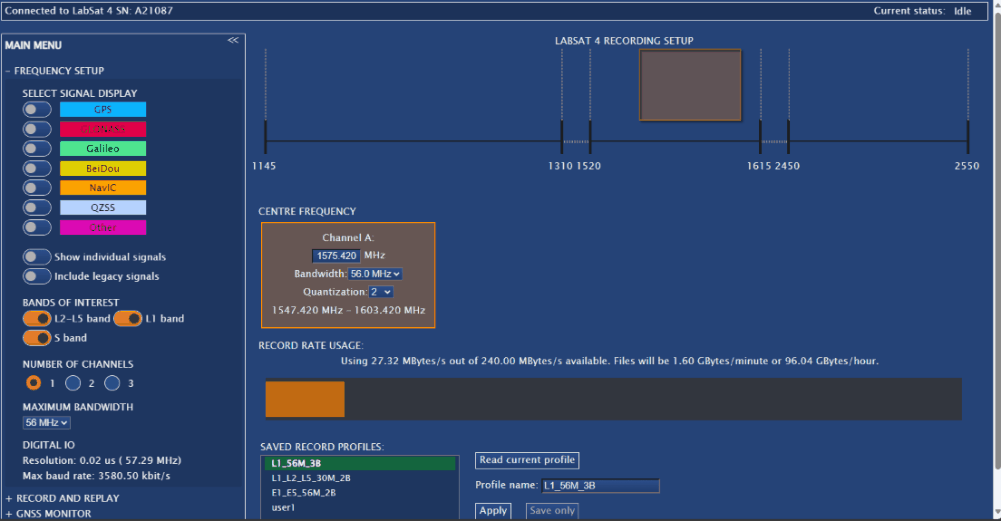_WebServer_FrequencySetup_SelectSignalDisplay_1000px.gif?revision=1) Example of Frequency Setup menu when you select standard signals to display with all available bands enabled. |
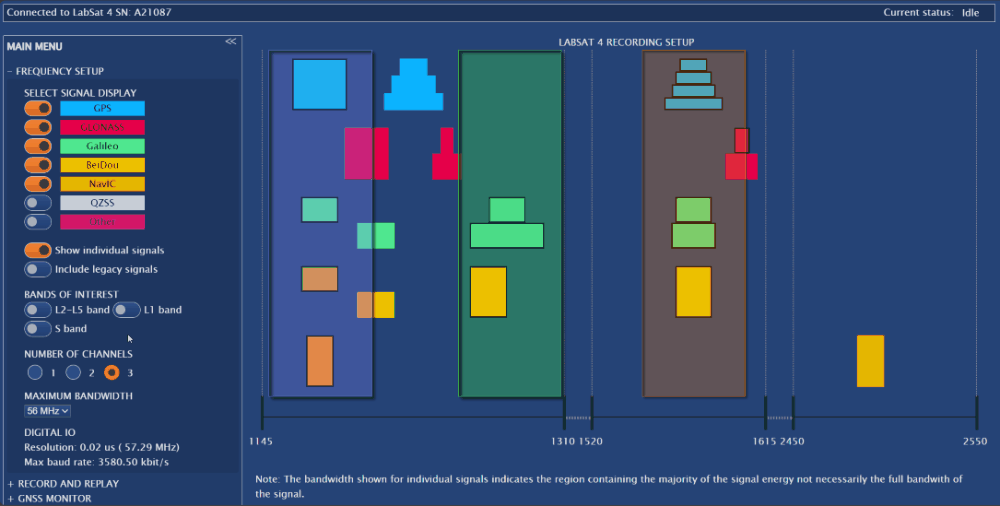
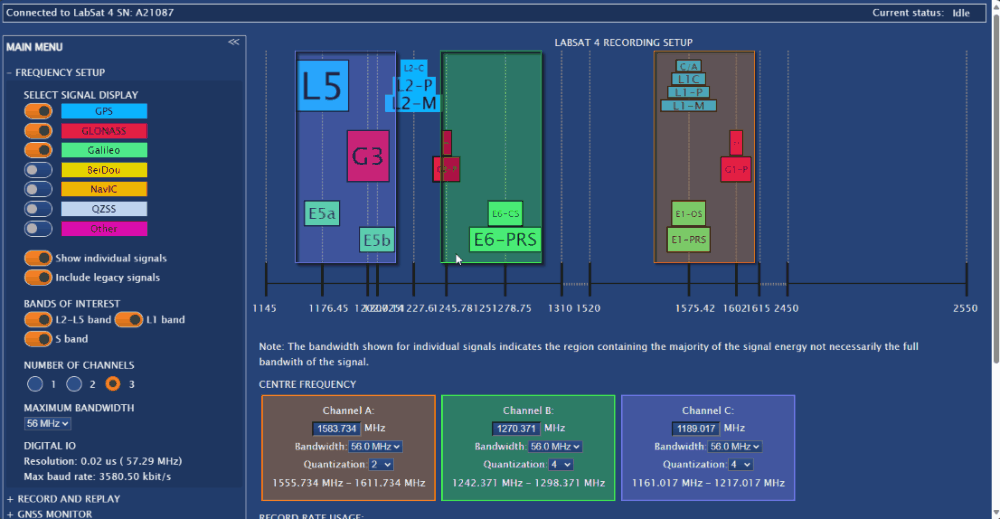
Bands of Interest
|
Example of LabSat 4 Web Server with Bands of Interest selection. |
Number of Channels
_WebServer_FrequencySetup_NumberofChannels_1000px.gif?revision=1) Example of Frequency Setup Menu when you select different numbers of channels. |
Maximum Bandwidth
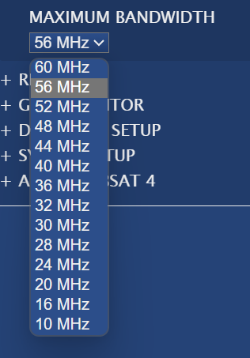 |
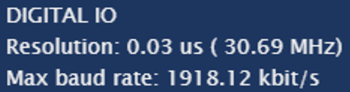
Digital IO
|
|
Recording Setup Chart
_WebServer_FrequencySetup_SetFrequencies_1000px.gif?revision=1) |
_WebServer_FrequencySetup_SavePNG_1000px.gif?revision=1) |
Centre Frequency
|
|
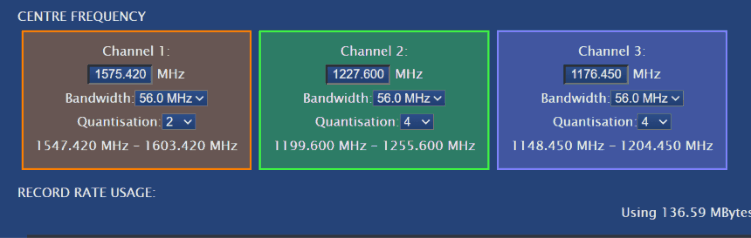

|
Model Limitations The available quanitzation options will depend on the LabSat 4 model. |
Record Rate Usage
|
|


Saved Record Profiles
 |
Expert Controls
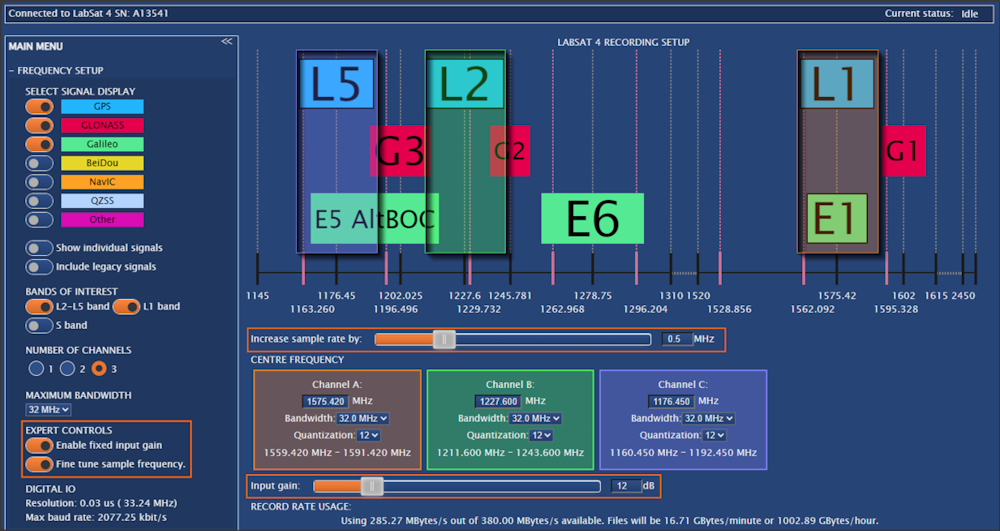
Fine Tune Sample Frequency
You can see the Fine Tune Sample Frequency. setting in the left-hand side of the window. When you enable it, you will see added lines in the frequency chart and a slider underneath it that you can use to aid fine-tune the sample frequency.
Manual Gain Control
You can see the Enable Fixed Input Gain setting in the left-hand side of the window. When you enable it, you will see an Input Gain slider added in the Centre Frequency area that you can use to adjust the fixed input gain.
|
Notes:
|