How to create a single satellite scenario with SatGen v3
The best sequence is to identify which satellite to select using the Trimble Planning Online service. Then download the relevant almanac using SatGen software. The selected almanac can then be modified using MS notebook. Only the selected Satellite ephemeris data should remain in the almanac file.
This file is then selected in the SatGen v3 software and the scenario created as normal.
Step 1.
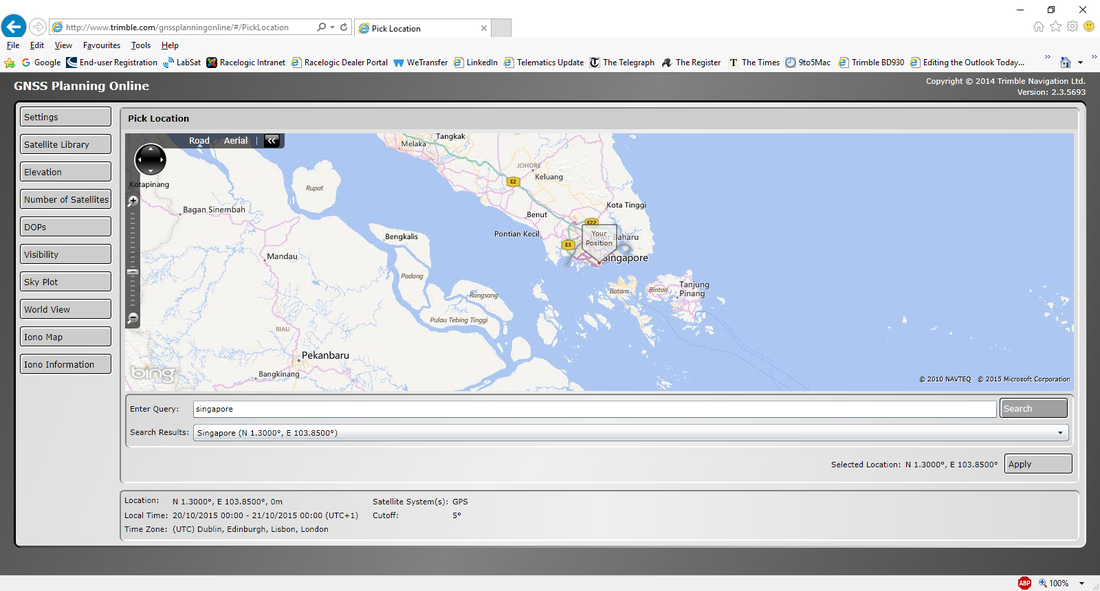
Select the location and time in Trimble Planning Online.

Step 2
In the setting menu select date and time zone.
.png?revision=1)
Step 3
In the Satellite Library select the relevant constellation.
.png?revision=2)
Step 4
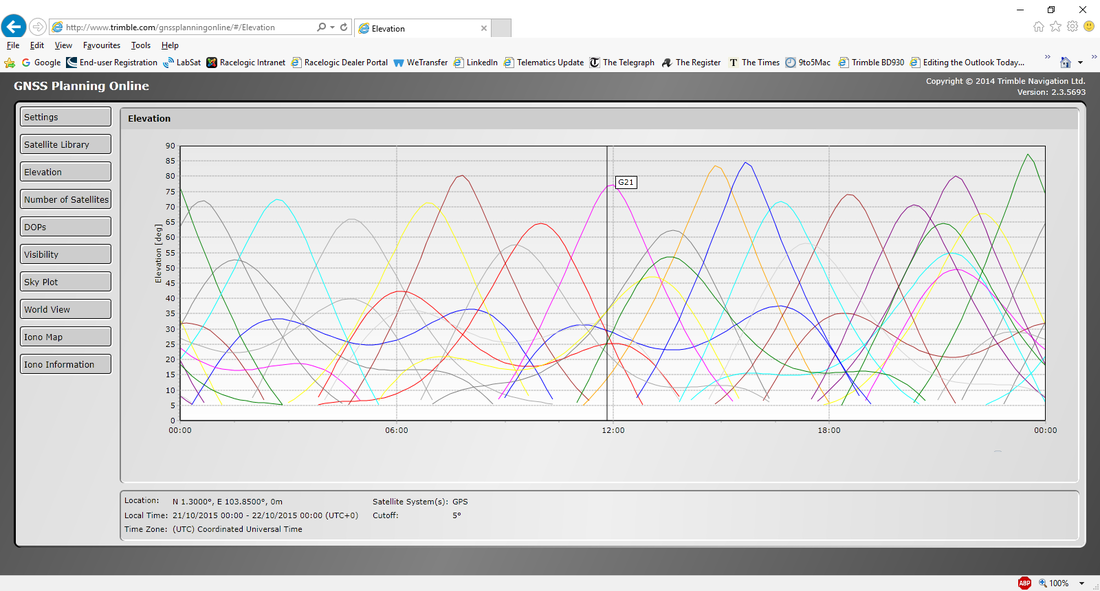
In the elevation menu select the high satellite by using the slider to determine the time of day click on the graph to identify the satellite number.

Step 5
Record the location, date & time of day. In SatGen v3 download the relevant almanac.
.jpg?revision=1)
Step 6
Locate the almanac file normally in C:\Users\USER\Documents\SatGen\Almanacs. Open the file in MS notebook and delete all the satellite data except the satellite number identified in Trimble online planning.
.jpg?revision=1)
Note save the file using save as, all files and type in the file name and extension .alm for GPS and .agl for GLONASS.
Step 7
Select the new almanac in SatGen v3 using the manual setting in almanac’s, ensure that the location, time date and length of scenario are correct.
.jpg?revision=1)
Step 8
Create the scenario by selecting GPS and create the single satellite scenario.
End
