How to Assemble a Dual Antenna Mounting Pole

Supplied Kit
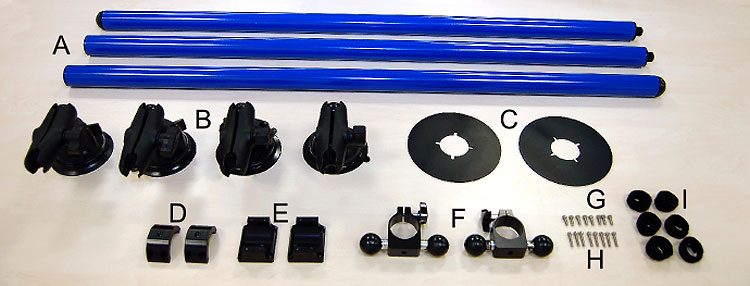
|
A. Pole Sections (3x) |
F. Suction Mount Grips (2x) |
Also supplied: 2.5 Hex Key (1x) and 7/64 Hex Key (2x)
Supplied separately (with VB3iD/VB3iDR): GPS / GLONASS Antenna (2x) and SMA-SMA Cable (2x)
Dimensions
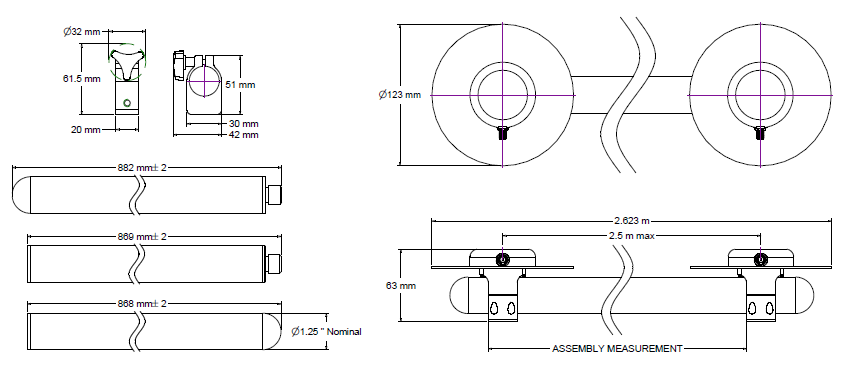
Ground Plane Assembly
|
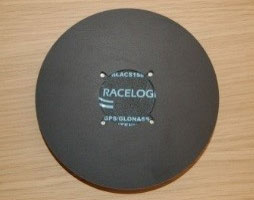
1) Place Ground Plane (C) over Antenna and line up screw holes. |
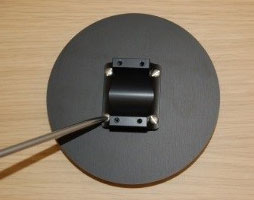
2) Attach Upper Clamp (E) to Antenna using small fixing screws (G). |
3) Loosely attach Lower Clamp (D) to Upper Clamp (E) using fixing screws (H) |
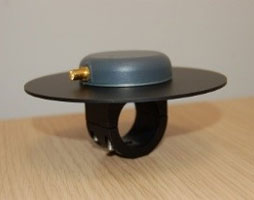
Both SMA connectors must face the same direction, as shown in the image below.

Double Suction Mount Assembly
|
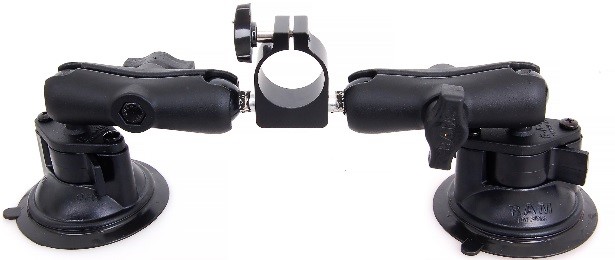
Attach grip (F) to both suction mounts (B). |
|
Antenna Pole Assembly
- Screw the inner pole section into the end of the two outer pole sections.
- Fit the double suction mount grips over the outer pole, and tighten the suction mounts using the top thumb screw.
- Fit the ground planes over each outer pole section and tighten the screws in the lower clamp.
- Once the first is secured, measure the separation (max 2.5 m) before fitting the second. Make sure they are level before fully tightening – a spirit level may be helpful.
- Connect an SMA Cable to each of the antennas and fix the SMA Cable to the pole using Velcro Strips.

Mounting the Pole
- When placing the antenna pole onto a vehicle roof, place the suction mounts as far apart as the roof allows, ensuring the best stability.
- Make sure that the roof surface is clean and dry – remove any dirt, dust or excess water which is sitting on the roof before attaching suction cups. This helps ensure a secure fitment to the vehicle.
- Check each suction mount is well secured to the vehicle roof after each vacuum clamp is locked.
- Check that ground planes are level – spirit levels are helpful.
- When moving the pole between vehicles, make sure that the suction mounts are unlocked and repositioned to correctly fit the camber of the new roof. This should be done even when moving between similar models as the suction cups position will be slightly different.

