Quick Start Guide – VBOX Video HD2 (v10)
Introduction
The VBOX Video HD2 system is a twin camera 1080p video system, with a live time graphical overlay display. The HD2 is compatible with existing OLED systems, as well as Racelogic modules such as the Micro Input Module and Mini Input Module.
The system is supplied with VBOX Video HD2 setup software, which allows the user to fully customise the graphical overlay and configure CAN channels to be captured from a connected vehicle CAN bus, or Racelogic module.
Registration
So that Racelogic can continue to provide you with notification of the latest software releases, firmware upgrades and to offer technical support, please register your VBOX Video.
Please register your unit here.
What’s included in the kit
Hardware Overview
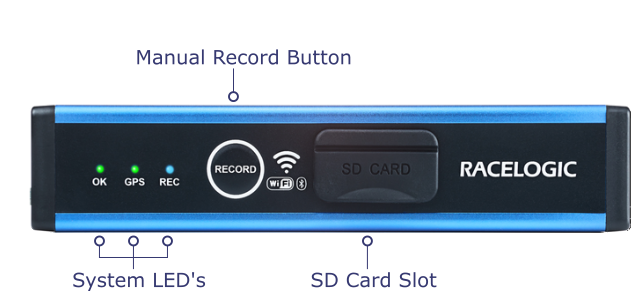
Front Panel
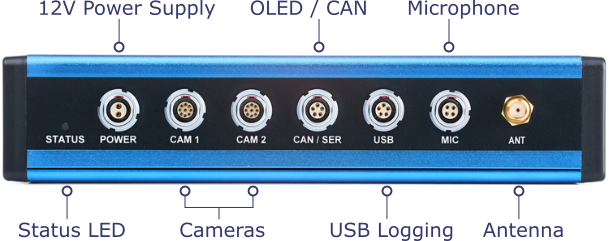
Rear Panel
Side Panel - with HDMI Port
LED Behaviour
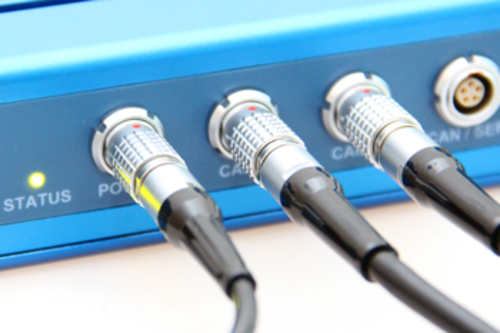
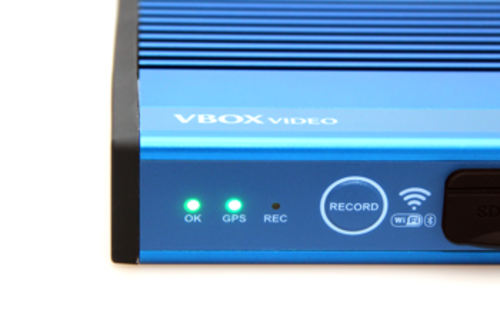
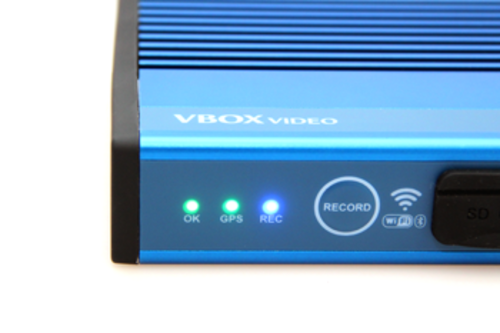
If two solid green LEDs are shown, the system is ready to record.
If the system is permanently fitted to a vehicle, it should be possible to view the front panel when it is mounted. A brief overview of the LED behaviour is below.
| OK LED | |
|---|---|
| Green – Fast Flash | System powering up or updating firmware/ scene |
| Green – Slow Flash | Fully powered - No SD Card/ USB Memory |
| Green – Solid | SD Card/ USB Memory OK – READY TO LOG |
| Orange – Slow Flash | Requires reboot |
| Red – Solid | System Error The unit will automatically power cycle after approximately 30 seconds |
| GPS LED | |
|---|---|
| Green – Slow Flash | Searching for Satellites |
| Green – Solid | GPS Lock OK – READY TO LOG |
| REC LED | |
|---|---|
| Blue – Solid | Recording – DO NOT REMOVE MEDIA |
| Blue – Fast Flash | Closing Files – DO NOT REMOVE MEDIA |
There is a fourth LED on the rear of the system. If the mounting solution only allows the back panel to be visible, this status LED works on a simple ‘traffic light’ style system.
| Status LED | |
|---|---|
| Red | System Error |
| Orange | Not ready to record (either no GPS or no SD Card USB Memory) |
| Green | Ready to record – system all OK |
| Blue | Recording – DO NOT REMOVE MEDIA |
VBOX Video iOS/Android Application
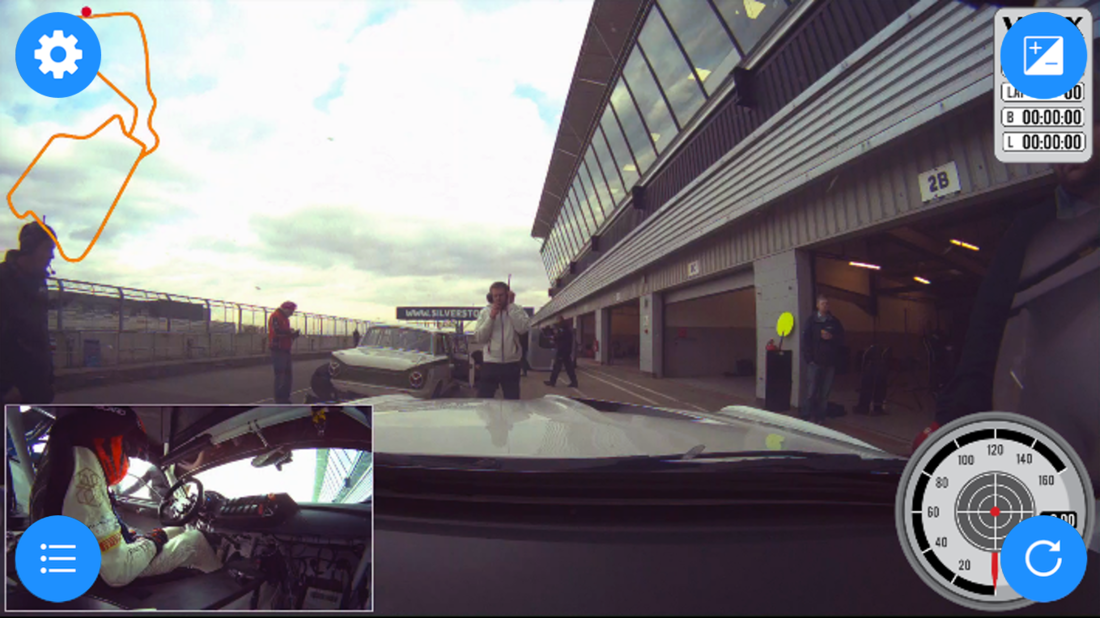
To easily check and fine tune camera mounting positions and to pair bluetooth devices, the VBOX Video application can be downloaded from the Apple App Store or the Google Play Store. Search for 'VBOX Video'.
Once you have downloaded the application to your phone, you will be able to pair with the HD2 unit’s wifi connection, and see a live camera preview. Note: - password is the serial number of the HD2 - VVH[******].
Hardware Setup
The VBOX Video system is ready to use straight out of the box.
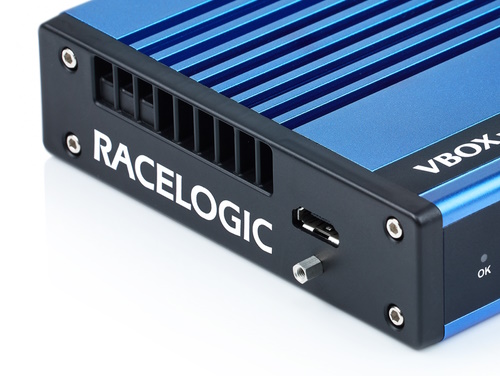
The VBOX Video HD2 is designed to disperse heat from internal components through the lid of the box, as such the unit will become hot to the touch when running.
The enclosure is designed to use airflow to cool the unit down, so do ensure that the top of the HD2 is left open to the air.
If VBOX Video HD2 is being used in extreme ambient temperatures (cabin temperature exceeding 50°C), the Harsh Environment Fan Accessory can be used to reduce the temperature of the unit.
|
IMPORTANT If the HD2 is being used in conjunction with a driver communication radio system, ensure that there is a minimum separation distance of 20 cm between the radio system and the camera units and cables to avoid any video interference problems. |
- Mount the GPS antenna in the centre of the roof of the vehicle, away from roof bars and other antennas. For more information on antenna mounting positions, click here.
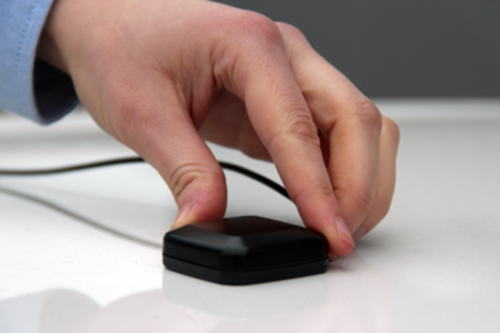
- Connect the GPS antenna to the VBOX Video HD2.
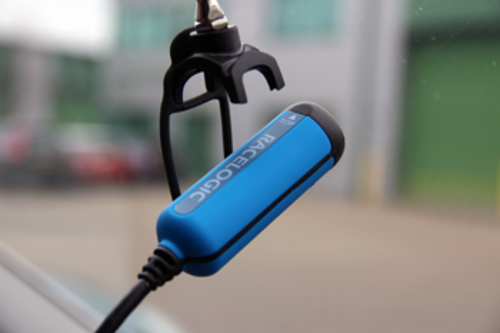
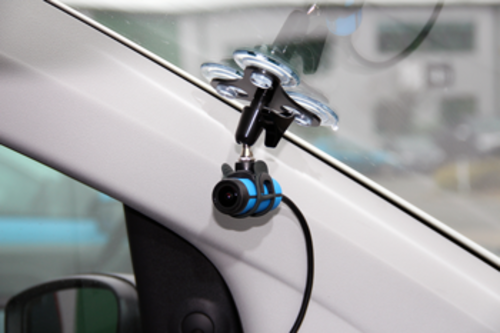
- Attach one of the cameras to the windscreen using the forward facing camera mount. Keep the camera level by ensuring ‘Racelogic’ faces upwards.
 |
 |
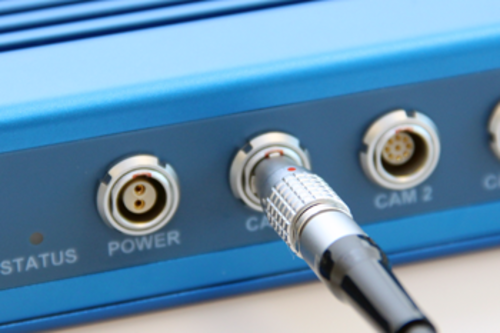
- Connect this camera to ‘CAM1’
.
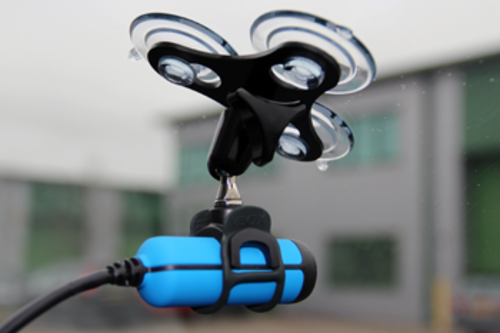
- Connect the second camera to the window, or desired mounting position.
- Connect this camera to ‘CAM2’.
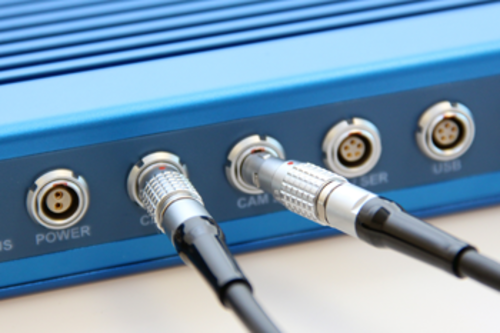
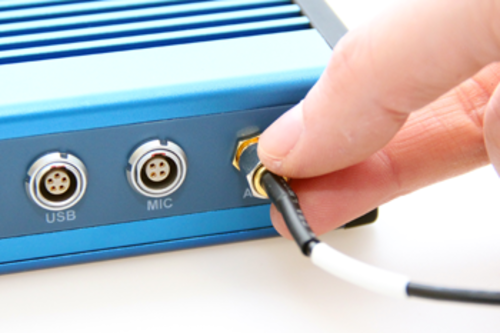
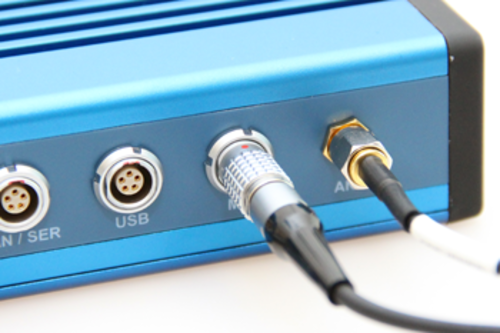
- Connect the microphone to the ‘MIC’ input.
- Connect the power via the 'POWER' socket, the HD2 takes about 45 seconds to fully boot.
|
IMPORTANT The HD2 will draw an initial current of approximately 2 A on start-up, for the unit to function correctly, please ensure that your power supply can provide this. |
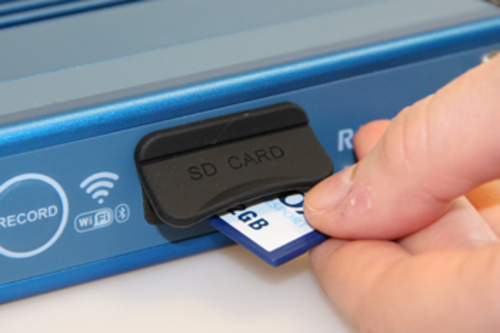
- Insert the SD card into the SD card slot – the OK LED should show solid Green. If a scene file has been saved to the card, the scene will be uploaded onto the unit, more information can be found here.
- Connect your iOS or android device to the HD2 unit via WiFi. The Wi-Fi name (SSID) of the VBOX Video will be 'VVH' followed by the serial number, eg. 'VVH00063'. The password will also be 'VVH' followed by the serial number.
For customers not on the latest version of Firmware (V 1.2.45 onwards), the SSID of the unit will be 'VBoxVideo' followed by the serial number and the password is ‘racelogic’.
Note: We recommend that customers update to the latest firmware version as the Apps are not fully backwards compatible.
Open the VBOX Video camera preview app on your phone and fine-tune the setup of the two camera positions.
- Take the car outside and wait for the VBOX Video HD2 to gain satellite lock. The GPS LED should show solid Green.
- Now, the system is ready to record. VBOX Video HD2 will start recording when travelling over 15 km/h, and stop recording once the vehicle has been under 15 km/h for 10 seconds.
Note: There is a 10 second pre-buffer, so video data will be captured for 10 seconds before recording is triggered.
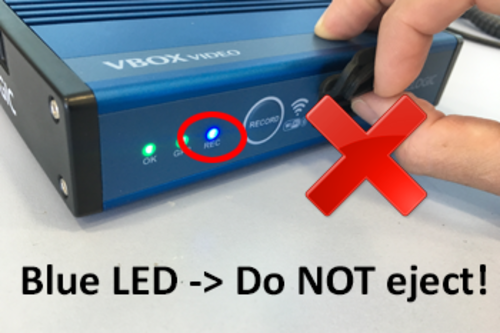
- The Blue Record LED will be on when recording video. When you come to a stop, it will then flash as the file is closed and will go out when it is safe to remove the SD card.
IMPORTANT
NEVER remove the SD card when the Blue Record LED is on or flashing - you will lose data/video!
Note: If for some reason the SD card is removed whilst still recording, it may need to be repaired using a PC before it can be reused.
If you have come to a stop, but the LED is on, press the 'RECORD' button to stop the video before removing the card.
Sometimes, due to poor satellite visibility in a garage or close to a building, the box may start recording, even if the car is stationary. Always check the Blue LED before ejecting the card.
 |
 |
Logging Media
It is recommended that any logging media used with a VBOX Video HD2 has a write speed of above 7 MB/s (4 MB/s absolute minimum) and a speed class of 10 (4 absolute minimum). We recommend good-quality logging media to ensure best results. More information can be found here.
SD Cards
VBOX Video HD2 is supplied with a 32 GB SDHC card in a FAT32 file format. VBOX Video HD2 supports both FAT32 and exFAT file formats, meaning that there should be no requirement to format any cards before recording (unless supplied in NTFS format). More information can be found here.
USB Storage
If data is to be logged to a USB storage device, the optional RLCAB073 cable or the RLACS237 start/stop logging switch with a USB port is required. USB memory with a good chipset is essential. As with SD Cards, VBOX Video HD2 supports both FAT32 and exFAT file formats, meaning that there should be no requirement to format any USB media before recording (unless supplied in NTFS format). More information can be found here.