HD2 - Groups Element - Windows

Within VBOX Video HD2 software, there is an ability to save and re-load groups of elements. This allows the user to move multiple elements from one scene to another easily. VBOX Video software comes supplied with a library of groups to aid the user in adding lap timing elements, gauges with digital speedometers or bar graphs to their scene.
Adding a supplied group
To add a group from the library, click the ‘Group’ icon from the top menu.

A drop-down menu will then appear, allowing a group to be selected from the library. Clicking on a chosen group will load it into the scene.
Note: Hovering over any of the group thumbnails will cause a larger preview of the group to appear.
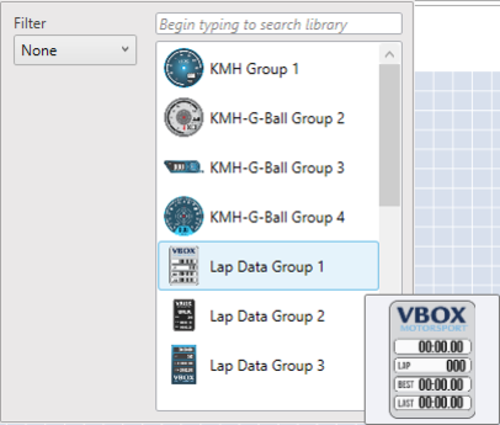
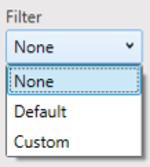
Selecting the 'Filter' drop down on the left enables you to filter the Groups shown between default and custom created.
Once a group has been added to the scene, it can be clicked and dragged to the desired location.
Grouped elements have coloured borders shown around each included element when the group is selected. This allows the user to see clearly which elements are included in the group.
|
Group 1 |
Ungrouped |
Additionally, each different group in a scene will be given a different colour to easily visually separate groups.
.png?revision=1)
Group 2
Elements within groups saved in the library will individually have pre-defined settings. These settings can be changed as shown here.
Creating a new group
Elements can be grouped together to allow them to be moved around the scene more easily, or to be saved into the library.
Note: PiP elements and track maps cannot be grouped.
Temporary Groups
To temporarily group elements together, click and drag a window using the left mouse button* or left-click individual elements while holding the shift key. A dark blue ‘group’ border will appear around each element.
|
Click and drag around elements* |
Left click + Shift key |
.png?revision=1)
.png?revision=1)
*Assuming that the left button is set to ‘Select’.
A temporary group is now created, so these elements can be moved around the scene together.
Note: A full group has not yet been created, once these are deselected, the elements will move independently again.
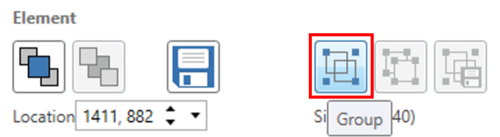
Fixed Groups
To create a fixed group, follow the notes above to select the elements of interest. Then click the quick access ‘Group’ button at the bottom of the right-hand panel, or right-click on the group and select 'Group > Group'.
|
Group button |
Right click menu option |
.png?revision=1)
Adding a group to the library
Fixed groups can then be added to the library using the buttons below.
|
Add group to library button |
Right click menu option |
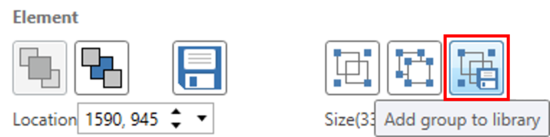
.png?revision=1)
Once this is done, the group will appear for selection within the library drop-down list.
Note: Default groups will always appear above any ‘user’ groups.
Ungrouping elements
To ungroup any fixed group, use the buttons below.
|
Ungroup button |
Right click menu option |
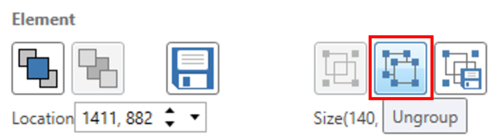
.png?revision=1)
Group Settings
Groups of elements do not have any settings for the group – each individual element will show it’s settings when it is selected.
When an element is selected, its settings are shown in the right hand panel.
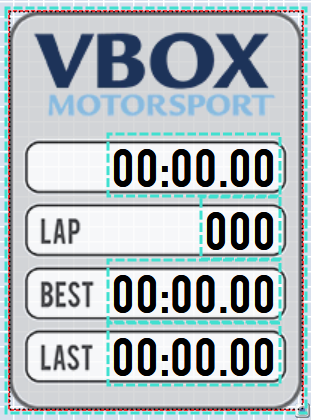
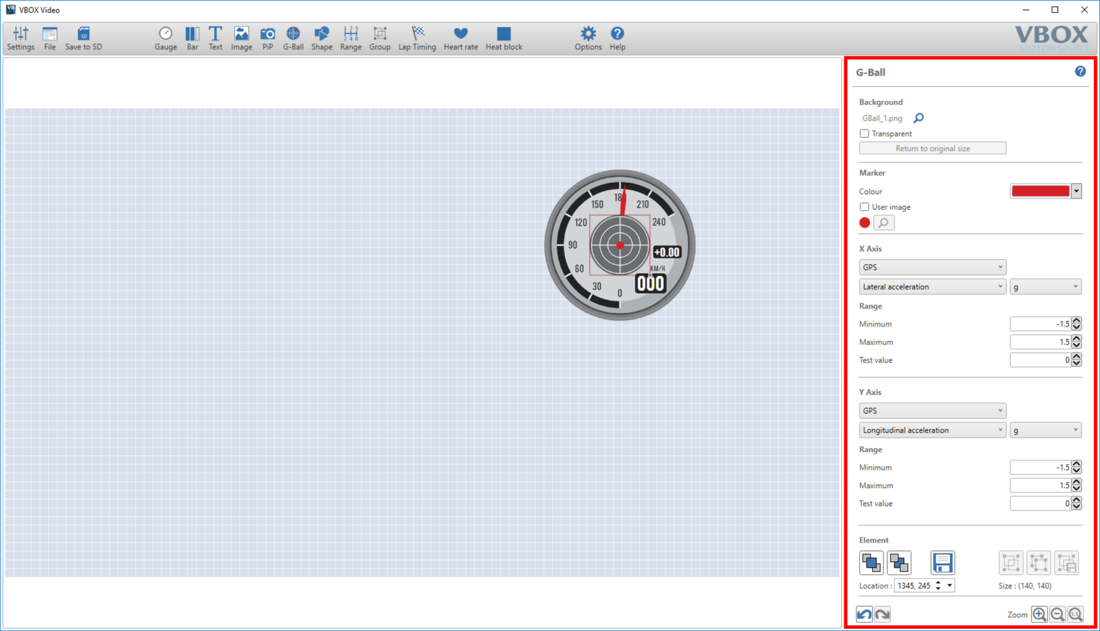
The image below shows a group with the gauge element selected.
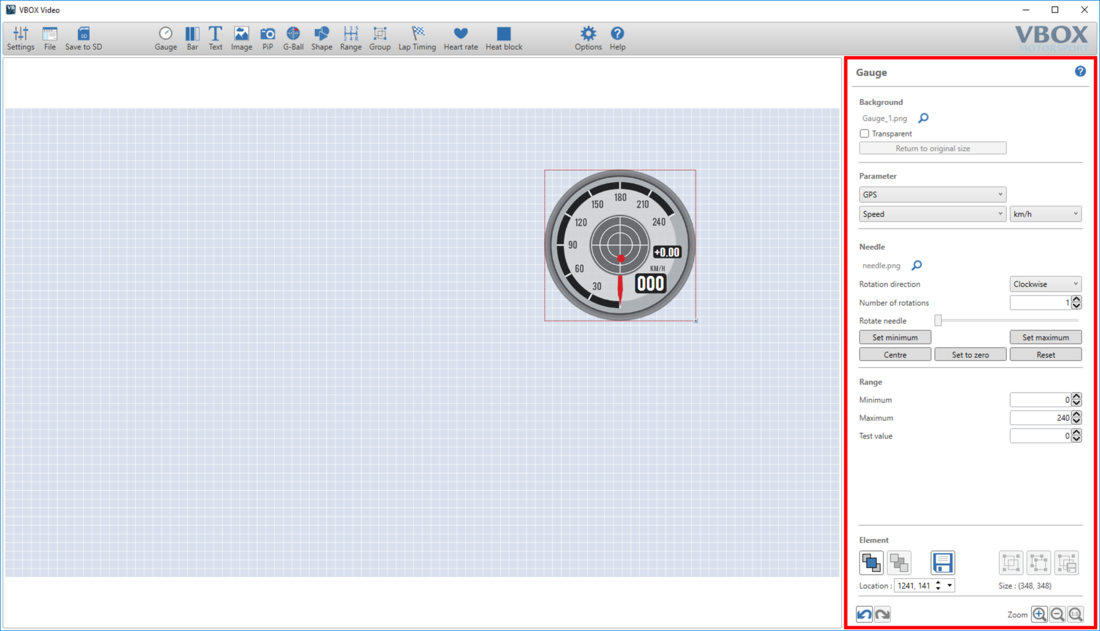
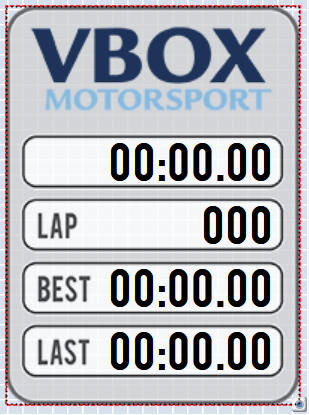
This image shows the same group with the G-Ball element selected. A red box shows around the element in focus.
For more information on elements settings, go to the relevant element section of the manual.
Elements can be removed from the scene in two ways; either by right-clicking on the element, selecting 'Delete' from the dropdown and confirming the prompt, or by pressing the 'Delete' key on a keyboard, and again, confirming the prompt.
