03 - VBOX Video Scene Selector - macOS
VBOX Video software comes with a library of built-in scene and element files.
Loading a scene from the selector
The scene selector is displayed when the Software is loaded. Click on a default, custom or new scene to load it into the software.
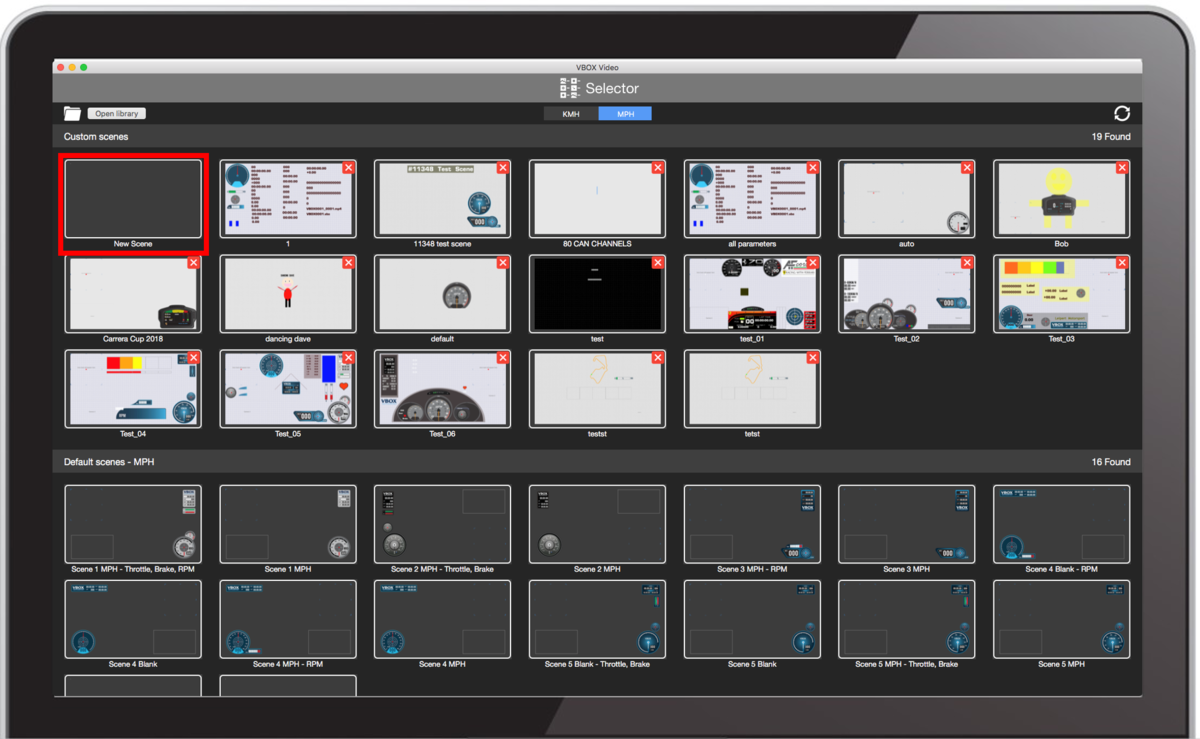
You can toggle between scenes using mph or km/h units by using the buttons at the top of the screen.

Once you have loaded a scene, you can return to the scene selector by selecting the  button on the top left of the screen.
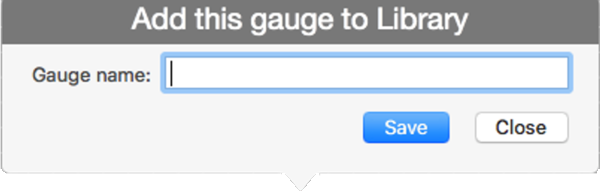
Saving a scene into the selector
For new scenes that have been created, or existing scenes that have been edited, select the Save button  on the top menu bar or in the scene settings side bar to save the scene to the selector.

Scene files appear in the library in alphabetical order – note all custom saved scenes will always stay at the top, and default supplied scenes underneath.
Importing a scene
To import a scene into the software, select the Open new file button at the top of the scene library.
Importing a scene loads the scene into the main view window and does not add the scene automatically into the library. To add the scene into the selector, the Save button must be selected.
Removing a scene from the selector
To remove a scene from the library, click on the red X next to the scene.
Uploading a scene to the HD2 unit
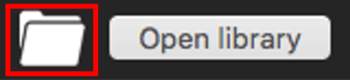
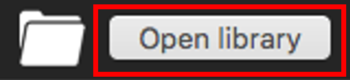
Library files
To access the files within the library, click the ‘Open library’ link at the top of the scene library.
This library is stored within the Mac's documents folder:
Documents\VBOX Video
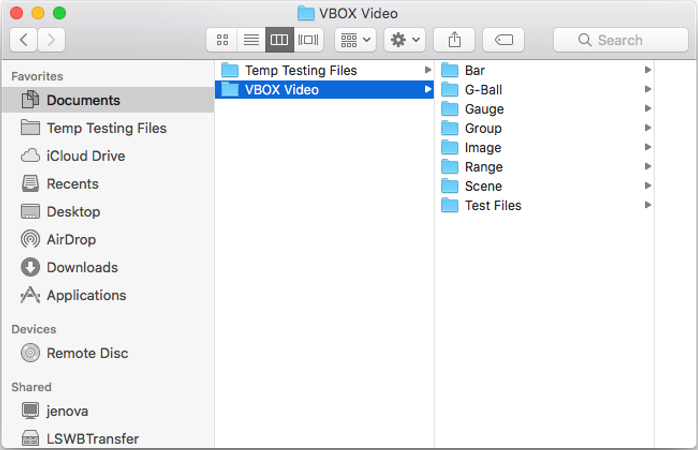
The file extensions for HD2 scene files is .VVHSN and for HD2 element files is .EL2.
This allows files to be easily accessed, to be sent to other HD2 users, or copied between different Macs.
Changes to the files stored in this location will be reflected within VBOX Video HD2 Setup.
Elements
Loading an element from the library
To access the element library, click on one of the element buttons within the top menu bar.

This will cause a side bar menu to appear showing all of the selected element types which are available within the library. Click on an element to load it into the software.

Saving an element into the library
Configured elements can be added to the Software library, allowing them to be reused in other scenes. Either right click on the element and select 'Save' or click on the Save button on the bottom right of the screen. This allows the element to be viewed within the element side bar menu.
 |
 |
Removing an element from the library
To remove an element from the library, right click on the red X next to the element within element side bar menu.