Lane Survey - Straight Line
To survey a straight line within a Lane Departure Warning test, please follow the steps below:
If the test is intended for straight lanes only then a simple point-to-point lane (utilising up to 8 points along the lane) can be surveyed using a VBOX 3i RTK and a survey pole.
Multiple Lanes
It is possible to load three surveyed lanes into the VBOX which can then be individually selected via VBOX Manager.
It is NOT possible for the VBOX to make measurements to more than 1 lane edge at a time.
For 2 cm positional accuracy during the Lane Departure Warning Test, an RTK Base Station or NTRIP solution is required.
Straight Line
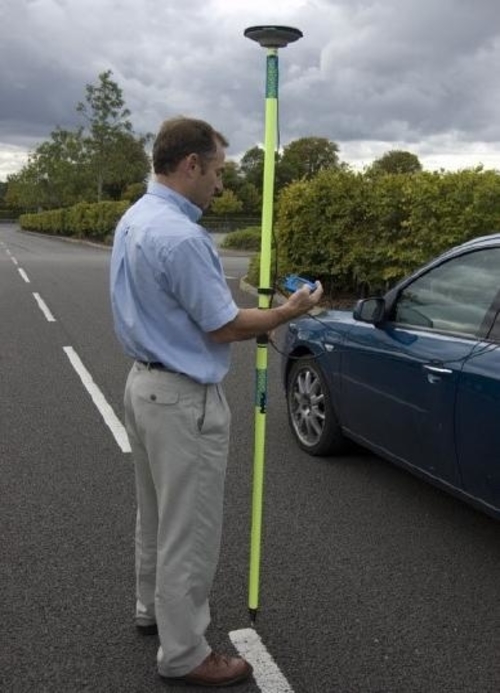
- Connect the VBOX equipment as shown in Lane Survey Configuration with the GPS antenna mounted on top of a survey pole (RLACS168).
- Place the Vehicle near to the edge of the first lane that you plan to survey.
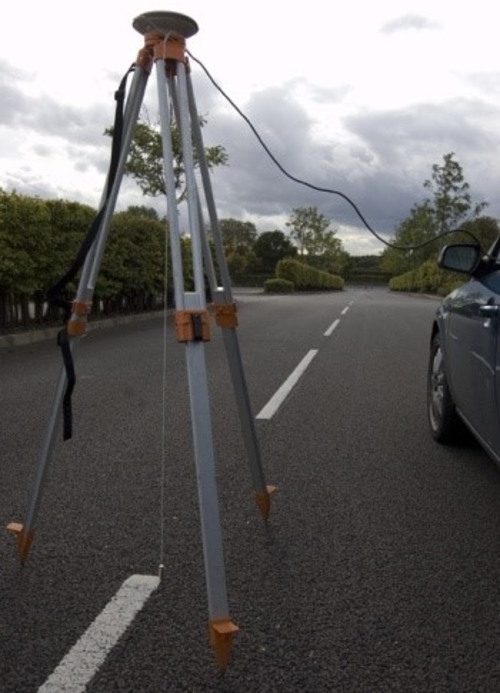
- Place the GPS antenna connected to the vehicle system onto the supplied Tripod or a suitable Survey pole.
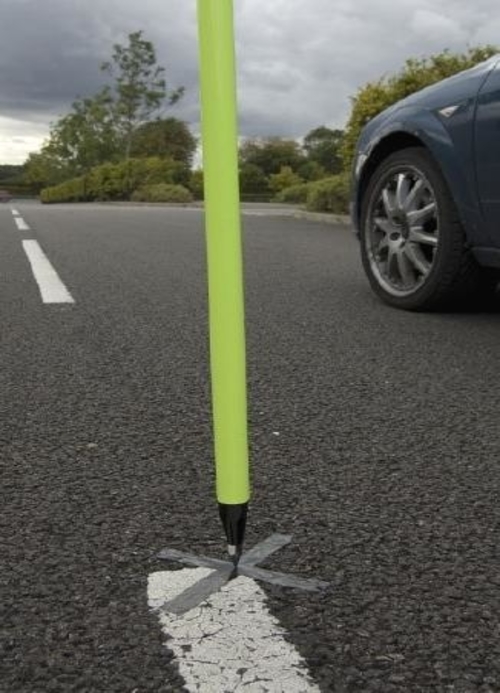
- Place the supplied tripod over the Lane edge and use a Plumb line hanging from underneath the GPS antenna to ensure that the GPS antenna is directly over the road side edge of the lane edge.
- Mark this point on the Ground with paint or Sticky tape, as you will need to come back to it if you wish to Auto set the Antenna offsets.
 |
 |
 |
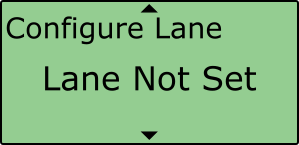
- Using VBOX Manager, select the 'ADAS' option from the 'SETUP' menu and ensure 'Lane Dep' is selected.

- Select 'Lane 1' within the 'Lane' menu.

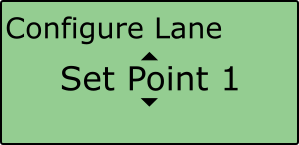
- Scroll to 'Configure Lane', select and navigate to the 'Set Point 1' option.
 |
 |
|
 |
If you believe that the line does have some acceptable fluctuations but you want to survey these as best as possible, then you can set more than two points to accurately map the line. Continue to step 10.
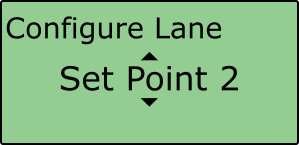
- Move the Tripod and vehicle to the another position point on the line preferably >50 m from the last position and enter this position as the next point, e.g 'Set Point 3'.
- Continue setting points as necessary.
- After setting the last point click on 'Back' to return to the main menu.
Repeat this procedure for any other test lines that you have, up to a maximum of 3 lines.