Menu Options - Setup Menu
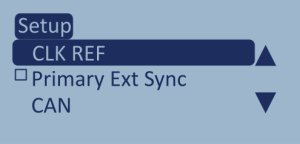
CLK REF
|
|
_1.3_LCD_Setup_CLK_REF.png?revision=1)
_300px.png?revision=1)
Back
_300px.png?revision=1) |
|
Exit
_300px.png?revision=1) |
|
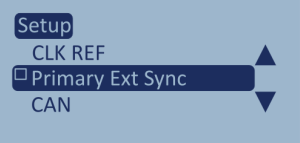
Primary Ext Sync
_1.3_LCD_Setup_Primary_Ext_Sync.png?revision=1) |
CAN*
|
|
|
_1.3_LCD_Setup_CAN.png?revision=1)
|
Model Limitations *The CAN menu will not be available on the LabSat 4 Lite models. |
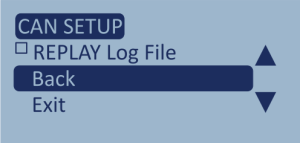
REPLAY Log File
|
|
|
_Menu_Setup_CANSetup_ReplayLogFile_(v1.1_RE_17JUN2024)_300px.png?revision=1)
Back
|
|
|
_Menu_Setup_CANSetup_Back_(v1.1_RE_17JUN2024)_300px.png?revision=1)
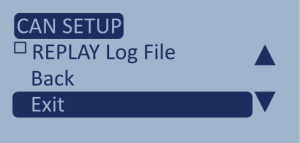
Exit
|
|
|
_Menu_Setup_CANSetup_Exit_(v1.1_RE_17JUN2024)_300px.png?revision=1)
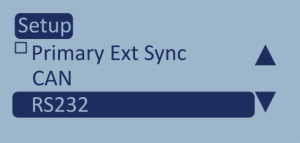
RS232*
 |
|
Model Limitations *The RS232 menu will not be available on the LabSat 4 Lite models. |
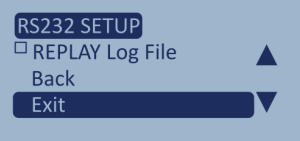
REPLAY Log File
_Menu_Setup_RS232Setup_REPLAYLogFile_(v1.1_RE_17JUN2024)_300px.png?revision=1) |
Back
_Menu_Setup_RS232Setup_Back_(v1.1_RE_17JUN2024)_300px.png?revision=1) |
|
Exit
_Menu_Setup_RS232Setup_Exit_(v1.1_RE_17JUN2024)_300px.png?revision=1) |
|
LAN1
|
|
_Cropped.svg?revision=1)
Network Security
|
|
|
%252C_Static_IP%252C_Back_Cropped.svg?revision=1)
Static IP
|
|
|
(Ticked)%252C_IP_Cropped.svg?revision=1)
%252C_Back_Cropped.svg?revision=1)
_300px.png?revision=1)
Mask
|
|
|
%252C_IP_0.0.0.0%252C_Mask_0.0.0.0(X)_Cropped.svg?revision=1)
%252C_Back_Cropped.svg?revision=1)
GW
|
|
|
_Cropped.svg?revision=1)
%252C_Back_Cropped.svg?revision=1)
Back
_Cropped.svg?revision=1) |
Exit
_Cropped.svg?revision=1) |
|
Display
_Cropped.svg?revision=1) |
Contrast
|
|
_300px.png?revision=1)
_300px.png?revision=1)
Back
_300px.png?revision=1) |
Exit
.png?revision=1) |
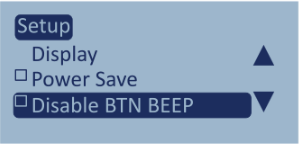
Power Save
_Cropped.svg?revision=1) |
Disable BTN BEEP
_300px.png?revision=1) |
Disable All Sounds
_300px.png?revision=1) |
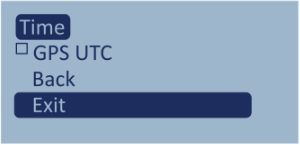
Time
_300px.png?revision=1) |
GPS UTC
_300px.png?revision=2) |
Manual Set Clock
|
|
_300px.png?revision=1)
_300px.png?revision=1)
Back
_300px.png?revision=1) |
Exit
_300px.png?revision=1) |
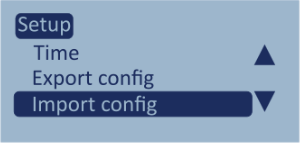
Export Config
_300px.png?revision=1) |
This option gives you the ability to export the set configurations to a text file on the internal SSD to share or use in future testing. The file will be named settings.txt. |
Import Config
_300px.png?revision=1) |
|
Model Limitations LabSat 4 can only import configuration files that were exported from a LabSat 4 unit of the same model and variant. If you import a configuration file that is incompatible with your unit, your unit will display an error notification. |
Back
_300px.png?revision=1) |
Exit
_300px.png?revision=1) |