LabSat 4 Display and Settings
Startup
Selection Screens
Directory Selection Screen
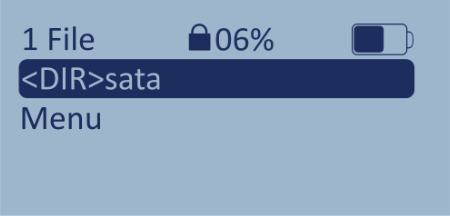 |
File Selection Screen
 |
Record and Replay Screens
When you start recording or replaying a scenario, LabSat 4 will display the Record or the Replay Screen.
Record Screen
 |
Replay Screen
 |
GNSS Monitor
.png?revision=1) |
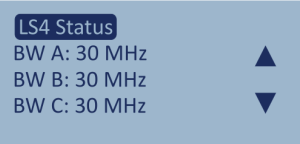
LS4 Status
.png?revision=1) |
Press the OK button while on the GNSS Monitor Histogram to open the LS4 Status screen. When Recording: This option will display the recording settings currently configured on the unit. Use the arrow buttons to navigate through the following data:
When Replaying: This option will display the recording settings from the file that is being replayed. Use the arrow buttons to navigate through the following data:
Press the OK button to return to the Record/Replay Screen. |
Navigate to Menu
|
There are 2 ways to enter the Main Menu on your LabSat 4. You can either: Highlight a file and press the OK button.
OR Navigate to the Menu option on the File Selection Screen and press the OK button to select it.
|

_300px.png?revision=1)
_300px.png?revision=1)
_300px.png?revision=1)
Menu Options
_300px.png?revision=1) |
_300px.png?revision=1) |
_300px.png?revision=1) |
_300px.png?revision=1) |
| File Menu | Constellation Menu | Play Options Menu | Record Options Menu |
_300px.png?revision=1) |
_300px.png?revision=1) |
_300px.png?revision=1) |
|
| Setup Menu | About Menu | Status Menu |
Exit
_300px.png?revision=1) |