Turntable Connection Instructions
All the Soloist software needed for the supplied equipment is on the supplied Aerotech USB drive. Racelogic software package LabSat 3 Extensions can be downloaded from the LabSat website.
Prior to setting up/connecting your Turntable system, you are required to wire up the necessary power supplies, motor and controller cables. Instructions for this process are in the ‘EDU180_Soloist_CP.pdf’ document located in the ‘Manual’ folder on the supplied Aerotech USB stick.
| Safety Warning
When setting up/connecting the Turntable system, ensure that no mains power supply is turned on until instructed. Either ensure all mains sockets are turned off or leave the mains power plugs disconnected at the wall. |
Step One
|
Connect the mains power supply to the Soloist control unit, leaving the plugs either disconnected or the sockets switch off.
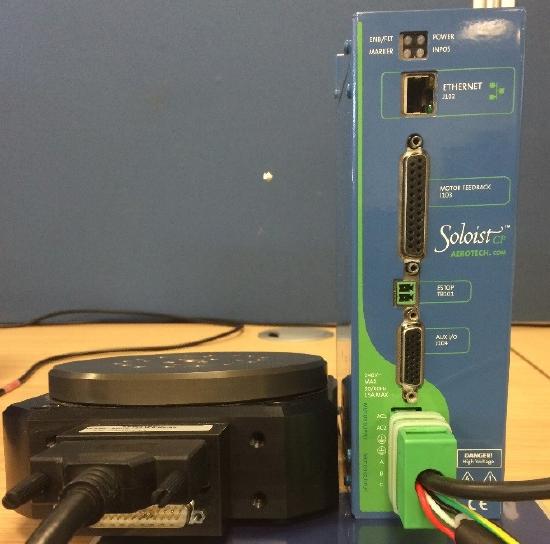
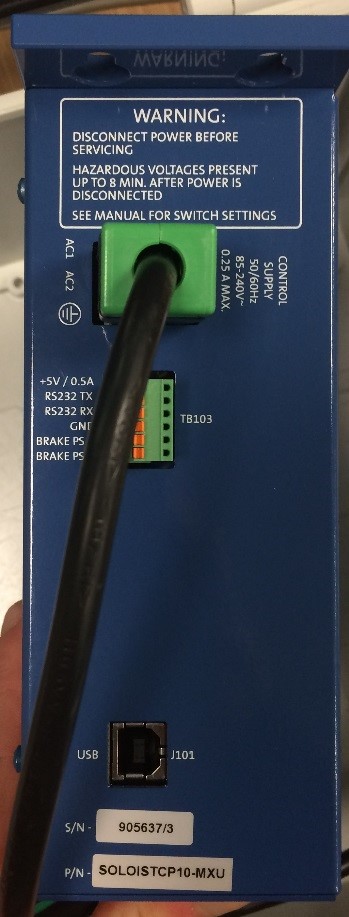
The seven pin Motor supply connector block should be connected to the Soloist control unit and then to the Turntable, as seen below.
|
Once the Motor supply is connected, the three pin controller supply connector block can be connected as seen below.
|
Step Two
|
|
.jpg?revision=1) |
Step Three
Connect the supplied Ethernet cable between the Ethernet port of the Soloist control unit and the labelled Turntable Ethernet port on the rear of the supplied PC.
Step Four
Power up the Turntable and Soloist control unit by firstly turning on/plugging in the mains power for the control supply, wait a few seconds and then turn on/plug in the mains power for the Motor supply. There should now be a green LED illuminated on the Soloist control unit.
Step Five
Run the ‘LabSat 3 Extensions’ program that is installed on the PC. Once the software has loaded, navigate to the ‘Settings’ tab and tick the box for ‘Turntable Control’. in the Turntable drop down box, you should now be able to select your Controller. When the controller has been selected, press the ‘Test’ button. If working correctly ,the Turntable should respond to this with a sequence of movements.
Notes
The additional equipment used alongside the Turntable system has all been configured ready for use. All documentation for the equipment being used can be found on our Support Site.
If you require any additional support regarding your equipment, please email our support department at support@racelogic.co.uk.
The links below may be of use during your operation of the Turntable system:


