How to Process a Supplier Credit Note
- Click Purchases.
- Select Purchase Credit Notes.
- Click the blue Create Credit Note button.
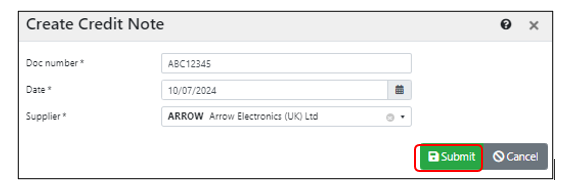
Create Credit Note Modal
- Complete the create credit note modal.
- Enter the credit note number in the Doc number box. This is a required field.
- Click in the Date box to select the credit note date.
- Select a Supplier.This is a required field.
- Click Submit.
- Click the blue Add Credit Note Line button.
New Purchase Ledger Line Modal
- Complete the new purchase ledger line modal as required.
- Enter the Stock Item. This is a required field.
- Enter a positive Quantity number. This is a required field.
- Add a positive Unit amount. This is a required field .
- Select a Tax rate.
- Click the Add extra description box.
- Enter the reason for the credit note.
| IMPORTANT: Do not add a - before the quantity or amount as this would change the credit to an invoice. |
- Click Submit.

- Check the details match the Supplier credit note.
- To edit Details click the right-hand pencil.

Edit Invoice - x Modal
- Edit the Edit Invoice - x Modal as required.
- Click Submit.

-
Check that the totals and VAT amounts match the credit note.
• If the VAT does not match, check and edit VAT by clicking the Edit button to the right of each stock line.

Edit Purchase Ledger Line Modal
• Click on the Tax rate drop down to select the correct VAT rate.
• Click Submit.

-
If everything is correct click the green Post button. The credit note will be posted to Quickbooks.
| IMPORTANT: Posting a credit note to Quickbooks can not be undone - ensure everything is correct before clicking the Post button. |
- Scan and upload the PDF credit note to the Files section, follow the process Uploading/Viewing files.