VBOX Configuration - 2 Target Vehicles (NTRIP)
To configure VBOXs within a Subject Vehicle and 2 Target Vehicles using an NTRIP correction solution for ACC, AEB, BSD or FCW tests, please follow the steps below:
Place one VBOX into each vehicle - one will be the subject vehicle and two will be the target vehicles.
Target Vehicle 1
- Connect VBOX Manager to the VBOX in Target Vehicle 1.
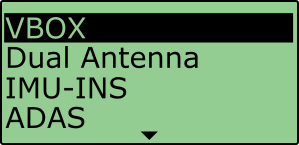
- Enter the 'SETUP' menu of VBOX Manager.
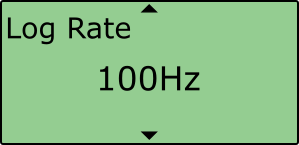
- Select the 'VBOX' option and scroll to 'Log Rate'. Ensure that '100 Hz' is selected, if it is not, select the menu and choose the option.
 |
 |
- Scroll to 'Dynamic Mode', select and then choose one of the following options:
- If you are not using IMU integration, set the dynamic mode to 'Medium' and press to confirm, this Dynamics mode is best for ADAS tests.

- If you are using IMU integration, set the dynamic mode to 'High' and press to confirm.

- If you are not using IMU integration, set the dynamic mode to 'Medium' and press to confirm, this Dynamics mode is best for ADAS tests.
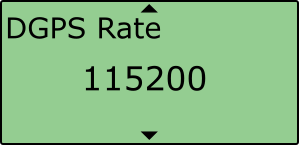
- Scroll to 'DGPS Rate' and ensure that '115200' is selected, if it is not, select the menu and choose the option.
- Scroll to 'DGPS Mode', select and then set to 'NTRIP', press to confirm. Further information on NTRIP can be found here .

- Return to the 'SETUP' menu by selecting 'Back'.

- Select the 'ADAS' option and then choose '2 Target' as the ADAS mode, press to confirm.
 |
 |
- Scroll to 'ADAS Function', select and then choose 'Target 1', press to confirm.

Target Vehicle 2
- Connect VBOX Manager to the VBOX in Target Vehicle 2.
- Repeat steps 2 – 8 in section ‘Target Vehicle 1' above.
- Scroll to 'ADAS Function', select and then choose 'Target 2', press to confirm.

Subject Vehicle
- Connect VBOX Manager to the VBOX in the Subject Vehicle.
- Repeat steps 2 – 8 in section ‘Target Vehicle 1' above.
- Scroll to 'ADAS Function', select and then choose 'Subject', press to confirm.