How to Replace the OLED screen on Your OLED Display
- Last updated
- Save as PDF
This page contains step-by-step instructions for replacing the OLED screen on a DSP04 or DSP05 OLED Display.
DSP04
Equipment:
- Hex screwdriver (2 mm)
- Pozi screwdriver
- Sharp blade to separate the screen from PCB (optional)
- Tweezers (optional)
- Alcohol cleanser
- New OLED screen
- Double-sided adhesive tape (included with new screen)
- Lens cloth or similar
- Air Duster or similar (optional)
Removing the old OLED screen
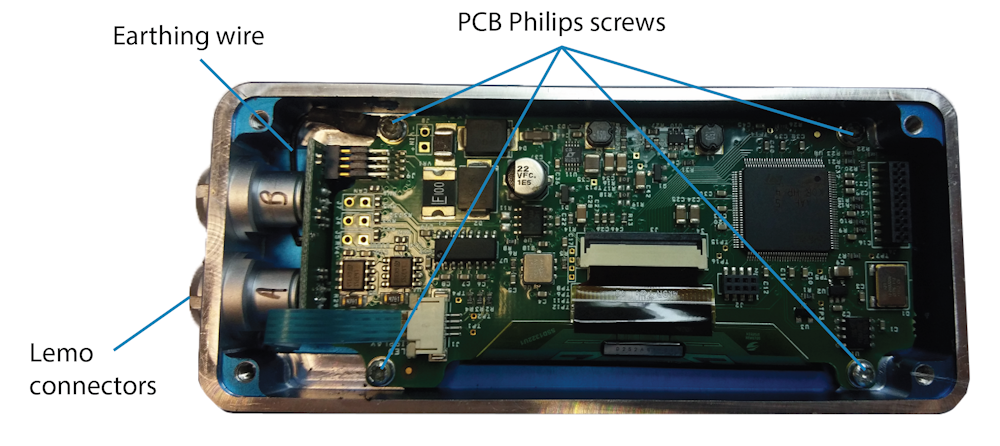
|
|
 |
|
| Note: You can use a sharp blade that is large enough to apply pressure to when you are loosening the OLED screen from the PCB. You can also use an alcohol cleaner fluid to loosen and remove the adhesive tape that secures the OLED to the PCB. Use a small brush to apply the alcohol cleaner between the PCB and the OLED. |
|
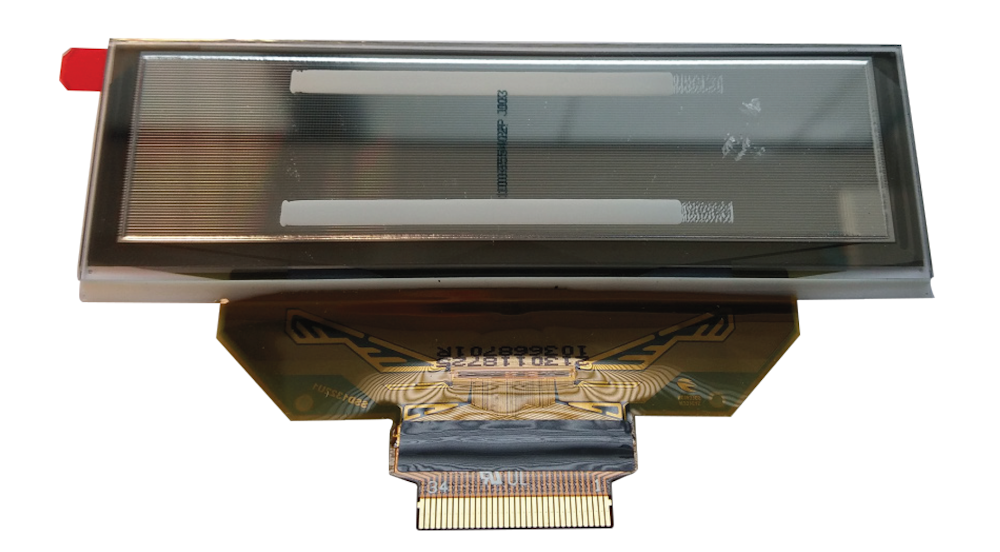
WARNING Be careful when you remove the display. It is made of glass and can shatter when you remove it. These shards of glass are sharp and can be a hazard. |
Installing the New OLED Screen
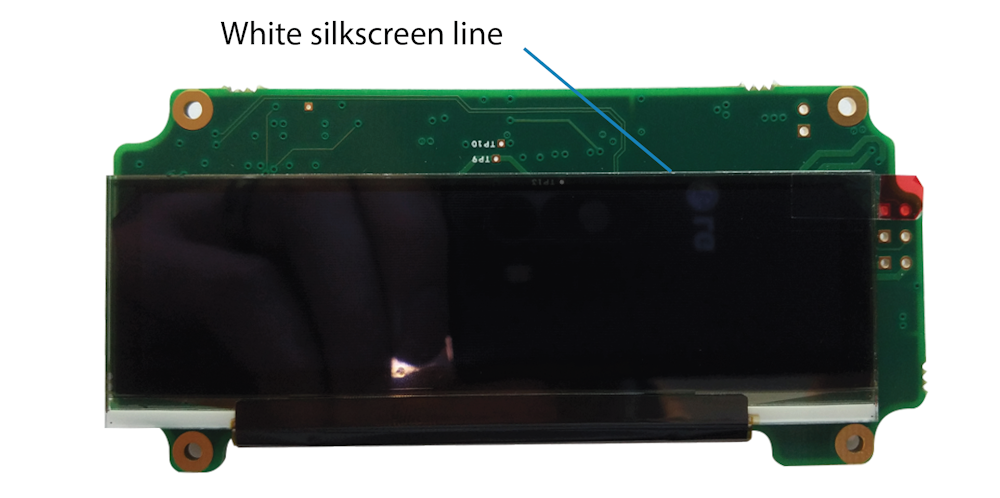
|
 |
|
 |
|
DSP05
Equipment:
- Hex screwdriver (2 mm)
- Philips screwdriver
- Sharp blade to separate the screen from PCB (optional)
- Tweezers (optional)
- Alcohol cleanser
- New OLED screen
- Double-sided adhesive tape (included with new screen)
- Lens cloth or similar
- Air Duster or similar (optional)
Removing the Old OLED Screen
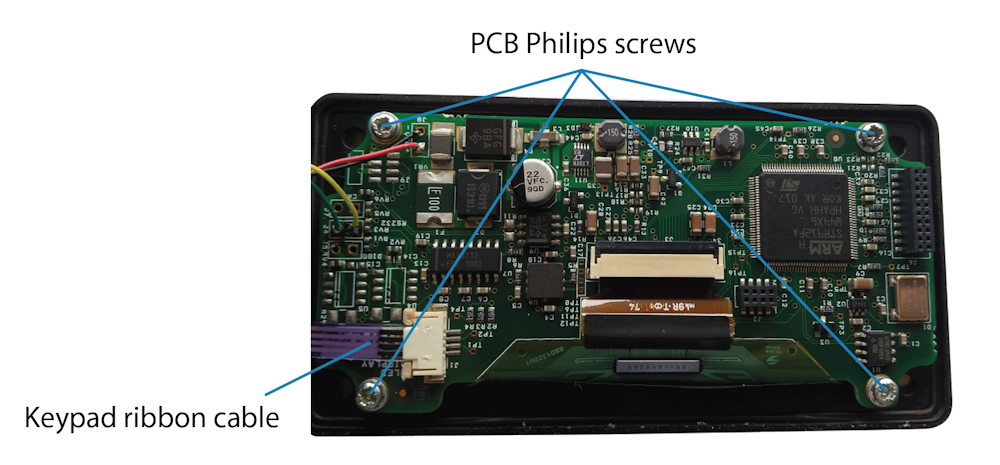
|
 |
| Note: You can use a sharp blade that is large enough to apply pressure to when you are loosening the OLED screen from the PCB. You can also use an alcohol cleaner fluid to loosen and remove the adhesive tape that secures the OLED to the PCB. Use a small brush to apply the alcohol cleaner between the PCB and the OLED. |
|
WARNING Be careful when you remove the display. It is made of glass and can shatter when you remove it. These shards of glass are sharp and can be a hazard. |
Installing the New OLED Screen
|
 |
|
 |
|
