How to Configure a VBOX Video HD2 with a 3rd Party GPS Unit
In VBOX Video Version 1.5.272 or later and HD2 Firmware Version 1.3.78.1 or later, it is possible to use a single GPS antenna that is connected to a third-party dash logger such as a MoTeC device instead of using the HD2 GPS antenna. This is useful to not only save weight but also for race series such as the FIA World Endurance Championship that only allows one antenna to be installed on a car. Furthermore, it reduces the chance of interference between multiple antennas in situations where space is at a premium.
GPS data such as position, speed, altitude and UTC time are sent from the third-party dash logger to the HD2 via CAN. Both the logger and the HD2 Scene must be configured correctly, details on how to do this are outlined below, for this example, a MoTeC dash logger has been used, however, any other Dash Logger with CAN could be used provided that the CAN data format is set as per the format detailed in the next section.
CAN Data Format for Third-Party Device Configuration
For VBOX Video HD2 to receive GPS from a third-party dash logger, the following CAN Data Format must be output from the dash logger via CAN at 10 Hz to the HD2 at a baud rate of 1 Mbit/s in Motorola or Big Endian format, with the most significant byte sent first.
| ID | Data Bytes | |||||||
|---|---|---|---|---|---|---|---|---|
| 1 | 2 | 3 | 4 | 5 | 6 | 7 | 8 | |
| 0x254 | (1) GPS Latitude | (2) GPS Longitude | ||||||
| 0x255 | (3) GPS Speed | (4) GPS Altitude | (5) UTC Time (hours) | (6) UTC Time (minutes) | (7) UTC Time (seconds) | (8) UTC Time (milliseconds) | ||
- GPS Latitude, 32-bit signed integer, 0.0000001º per bit, South of the equator is negative.
- GPS Longitude, 32-bit signed integer, 0.0000001º per bit, West of Greenwich is negative.
- GPS Speed, 16-bit unsigned, 0.1 km/h per bit.
- GPS Altitude, 16-bit unsigned, 1 m per bit.
- UTC Time, 8-bit unsigned, 1 hour per bit.
- UTC Time, 8-bit unsigned, 1 minute per bit.
- UTC Time, 8-bit unsigned, 1 second per bit.
- UTC Time, 8-bit unsigned, 0.01 second per bit.
Configuring the HD2 Scene
- With the scene file open in VBOX Video, navigate to Settings > General and click on the VBOX Controller menu.
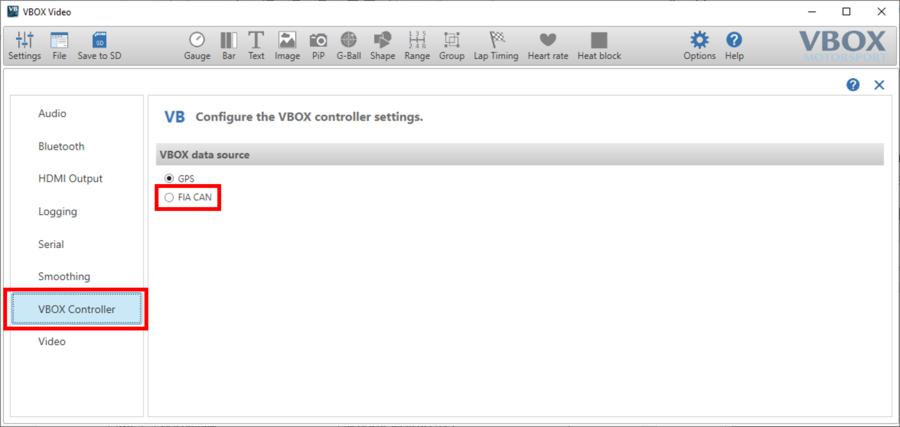
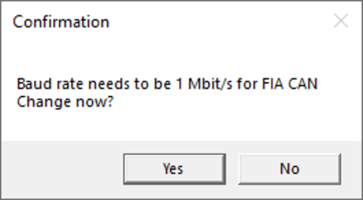
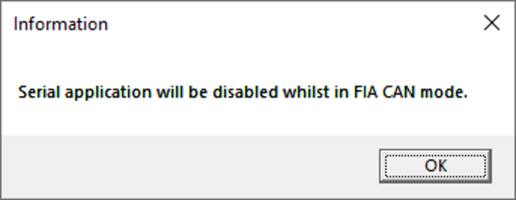
- Select FIA CAN and clear the following warnings. Enabling will change the CAN baud rate to 1 Mbit/s and disable Serial Output, meaning that that the VBOX Video HD2 cannot be used in conjunction with an OLED display.
 |
 |
Note: The 'FIA CAN' setting cannot be enabled if CAN Inputs have been configured.
- Save the scene to an SD card or USB using the Save to SD button. Instructions on how to complete the upload to the HD2 Unit can be found here.
Example: Configuring a MoTeC Dash Logger
- Download and save the following MoTeC Communication templates to Documents > MoTeC > Dash > Comms Setup folder.
- Using the correct Dash Manager software for your MoTeC Dash Logger, download the configuration.
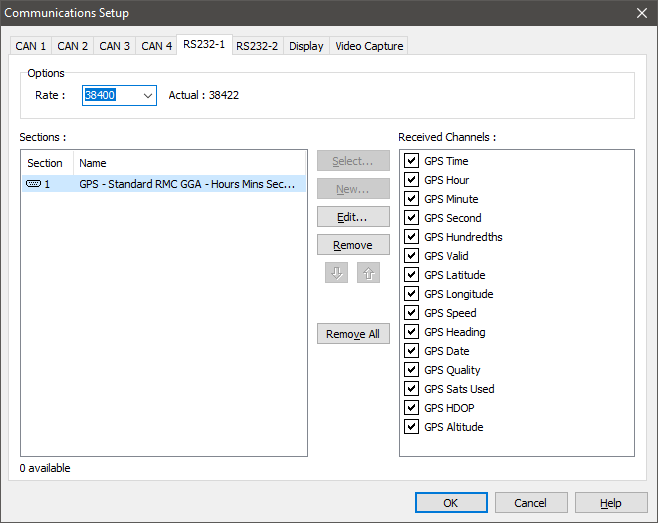
- In Dash Manager, go to Connections > Communications...> RS232 which is the RS232 port that your MoTeC GPS unit is connected to. Find an empty CAN slot and click the Select button and select the VCS TransmitCompound full Communication template and click OK. Click the Select button and then Import in the new window.
- Select the GPS – Standard RMC GGA – Hours Mins Sec Ms Communication template and click OK. The serial port setup should be as shown below:
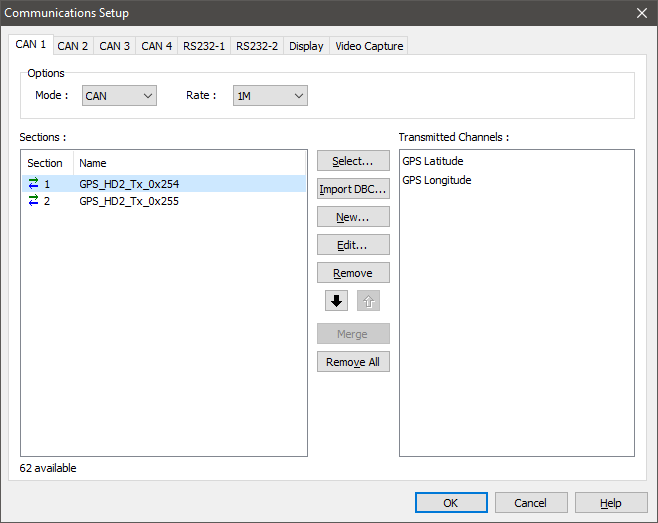
- In Dash Manager, go to Connections > Communications...> CAN which is the CAN port that your Racelogic HD2 unit is connected to. Click the Select button and then Import in the new window.
- Select the GPS_HD2_Tx_0x254 Communication template and click OK.
- Repeat Steps 5 and 6 however select the GPS_HD2_Tx_0x255 Communication template. The CAN port setup should be as shown below.
- Send the configuration to the MoTeC Dash Logger.