HD2 - Heat Block Element - Windows
VBOX Video HD2 software allows the user to add a heat block element, which will vary in colour throughout a recording, dependent on the live channel selected.

Heat block elements are particularly useful when used in conjunction with Tyre Temperature Sensors to represent live tyre temperatures on the video recording. Full Tyre Temperature Sensor connection and configuration instructions are available here.
Adding a heat block element
To add a new heat block element, click the ‘Heat block’ icon from the top menu.
![]()
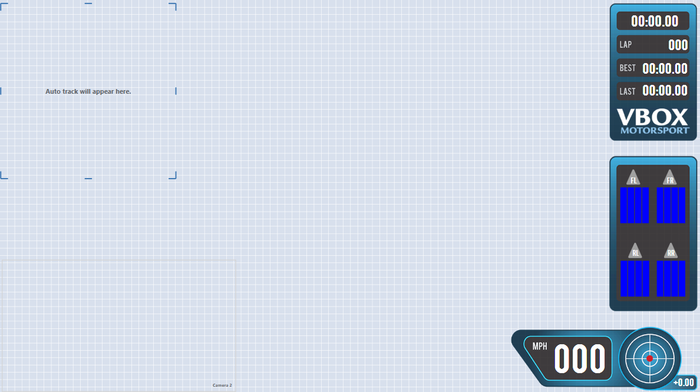
This will cause a new block element to be added to the top left corner of the main view window. Once a block element has been added to the scene, it can be clicked and dragged to the desired location.
Within the drop-down menu, selecting the ‘New’ option will add a new heat block element to the scene.

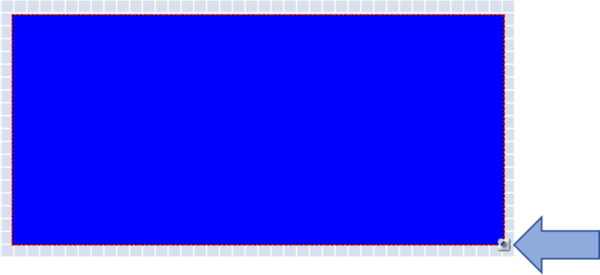
The heat block element can be resized using the icon in the bottom right hand corner.
Heat block settings
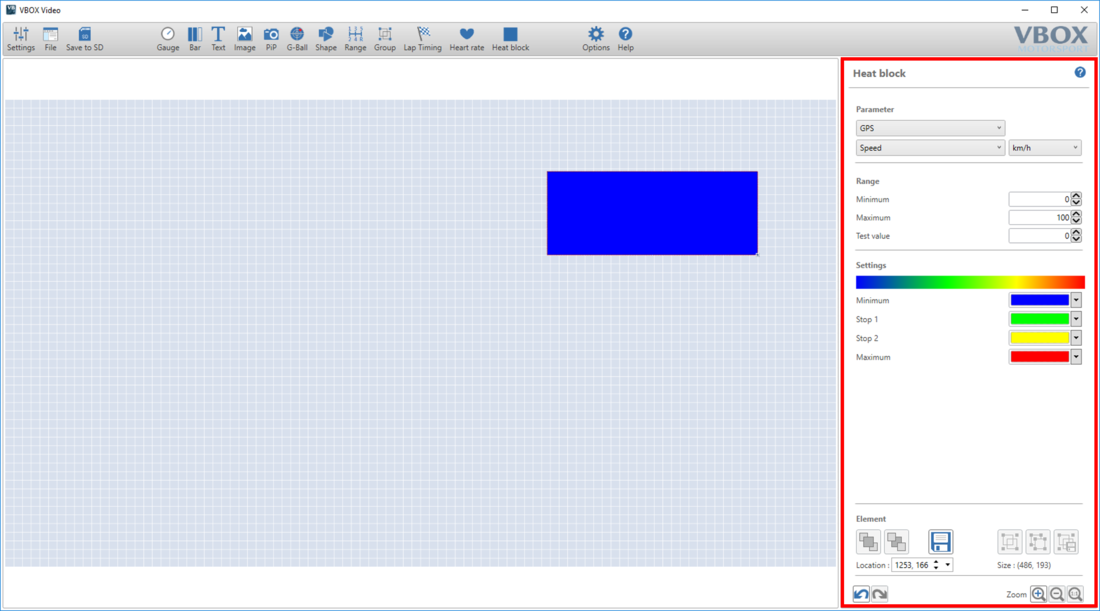
When an element is selected, its settings are shown in the right hand panel.
Defining a heat block parameter
To set live data to display on the text element, the two drop down menus within the 'Parameter' section must be used.
The first drop down menu defines the source. Select either CAN, GPS, Heart rate monitor (if being used with a heart rate element), Maths Channels or OBD.
Note: CAN, Maths Channels and OBD options will only appear if they have been set up by the user.
.png?revision=1)
The second drop-down list defines the channel to be shown. In the example above, GPS Speed is set to display in km/h.
GPS parameters
A number of GPS parameters are available to choose from, such as the following:
|
|
More information on the parameters can be found here.
Changing the units
Within the parameter section, speed, acceleration or distance channels can be set to display in different units.
The options available are:
- Speed – km/h, mph, kts, m/s, ft/s
- Acceleration – g, m/s², ft/s²
- Distance – m, ft, km, mi, nmi
Range
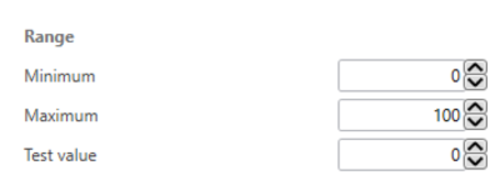
Define the minimum and maximum values of the heat block. Use the 'Test Value' box to check which colour will be shown when different values are received.
Colour settings
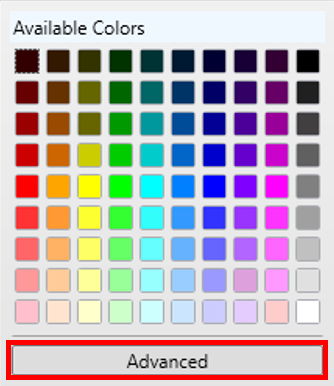
After the heat block size, location and range values have been set, the colour settings can be changed if required. The heat block colour will vary on a spectrum in relation to 4 colours; defined as 'Minimum' 'Stop 1', 'Stop 2' and 'Maximum'. Colours can be changed by clicking on the dropdown buttons.
To set a specific RGB colour, click ‘Advanced’ within the colour dropdown menu.
Copying an element
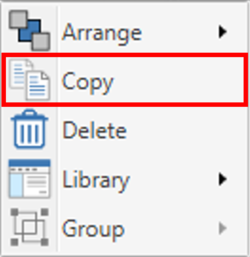
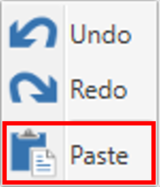
Elements and their associated settings can be duplicated within a scene by either right clicking on the element, selecting 'Copy' from the dropdown then right-clicking in an empty area and selecting 'Paste' from the dropdown, or by using keyboard shortcuts 'Ctrl + C' (Copy) and 'Ctrl + V' (Paste).
 |
 |
Deleting an element
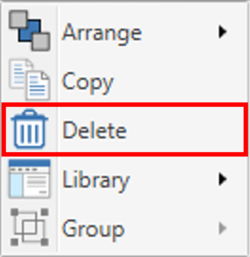
Elements can be removed from the scene in two ways; either by right-clicking on the element, selecting 'Delete' from the dropdown and confirming the prompt, or by pressing the 'Delete' key on a keyboard, and again, confirming the prompt.
