HD2 - Image Element - Windows

VBOX Video HD2 software comes supplied with a library of image elements. The user also has the option to load their own image or logo using PNG, JPEG or BMP image files. When adding a logo, ensure that the logo image is the right size or bigger than required - avoid making it larger in the software as it will blur the image.
Adding a supplied image element
Open the image library by clicking the ‘Image’ icon from the top menu bar.
.png?revision=1)
A drop-down menu will then appear, allowing an image to be selected from the library. Clicking on a chosen image will load it into the scene. Once an image has been added to the scene, it can be clicked and dragged to the desired location.
Note: Hovering over any of the image thumbnails will cause a larger preview of the image to appear.
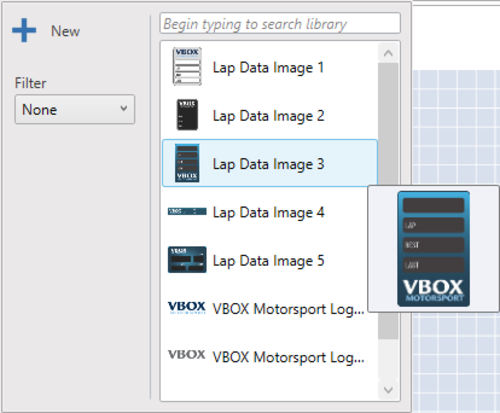
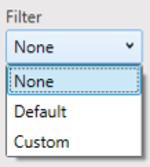
Selecting the 'Filter' drop down on the left enables you to filter the Images shown between default and custom created.
Adding a new image
Images types of PNG, JPEG or BMP can be loaded into HD2 software and can be resized to fit the scene layout. Example images are shown below.
|
Logo |
Lap timing Image |
.png?revision=1)
.png?revision=1)
Note: The image size cannot exceed the resolution of the video format being used, e.g. 1920x1080 (1080p) or 1280x720 (720p).
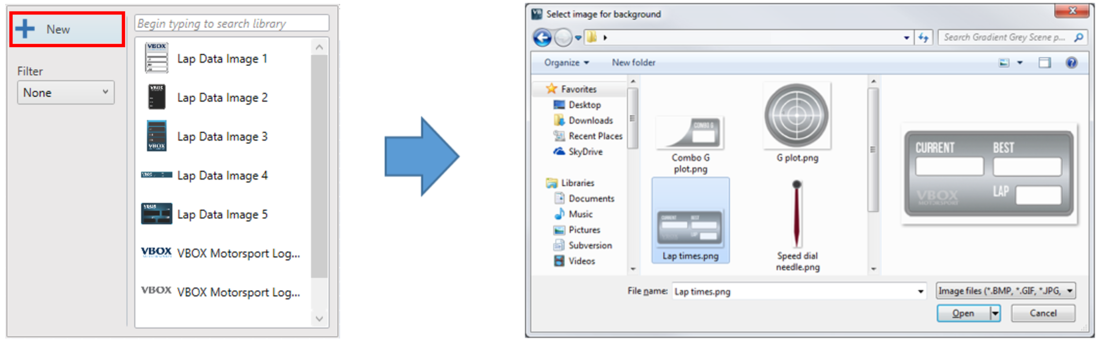
To load a new image, click the ‘Image’ icon from the top menu bar.
Within the drop-down menu, selecting the ‘New’ option will open a new window where the user can select and load an image file.
Resize the image using the icon in the bottom right hand corner.
.png?revision=1)
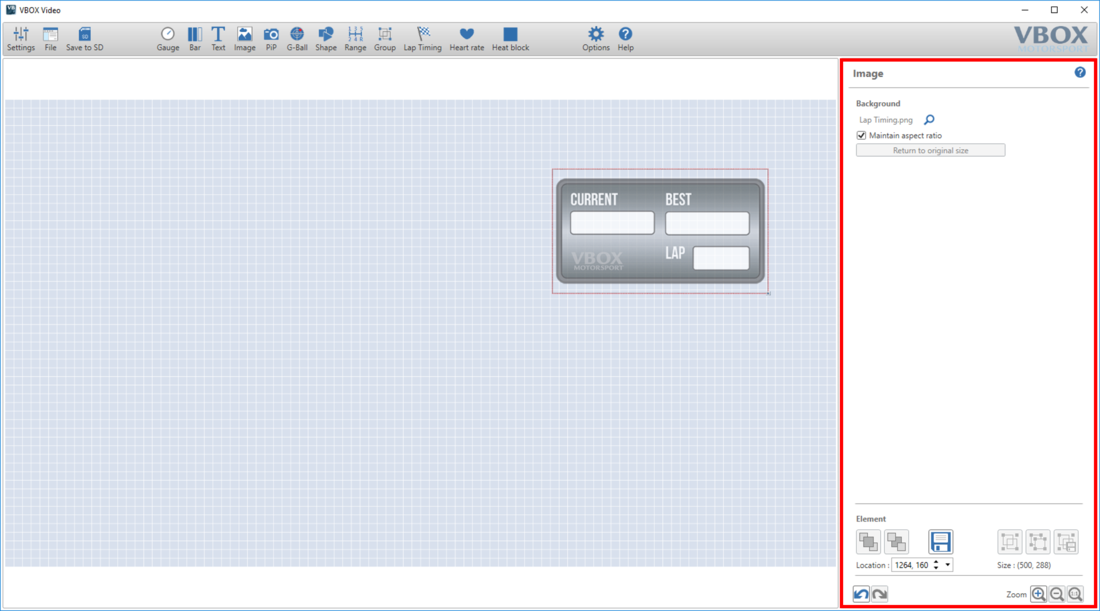
Image Settings
When an element is selected, its settings are shown in the right hand panel.
Loading a new image background
Images can be changed by clicking the search icon  next to the currently loaded image.
.png?revision=1)
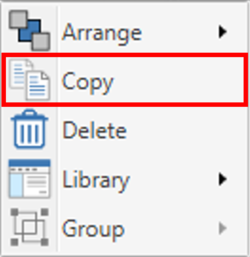
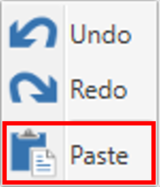
Elements and their associated settings can be duplicated within a scene by either right clicking on the element, selecting 'Copy' from the dropdown then right-clicking in an empty area and selecting 'Paste' from the dropdown, or by using keyboard shortcuts 'Ctrl + C' (Copy) and 'Ctrl + V' (Paste).
 |
 |
Elements can be removed from the scene in two ways; either by right-clicking on the element, selecting 'Delete' from the dropdown and confirming the prompt, or by pressing the 'Delete' key on a keyboard, and again, confirming the prompt.
