HD2 - Image Element - macOS
VBOX Video HD2 software comes supplied with a library of image elements. The user also has the option to load their own image or logo using PNG, JPEG or BMP image files. When adding a logo, ensure that the logo image is the right size or bigger than required - avoid making it larger in the software as it will blur the image.
Adding a supplied image element
Open the image library by clicking the ‘Image’ icon from the top panel buttons menu.

An image library will then appear in the settings panel to the right. Clicking on a chosen image will load it into the scene. Once an image has been added to the scene, it can be clicked and dragged to the desired location.
Note: Hovering over any of the image thumbnails will cause a larger preview of the image to appear.
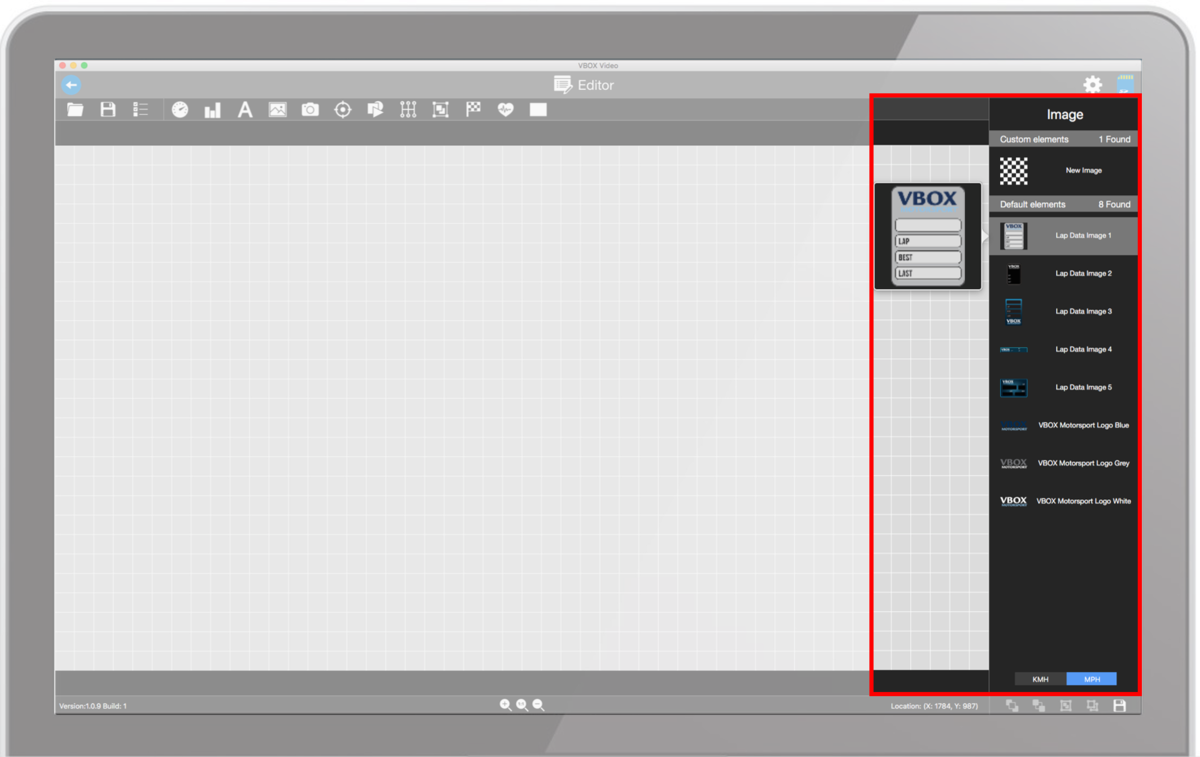
You can toggle between images using mph or km/h units by using the buttons at the bottom of the library.

Adding a new image
Images types of PNG, JPEG or BMP can be loaded into HD2 software and can be resized to fit the scene layout. Example images are shown below.
|
Logo |
Lap timing Image |
.png?revision=1)
.png?revision=1)
Note: The image size cannot exceed the resolution of the video format being used, e.g. 1920x1080 (1080p) or 1280x720 (720p).
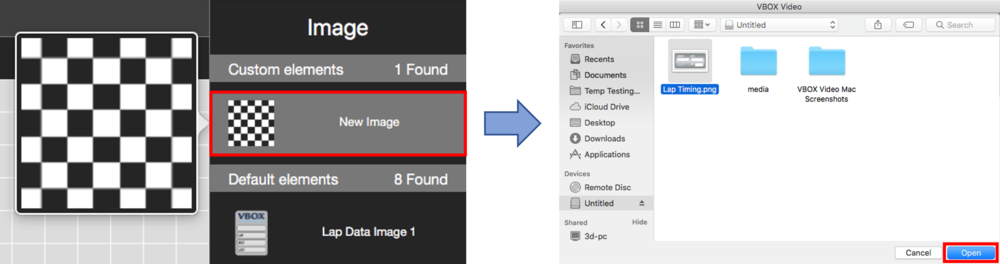
Open the image library by clicking the ‘Image’ icon from the top panel buttons menu.
Within the image library, selecting the ‘New Image’ option at the top will open a new window where you can select and load an image file.
The image element can be resized using the icon in the bottom right hand corner.
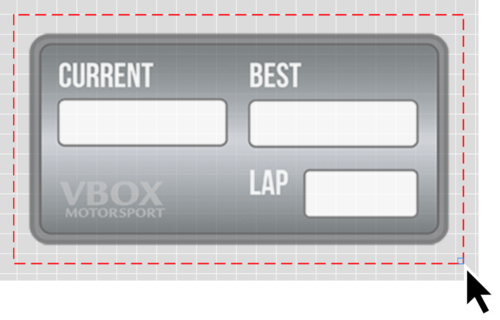
Image Settings
When an element is selected, its settings are shown in the right hand panel.
Clicking on 'Return to original size' will revert the element back to its original size.
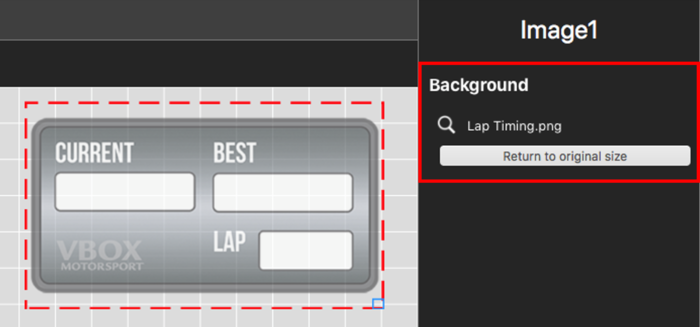
Loading a new image background
Images can be changed by clicking the search icon ![]() next to the currently loaded image.
next to the currently loaded image.
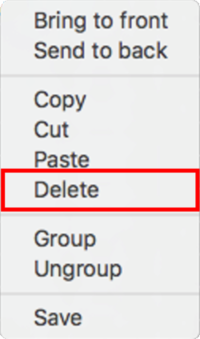
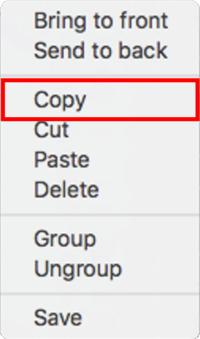
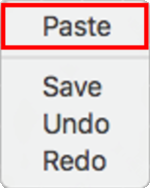
Elements and their associated settings can be duplicated within a scene by either right-clicking on the element, selecting 'Copy' from the dropdown then right-clicking in an empty area and selecting 'Paste' from the dropdown, or by using keyboard shortcuts 'Command + C' (Copy) and 'Command + V' (Paste).
 |
 |
Elements can be removed from the scene in two ways; either by right-clicking on the element, selecting 'Delete' from the dropdown and confirming the prompt, or by pressing the 'Backspace' key on a keyboard, and again, confirming the prompt.