HD2 - Picture in Picture Element - macOS
VBOX Video HD2 software allows the user to configure a second camera input. There are three camera modes available; picture in picture, two camera and floating camera.
Adding a second camera
Add a second camera to the scene by clicking the ‘PiP’ icon from the top panel buttons menu.

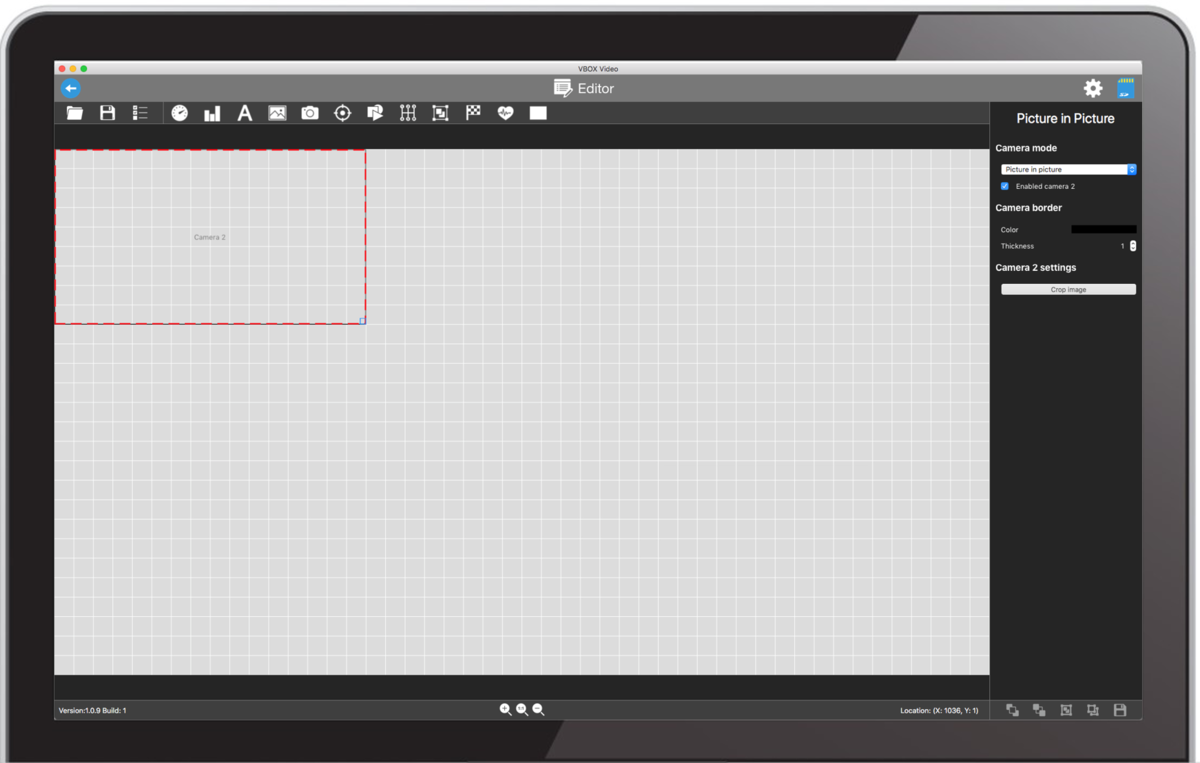
This will add a second camera input to the top left of the scene. The default setting is picture in picture.
Camera mode
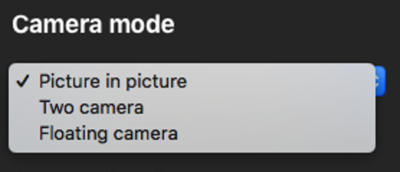
Picture in picture (default)
A picture-in-picture (PIP) element will display a second camera input over the top of the main camera 1 input.
The camera that is connected to CAM1 on the VBOX Video HD2 will always show as the main camera, and the camera that is connected to CAM2 will always show as a picture-in-picture.
.png?revision=1)
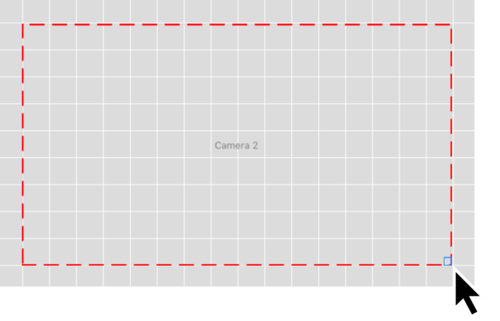
Once a PiP camera input has been added to the scene, it can be moved by clicking and dragging it to a new location.
Resize the image using the icon in the bottom right hand corner.
Note: To avoid camera distortion, the aspect ratio of the PiP is fixed.
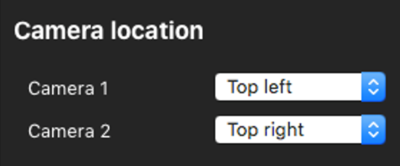
Two camera
Two camera mode allows camera inputs 1 and 2 to show on a split screen. The remainder of the video screen will show as blue unless it is covered with another image or shape element.
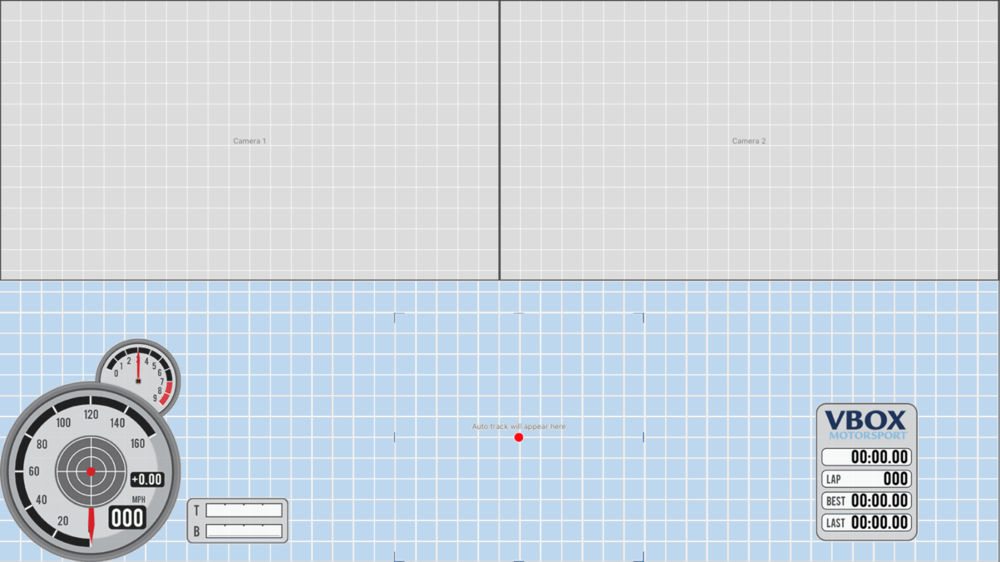
The positions of camera 1 and 2 can be altered using the ‘Camera locations’ options. These can be found in the right hand column when the camera element is selected.
Floating camera
This mode allows two picture-in-picture camera elements to be set. The main camera input becomes a PiP labelled ‘Camera 1’ and the secondary camera remains labelled ‘Camera 2’. The remainder of the video screen will show as blue unless it is covered with another image or shape element.
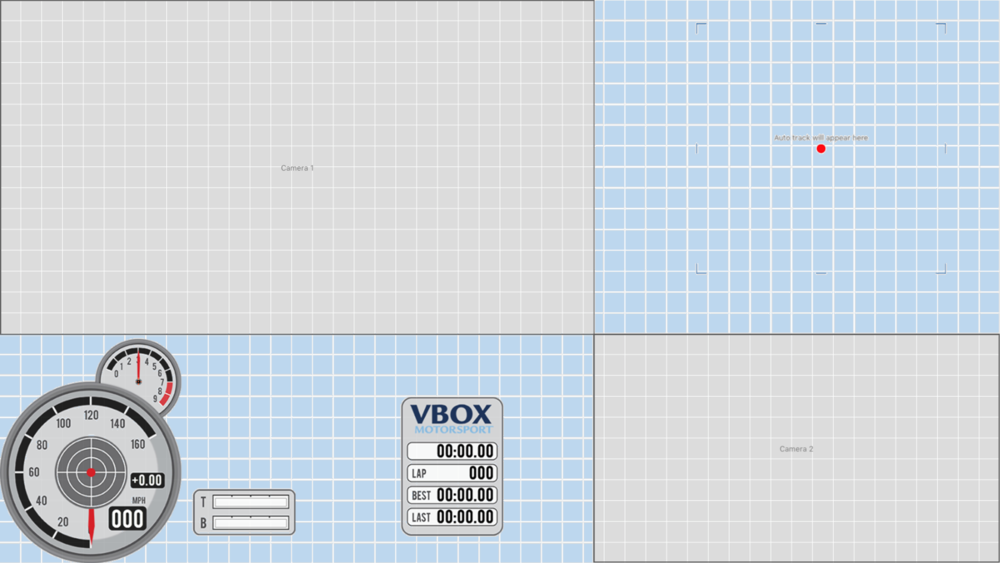
These two PiP elements can be moved by clicking and dragging it to a new location.
Resize the image using the icon in the bottom right hand corner when the element is selected.
Note: To avoid camera distortion, the aspect ratio of the PiP is fixed.
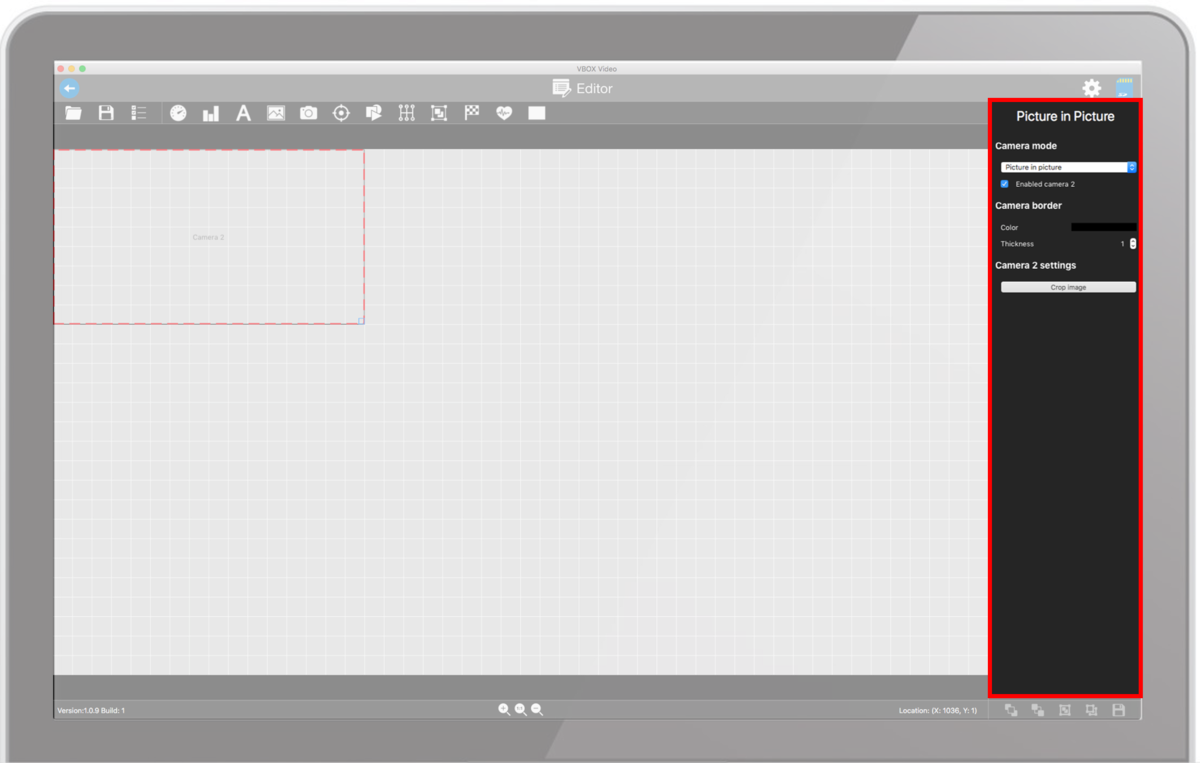
Settings
When an element is selected, its settings are shown in the right-hand panel.
Border colour and thickness
All PiP elements must have a border around them - the default setting is a thin, light grey border. Within the right hand settings panel, colour settings and up and down arrows for thickness can be found.
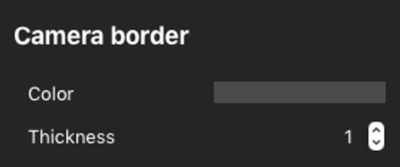
Clicking on the existing colour opens a colour wheel where you can change the colour of the border. You can also change the opacity of the colour. To set a specific RGB value, click on ‘Color sliders’.
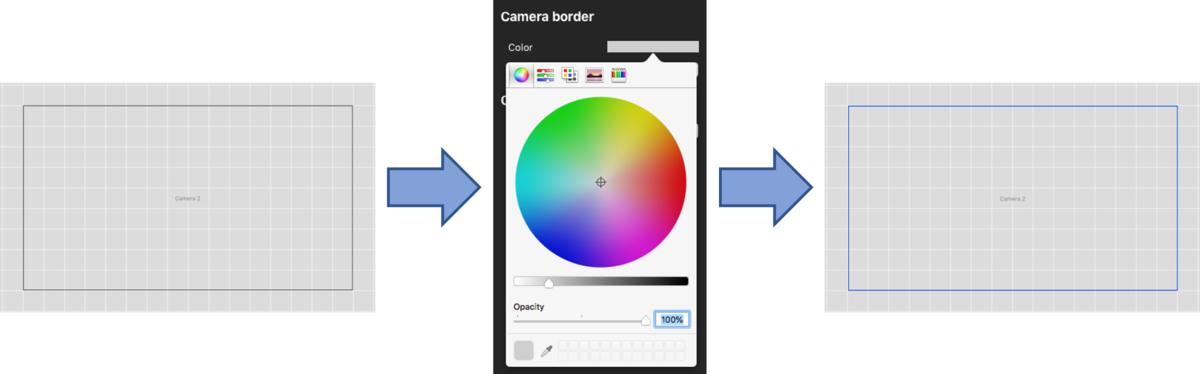
A thickness value between 1 and 100 can be set using the up and down arrows.
|
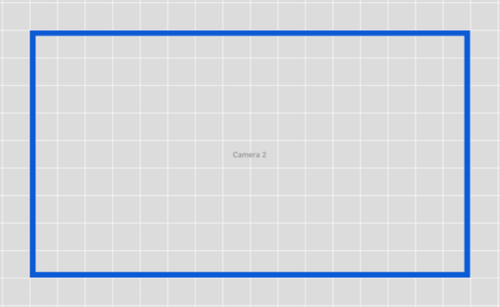
Border Thickness of 1 |
Border Thickness of 5 |

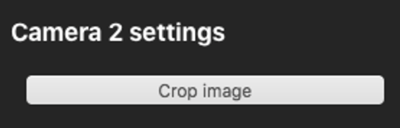
Camera Settings
PiP Cropping
To crop a camera input, click on the ‘Crop image’ button within the setting panel.
When this is pressed, the camera input selected will be put into crop mode. A pop up will appear, allowing you to drag a box over the camera to set the section you wish to display.
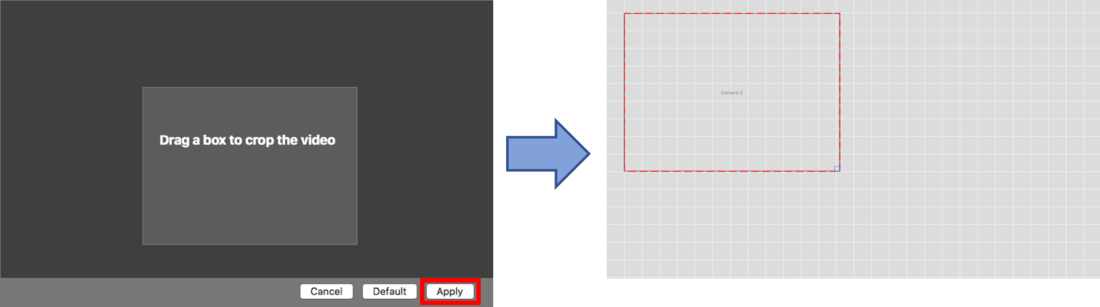
When you are happy with the section of the camera you want to display, press 'Apply'.
The camera input can then be moved by clicking and dragging it to a new location. Resize the image using the icon in the bottom right hand corner.
Notes:
- To avoid camera distortion, the aspect ratio of the PiP is fixed.
- Camera images cannot be upscaled.