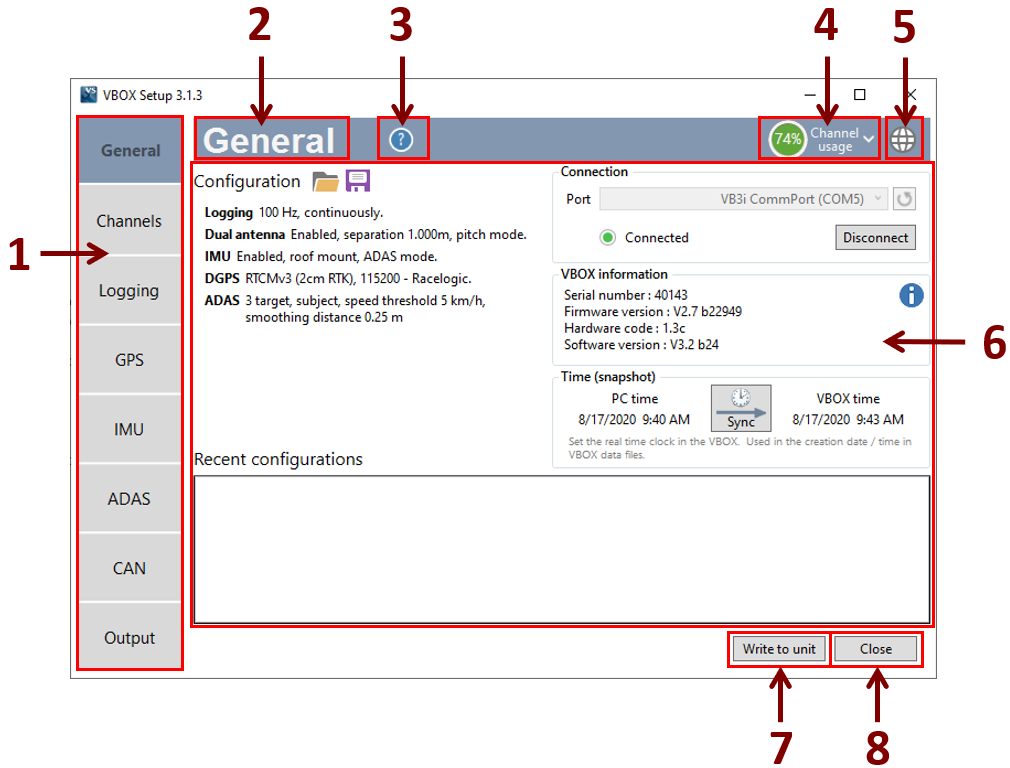
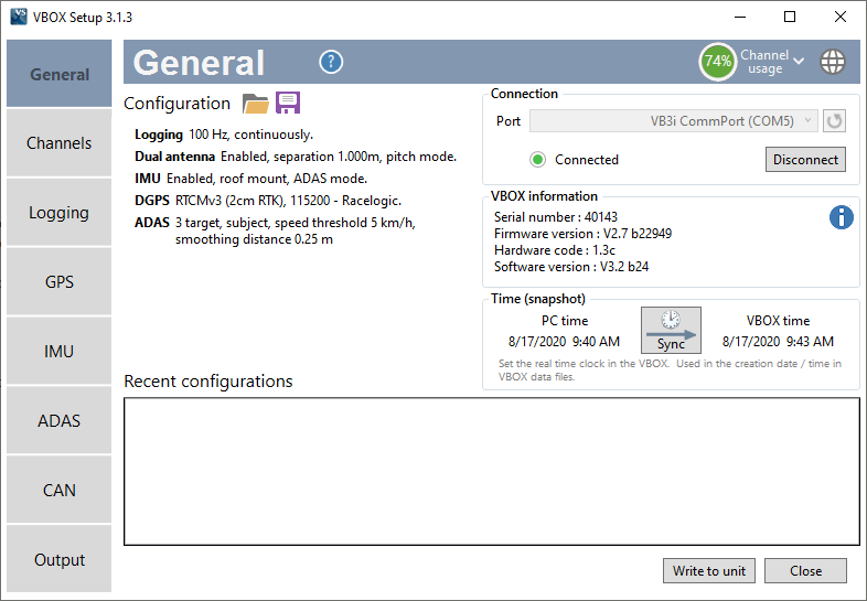
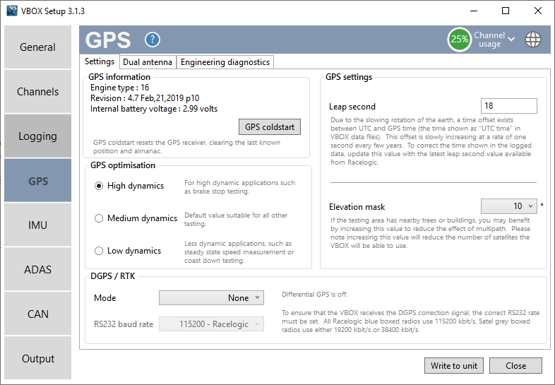
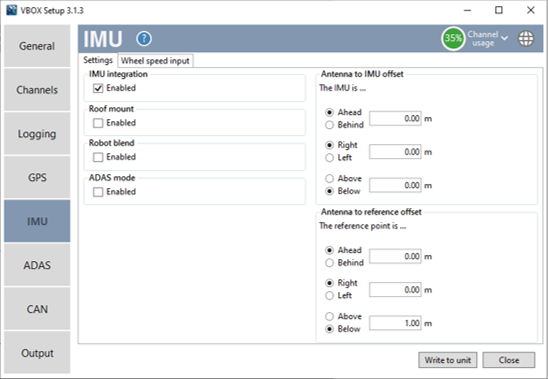
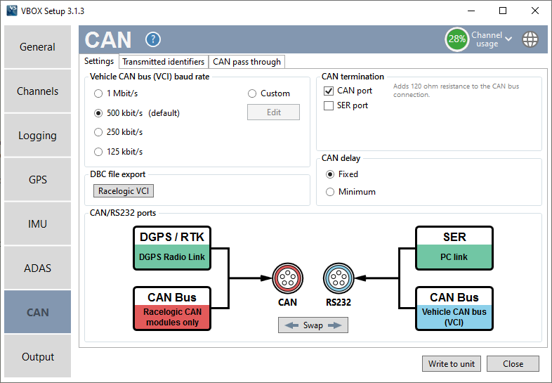
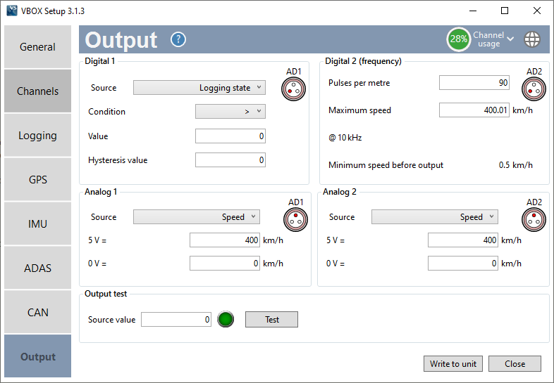
An overview of the VBOX Setup software connected to a VBOX 3i Dual Antenna (v3-v4) units with firmware version 2.8. From this page you can find links to more information about the individual menus available in the Setup software.
Connection
To configure VB3i, the VBOX needs to be connected to a power source and a PC.
Configuration can be performed using VBOX Setup software, which can be downloaded here. You can connect to a computer via Bluetooth, an RLCAB001 cable to the 'SER' input and the computer's serial port (USB-serial adapter may be required), or via an RLCAB066-2 cable to one of the computer's USB ports.
|
IMPORTANT
- Ensure that the VB3i USB-COM port drivers are installed to enable communication between the VBOX and the software, available to download from here. If a USB-serial adapter is being used, the RS232 to USB Converter driver is required.
- Microsoft Windows 7 SP1 or newer is required (must be compatible with .Net Framework 4.7.1).
|
For ADAS applications, connection between the VB3i and computer should be made via USB or Bluetooth to ensure optimum performance.
Once physically connected and powered, open the software and use the drop down list to select the correct COM port that the VB3i is connected to. VBOX Setup automatically connects to the selected device and enters the VB3i setup screen.

Note: An auto detect message may appear if the baud rate has been changed from the default value – select ‘Yes’ to allow the different baud rates to be scanned.
Settings Menus
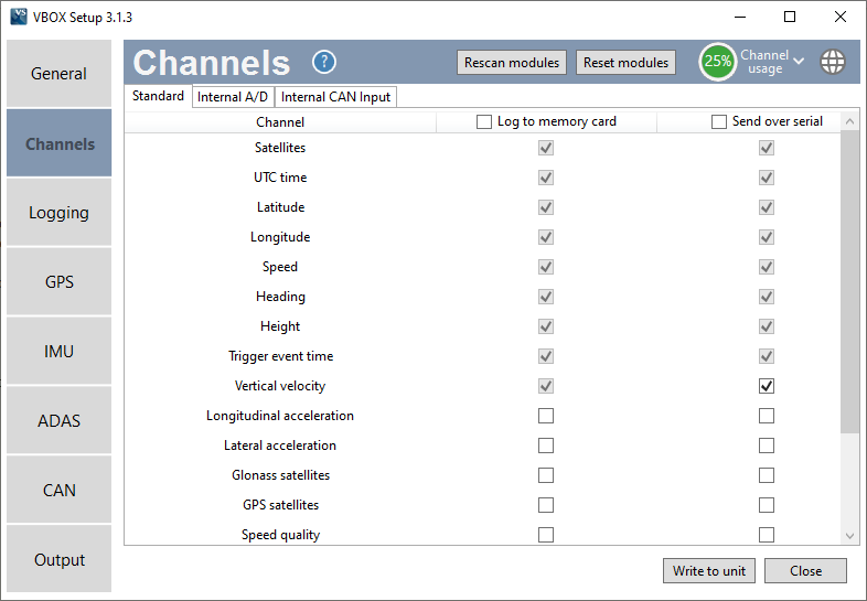
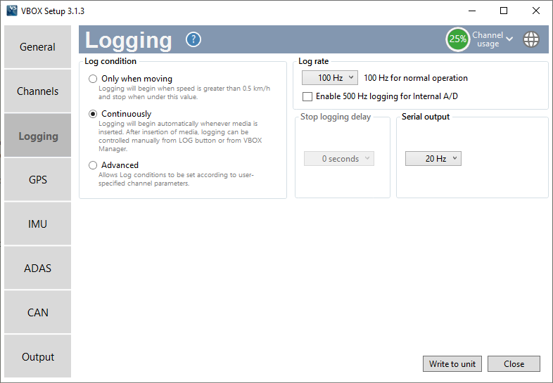
The side bar enables you to switch between the different settings menus; General, Channels, Logging, GPS, IMU, ADAS, CAN and Output. Click on the menus below to view more information.


