Overview - VBOX Setup
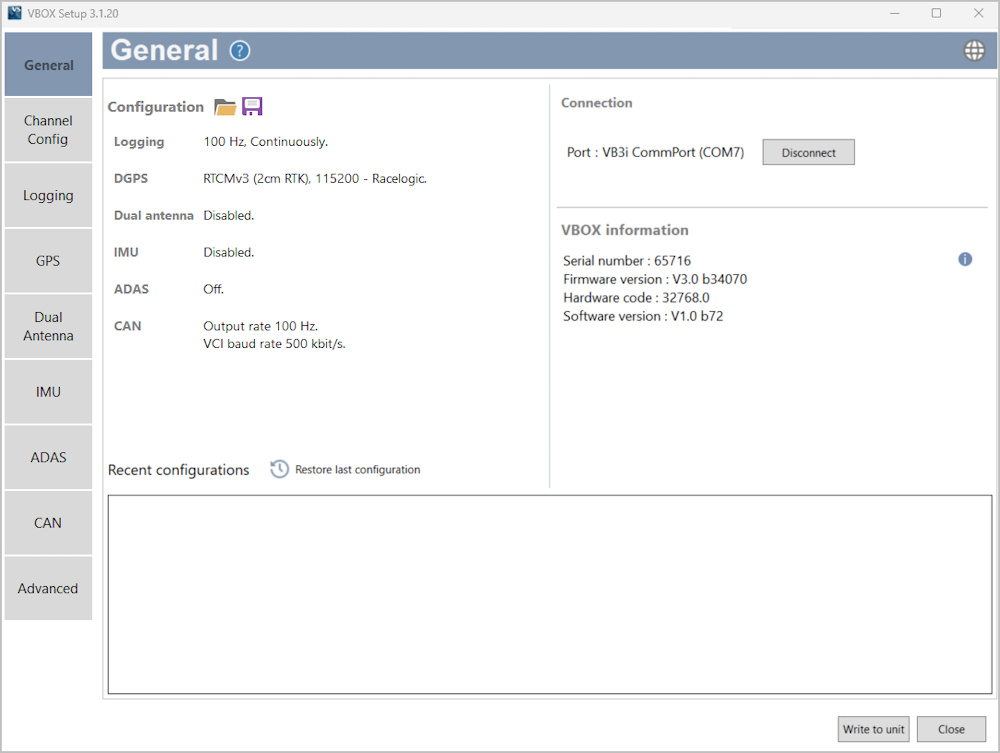
An overview of the VBOX Setup software with VBOX 3i RTK (v3-v5) with firmware version 3.0 connected.
Introduction
You can use the VBOX Setup Software to configure VBOX 3i units. You can download the VBOX Setup software here.
Alternatively, you can also configure some settings with the VBOX Manager.
Connection
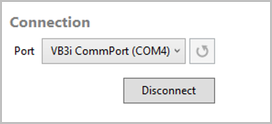
The connection between the VBOX unit and the computer should be made via USB or Bluetooth for optimum performance.
When the VBOX unit is physically connected and powered, open the VBOX Setup software and use the drop-down list to select the COM port that the VBOX unit is connected to. Click Connect and VBOX Setup will open the setup screen for your VBOX unit.
Note: You may see an auto-detect message if you have changed the baud rate from the default value. Click Yes to allow the different baud rates to be scanned.

Software Overview
| Available menus | The menu buttons in the sidebar allows you to select between the different settings menus. Click the buttons to change the menu. |  |
| Menu title | Displays the title of the currently selected menu. |  |
| Help | Depending on which menu you have open, the question mark icon will open up the corresponding User Guide page within the Racelogic Support Centre. |  |
| Language | Change the operating language. |  |
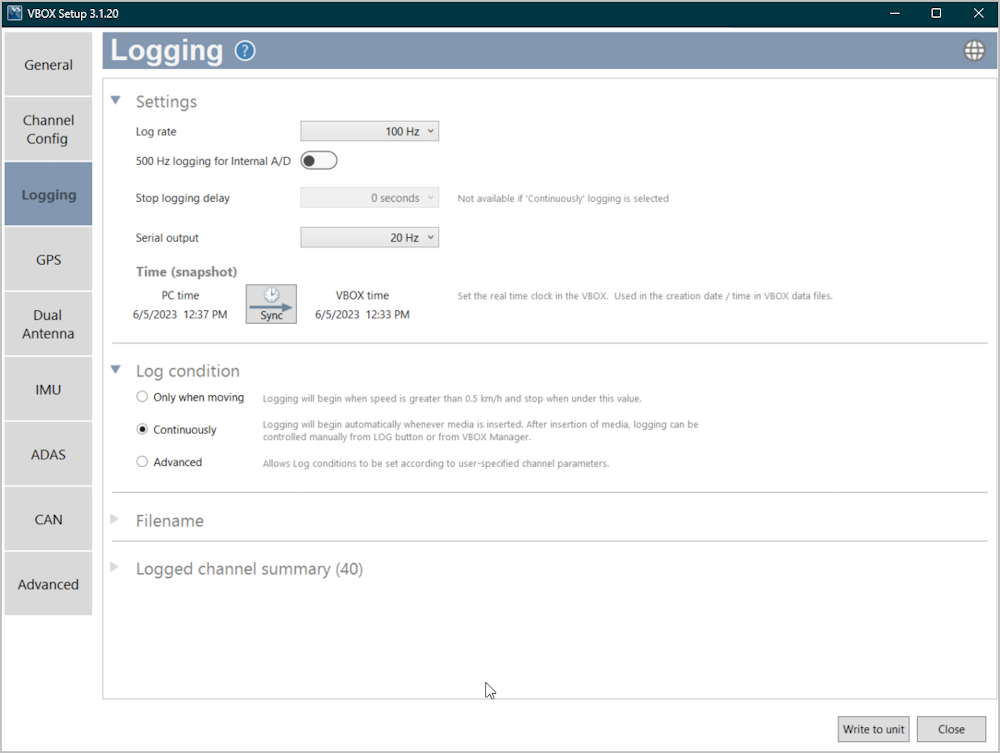
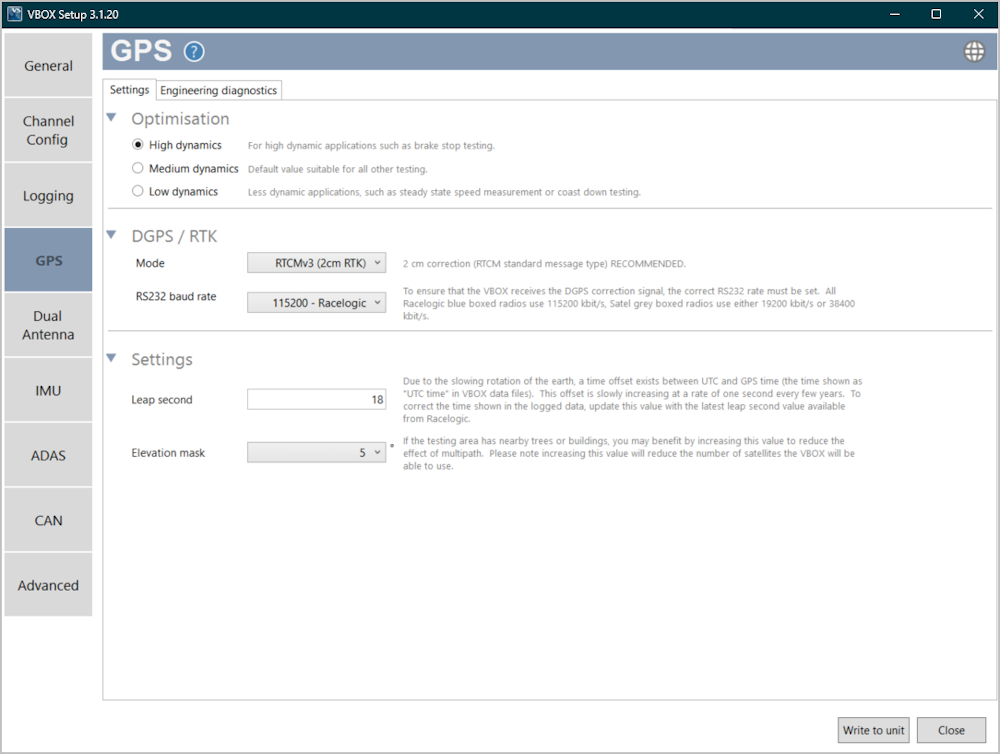
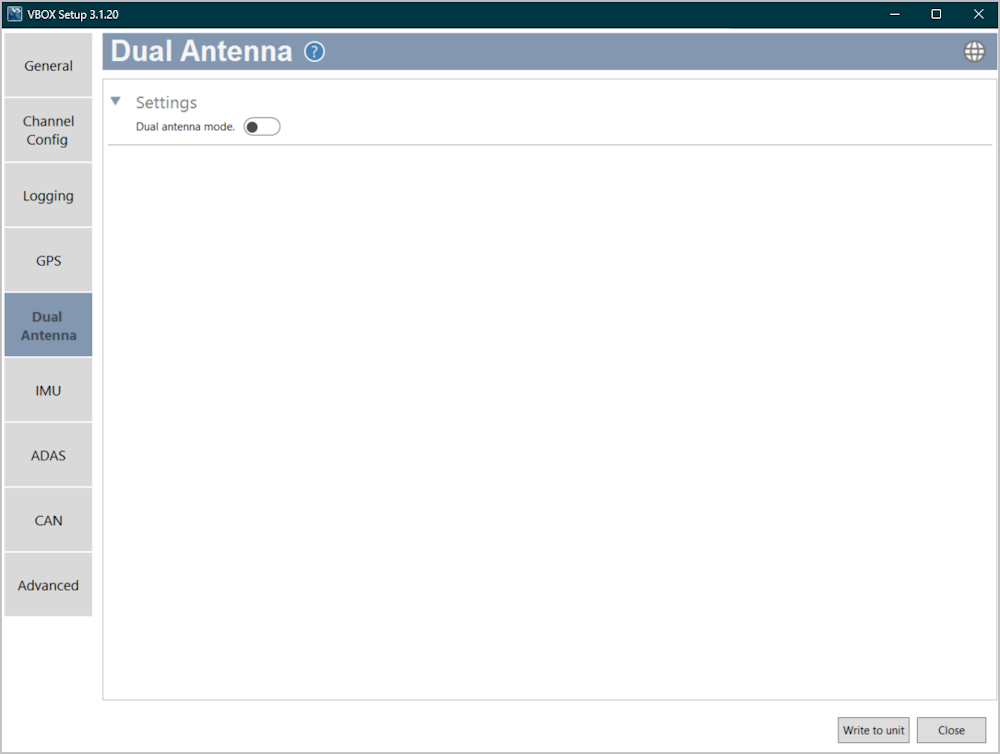
| Settings area | The white area in the application window contains all the settings. These will vary depending on the selected menu. |  |
| Write to unit | After making changes to the setup, you must press the Write to unit button to make sure that the settings are uploaded to the connected VBOX unit. |  |
| Close | Closes the software, if changes have not been saved to the unit, you will be prompted to save the settings. |  |
|
|
|
|
|
|
|
|
|
|
|
|
|
|