Quick Start Guide
Getting Started
Mounting and Connecting
Basic Setup
You can read more about how and where to place the GNSS antennas here.
|
_1000px.png?revision=1) |
You can find the complete information about how to connect VBOX 4 Dynamics to the different modules and accessories required for testing here.
USB
Setup
This is an overview of VBOX Setup connected to VBOX 4 Dynamics.
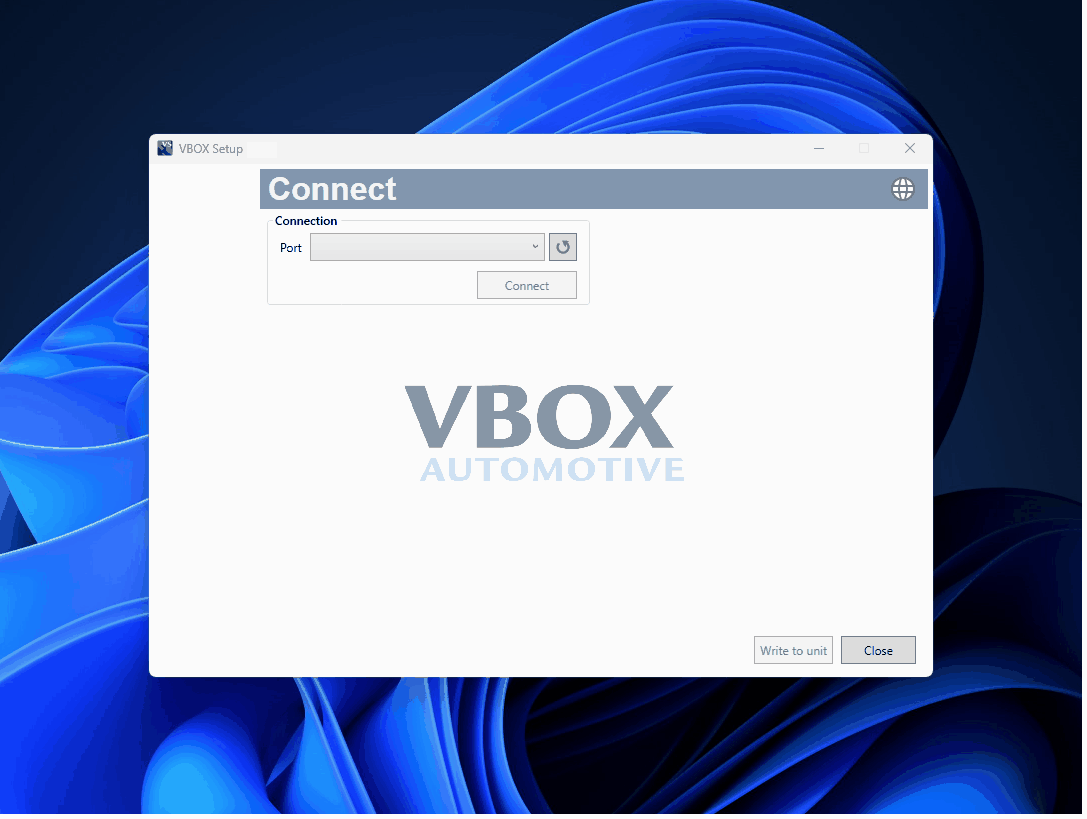
Connection
*The load sequence has been shortened for this gif
Software Overview
| Available menus | The menu tiles in the sidebar allows you to select between the different menus. Click button to open that menu. |  |
| Menu title | Displays the title of the menu you are currently in. |  |
| Help | Depending on which menu you have open, the question mark icon will open up the corresponding User Guide page in the Racelogic Support Centre, to provide more information about the features and settings in this menu. |  |
| Language | Change the operating language. |  |
| Settings area | The main area in the application window (white background) contains the options for the menu you have selected. | |
| Load | Click on the Load icon to load an existing configuration file into VBOX Setup. |  |
| Save | Click on the Save icon to save your current configuration to a VBOX configuration file on your local computer. |  |
| Reset Defaults | Click on the Reset defaults button to reset the current configuration to the VBOX Setup default settings. |  |
| Write to unit | After making changes to the configuration, you must press the Write to unit button to make sure that the settings are uploaded to the connected VBOX unit. |  |
| Close | Closes the software, if changes have not been saved to the unit, you will be prompted to save the settings. |  |
Settings Menus
Click on a menu below to see more information about it.
|
|
|
|
|
|
|
|
|
|
|
|
|
|