Quick Start Guide – Mini OLED Display DSP06-L
 |
What is in the box?
When you purchase a Mini OLED Display (RLVBDSP06-L), you will find the following items when you open the box:
| Product Code | Quantity | Description |
|---|---|---|
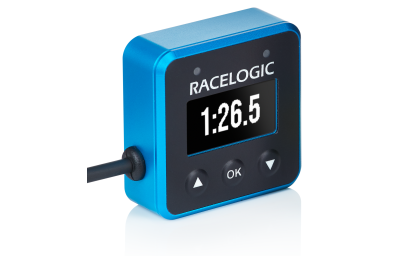
| VBDSP06-L | 1 | Mini OLED Display Unit with Lemo 5-way plug |
| RLACS287 | 1 | VBOX Lightweight Suction Mount |
Features |
|
|---|---|
|
|
|
|
|
|
|
|
|
|
Memory Usage
|
If the SD card you use in the connected data logging unit has less than 10 MB of space available, you will see a warning symbol flashing periodically indicating the amount of memory available. |
OK Button Functions
|
Depending on which mode is currently active on the screen, the function of the OK button will change. The splash screen shown when scrolling through the menu describes the function of the OK button in each mode. You can also find the complete list below: |
| Mode | Function |
|---|---|
| Speed | Start and stop logging |
| Max Speed | Reset max speed value |
| Speed Bar | Set centre speed and speed display range |
| Predictive Lap Timing | Single Press fixes the reference lap according to your settings in Fixed Lap Mode |
| Predictive Lap Timing | Pressing for >4 s clears the stored reference lap and all lap timing data |
| Lap Timing | Set a new start/finish line |
| Lap Count | No action |
| Lateral G | Reset max g reached |
| Lateral G Bar | Set min g and max g (targets) |
| Longitudinal G | Reset max g reached |
| Longitudinal G Bar | Set min g and max g (targets) |
| Menu | Access the Menu |
No Media
| If you do not have an SD card inserted in your VBOX data logger, the OLED Display will show a "No Media" message while the vehicle is moving at speeds of 5 mph or less. This makes it easier for you to make sure that you have an SD card inserted before you start your logging. |
Installing the Mini OLED
Display connection
When setting up the DSP06 Mini OLED display with a VBOX Video HD2 or a Video VBOX Pro
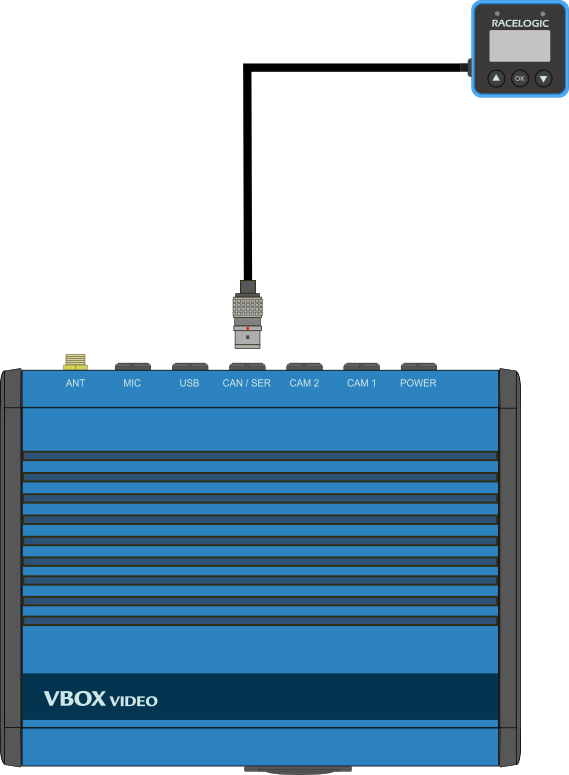
VBOX Video HD2
To connect to a VBOX Video HD2, connect the cable to the ‘CAN / SER’ port.
 |
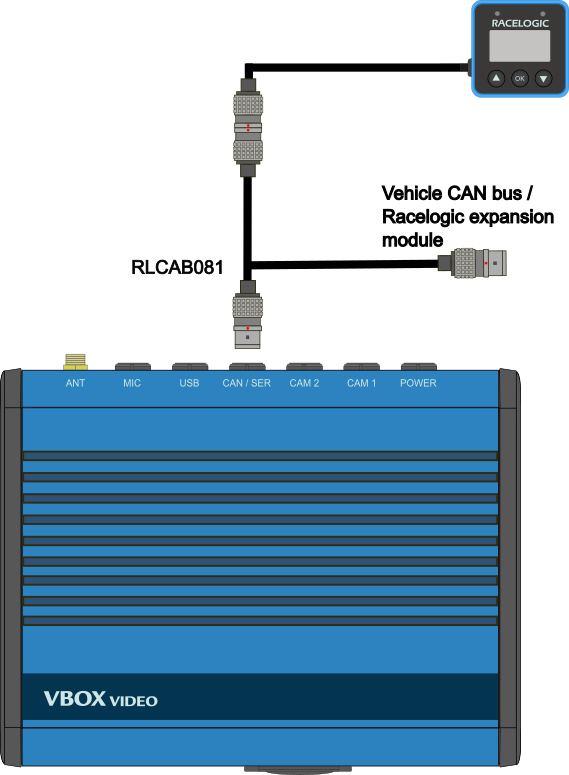
VBOX Video HD2 with CAN / Serial splitter cable
To connect the Mini OLED Predictive Lap Timing Display and a CAN VCI at the same time to log external parameters from either a vehicle CAN Bus or a Racelogic expansion module.
Connect the single end of the splitter cable (RLCAB081) to the ‘SER’ port on the VBOX Video HD2 and connect the Mini OLED Display to one of the dual ends and your CAN VCI to the other.
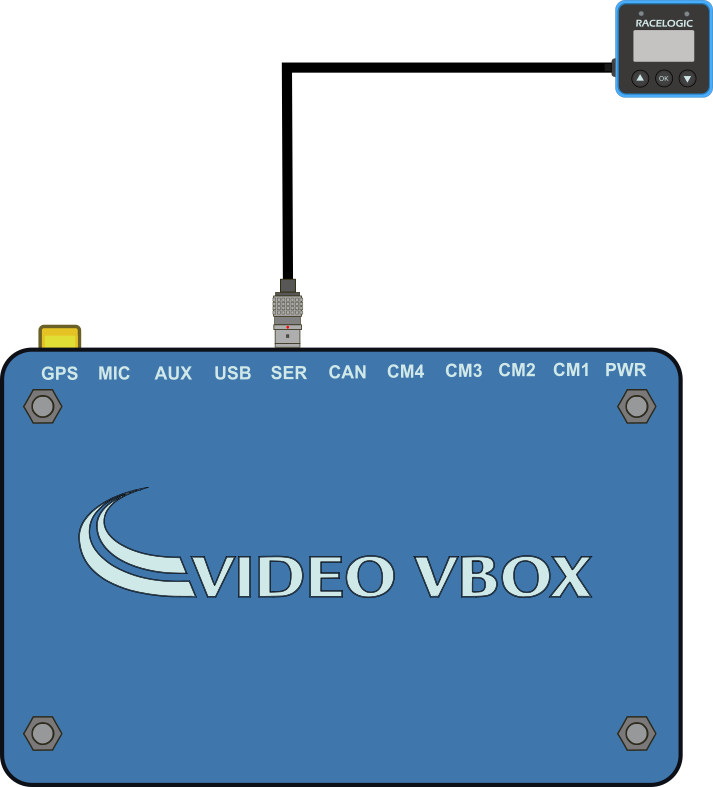
Video VBOX Pro
To connect to a Video VBOX Pro, connect the cable to the ‘SER’ port.
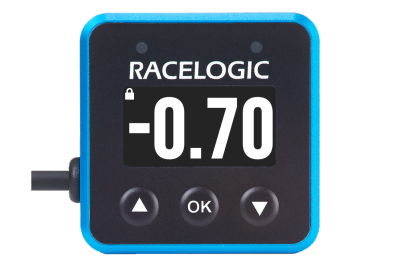
Display Modes
The DSP06 Mini OLED Display has different display modes that you can access by using the ▲▼ buttons on the unit.
The data displayed on each screen is always calculated by the unit at all times, even if you choose not to display it. Click on the name of each mode to find relevant setup information.
|
|
|
|
| Speed | Max. Speed | |
.png?revision=1) |
.png?revision=1) |
|
| Lap Timing | Predictive Lap Timing | |
|
|
.png?revision=1) |
|
| Lap Count | Longitudinal G | |
.png?revision=1) |
.png?revision=1) |
|
| Longitudinal G Bar | Lateral G | |
.png?revision=1) |
.png?revision=1) |
|
| Lateral G Bar | Speed Bar | |
.png?revision=1)
.png?revision=1)
.png?revision=1)
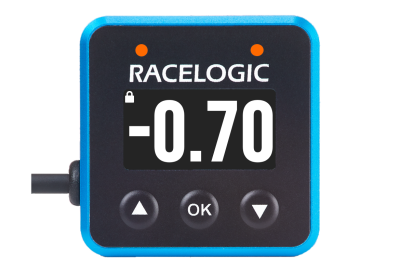
LED Behaviour
Delta-V LEDs
|
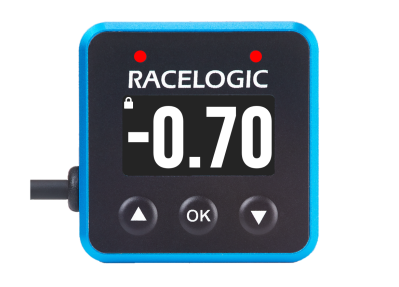
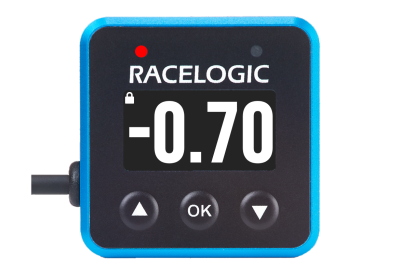
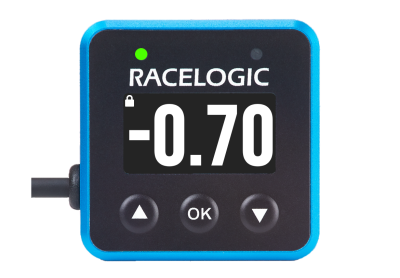
The two front panel LEDs are used in predictive lap timing mode. They indicate if the current vehicle speed is faster or slower than the speed was at the same position in the reference file. The value defined within the ‘Delta-V range’ setting dictates the min. and max speed values to full brightness. The two LEDs act as a gauge, filling up from the left to right. Once the current speed is slower or faster than the reference, the left LED will illuminate. Once the current speed is above 50% of the defined positive or negative range, the LED on the right will also illuminate. |
| Slower than reference lap | Faster than reference lap | ||
 |
 |
 |
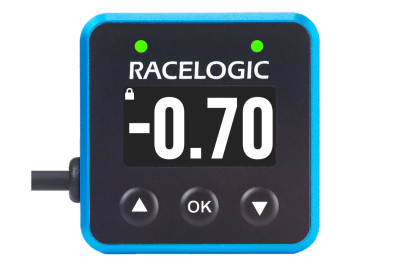 |
| – 50% to – 100% | – 1% to – 50% | + 1% to + 50% | + 50% to + 100% |
Combo G LEDs
|
This mode takes over the function of the LEDs in the predictive lap-timing screen. If the Combo G is greater than a selected minimum threshold (50 % LED minimum %, 0.5 g default), the LEDs will light up various colours dependent on the maximum g threshold selected (1.0 g default).
|
Default settings example:
 |
|
 |
|
| < 0.5 g | 0.5 g | 0.75 g | ≥ 1 g |
Creating Reference Lap
| When the Mini OLED Display is creating a reference lap, the LEDs will shine blue, the behaviour will then change back to its current settings when the lap is created and saved. | 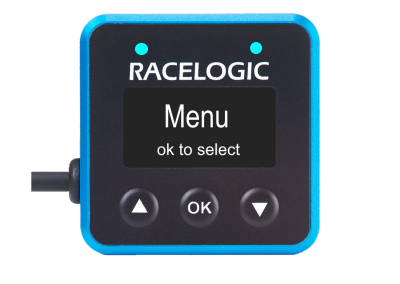 |
Settings
|
You can access the Mini OLED display menu by pressing the OK button when on the ‘Menu’ screen. You can navigate the menu with the ▲▼ buttons. To see the full list of menu options and their functionalities, we recommend that you read the Menu Options page in our User Guide. |
.png?revision=1) |