02 - VBOX Sim Pack Installation and Setup
Please follow the steps below to install and configure the supplied hardware and software.
Software
IMPORTANT – Microsoft Windows 10 or newer is required to use the software
- Install the VBOX Sim Software which can be found on the supplied SD card. Alternatively, you can download the software from the VBOX Motorsport Website.
-
Install FTDI USB drivers for the serial to USB cable.
- If an external Video Capture Device is being used, install the relevant manufacturer software required to support the video capture card.
Notes:
- VBOX LapTimer drivers are included within the software installation.
- A desktop shortcut is added.
Hardware
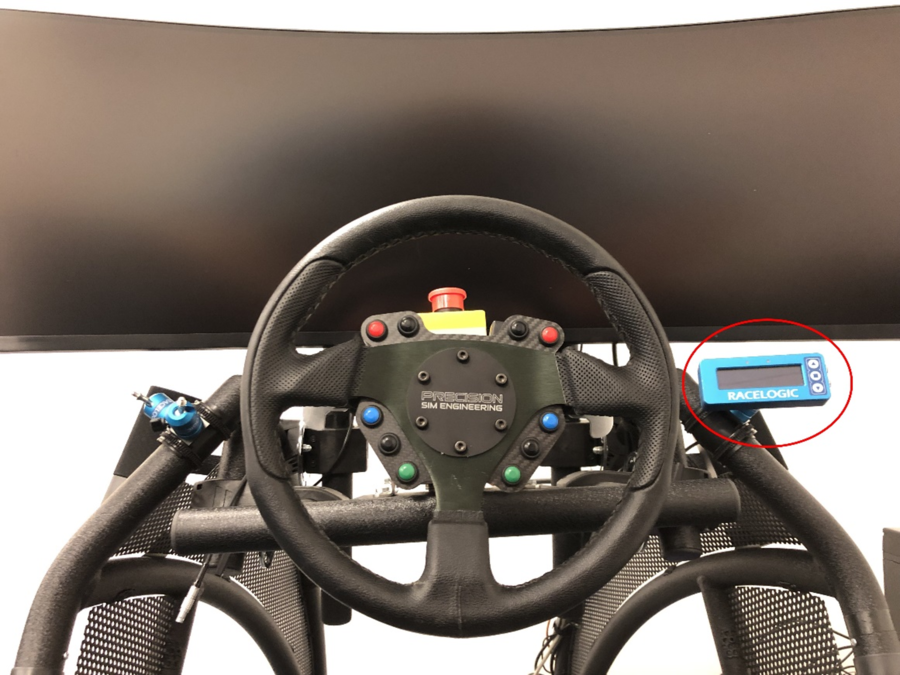
- Find a suitable location on your simulator rig to mount the VBOX LapTimer, making sure you can clearly see the screen when you are seated. There are two mounting options included in the box - Adhesive Dual Lock or the RLACS260 roll cage mount. You can either Dual Lock the VBOX LapTimer to your monitor bezel or secure it to your sim rig using the roll cage mount.

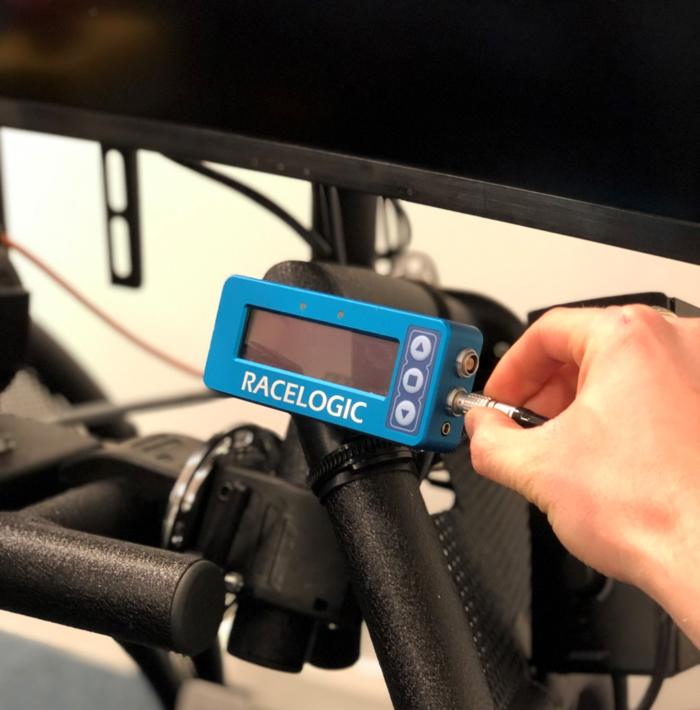
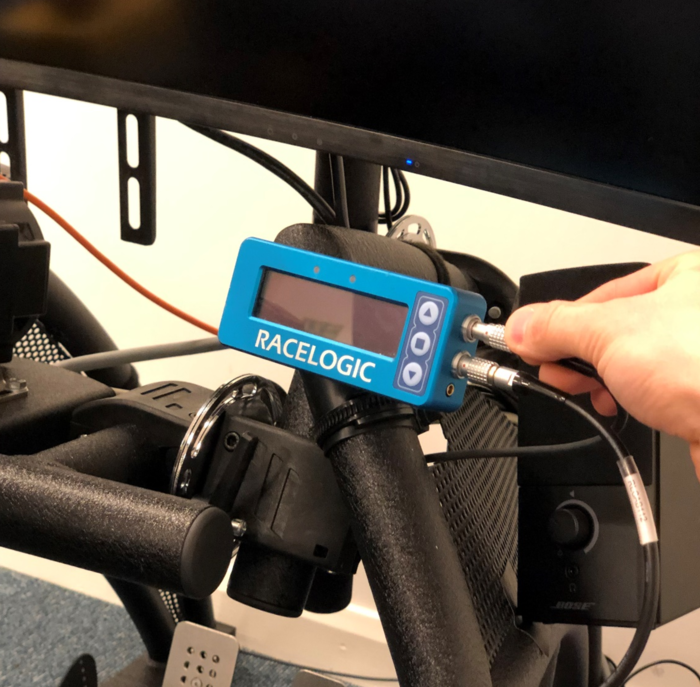
- Plug the serial to USB cable in to the VBOX LapTimer. The 5 pin Lemo connector plugs in to the bottom socket on the right side of the VBOX LapTimer. The USB connector plugs in to your PC.

- Plug the power supply in to the VBOX LapTimer - the 2 pin Lemo connector plugs in to the top socket on the right side of the VBOX LapTimer.

-
If you are using an external Video Capture Device method for screen capture, please follow the instructions below (based on an AverMedia LGP Lite Video Capture Card). HDMI cables must be used to plug in your monitors, alternatively, adapters can be used to convert from different connector types to HDMI.
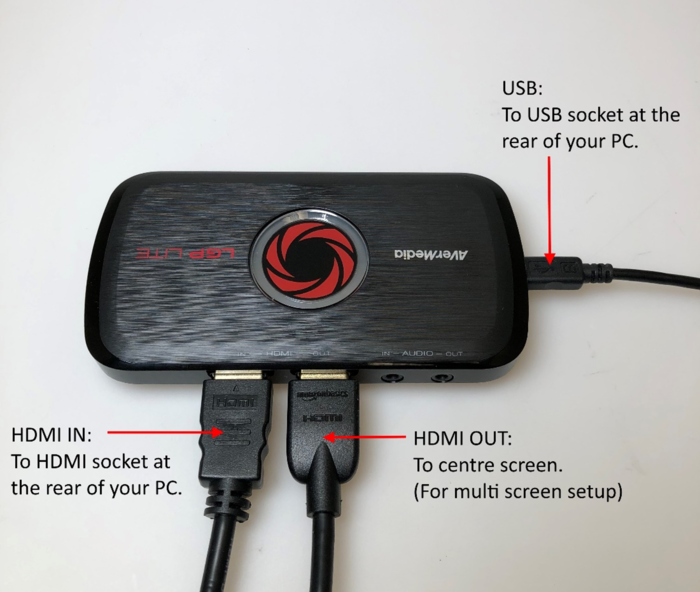
- The AverMedia LGP Lite Video Capture Card is supplied with a USB cable. Plug this in to the USB socket on the end of the capture card. Plug the other end in to a spare USB socket located at the back of your PC.
- If you are using a single monitor, plug one end of an HDMI cable in to the ‘IN’ HDMI socket on the capture card, then plug the other end to a spare HDMI socket at the back of your computer.
Note: The video capture card will most likely be recognised as a new monitor. Navigate to Windows Display Settings, select the new screen and then set it to duplicate the main screen (screen 1). - If you are using a multi-monitor setup you will need to plug in the video capture card, in-line with your main screen/centre screen.
Unplug your main screen from the back of your computer and plug it in to the HDMI ‘OUT’ socket on the side of the capture card. Next, plug the HDMI cable in to the HDMI ‘IN’ socket on the side of the capture card. You should plug the other end of this cable in to the HDMI socket on the back of your computer where your main screen was connected before.

- After installing the software and making sure the hardware is correctly plugged in to the computer, a restart is recommended.
