03 - VBOX Sim Pack Software
 VBOX Sim Software can be found on the supplied SD card, follow the instructions below to configure the software for use with VBOX Sim Pack.
The top area of the software displays the current status of a supported game/simulator, including the name of the track the vehicle is currently on and the data rate of the telemetry being transmitted.
The full user guide for the software is available here.
VBOX LapTimer
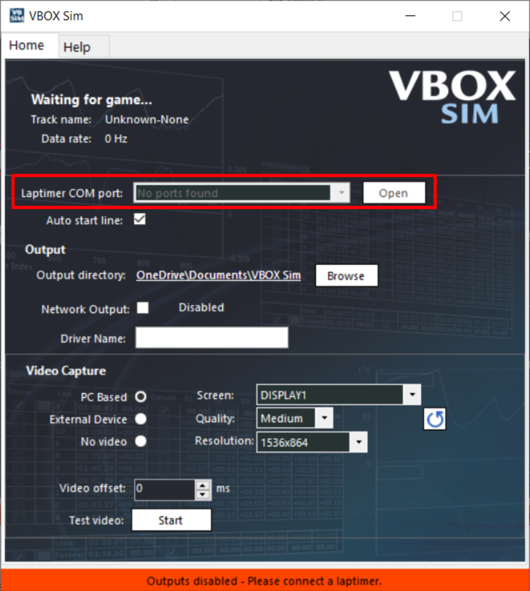
COM PortOnce you have connected the VBOX LapTimer to your computer as per instructions here, the computer should assign a specific COM port to the unit. This COM port will need to be selected from the drop-down menu, shown below. Once it has been selected, click ‘Open'.
|
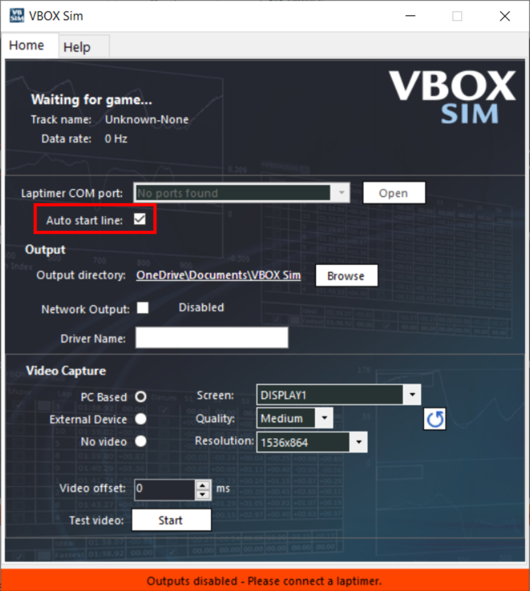
Auto Start LineThe Auto start line option is selected by default and automatically detects the start/finish location from the game. Once the VBOX Sim software has completed the start/finish detection process, the start/finish location is then transmitted to VBOX LapTimer for predictive laptiming.
|
Please note, the start finish detection process can take up to 3 laps to complete.
File Output
This area contains output information including file location, file naming and a network output option for use with VBOX Test Suite.
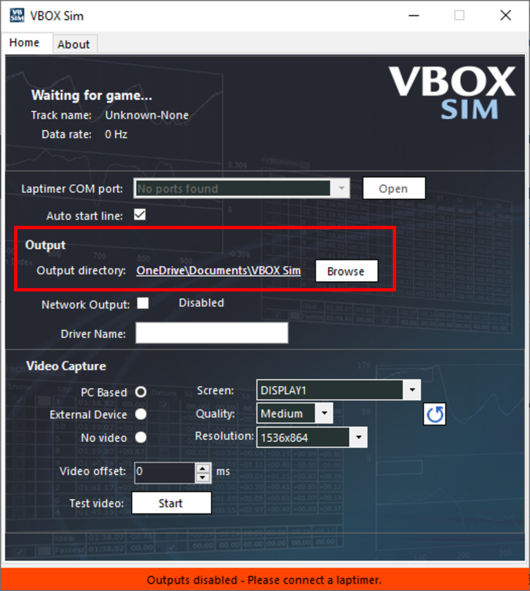
Output DirectoryThe location in which the video and data files are saved to your computer can be changed using the 'Browse' button.
|
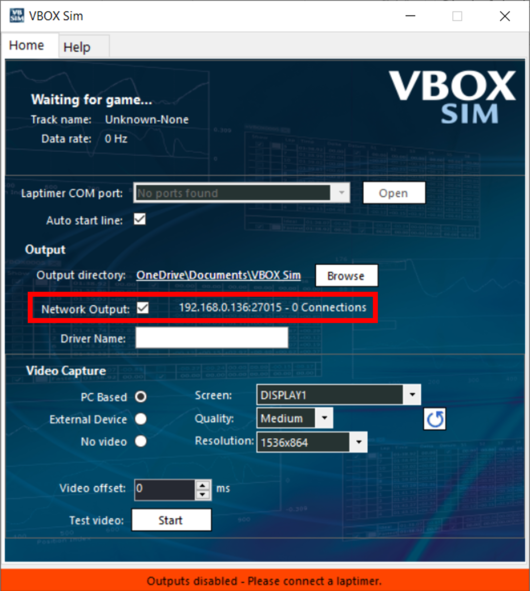
Network OutputSelecting the 'Network Output' option will enable network streaming of live telemetry for use within the VBOX Test Suite Lap Timing plugin. Once enabled, the IP address and Network port will be displayed for input when connecting Online within VBOX Test Suite. The current number of connections to the sim PC is also shown.
|
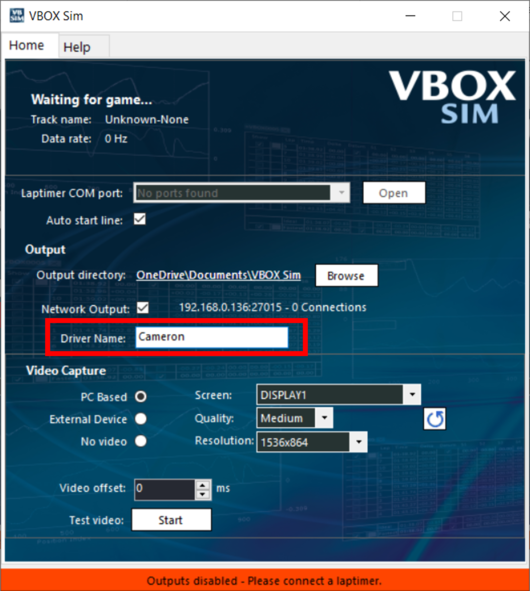
Driver NameIt is possible to input a driver name here to be displayed at the start of the filenames. The default file naming format is 'DriverName_yyMMdd_0000'.
|
Video Capture
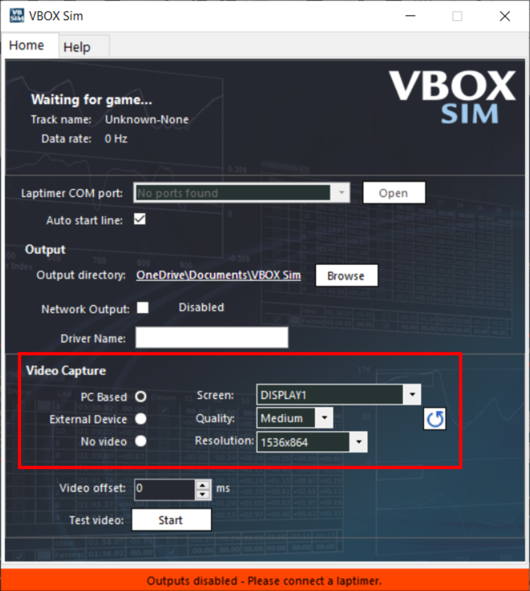
This area contains video capture options including configuring built in or external video capture devices. Pressing the Refresh button will update the list of available capture compatible screens and supported capture devices.
PC BasedSelecting 'PC Based' will enable the VBOX Sim’s built in screen capture function. Be aware, using this method will require a lot more resources from the CPU. If there are multiple screens, please ensure to select the centre screen from the Screen drop down menu. Quality settings are available for video capture. If your computer is struggling for performance, try using a lower quality setting. It is also possible to change the resolution of the recorded video by using the dropdown menu.
|
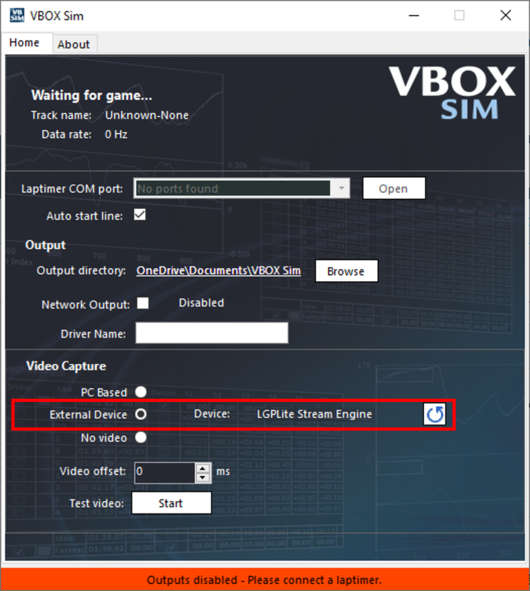
External DeviceSelecting 'External Device' will enable the VBOX Sim software to use an external video capture card. If there are multiple supported devices, these will appear in a drop down menu. Guidance on using an external video capture card, such as the AverMedia LGP Lite can be found here.
|
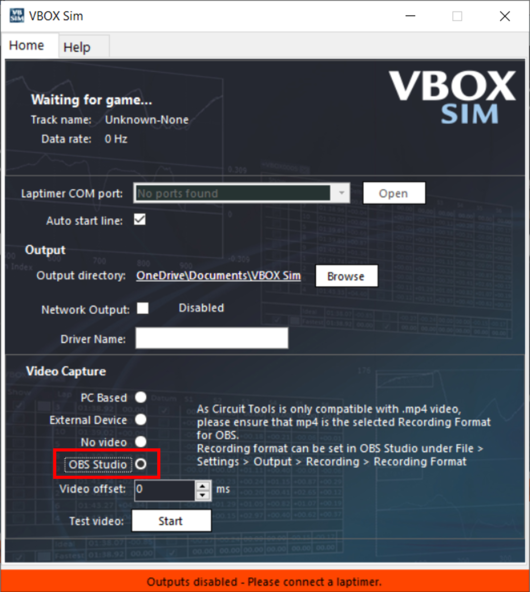
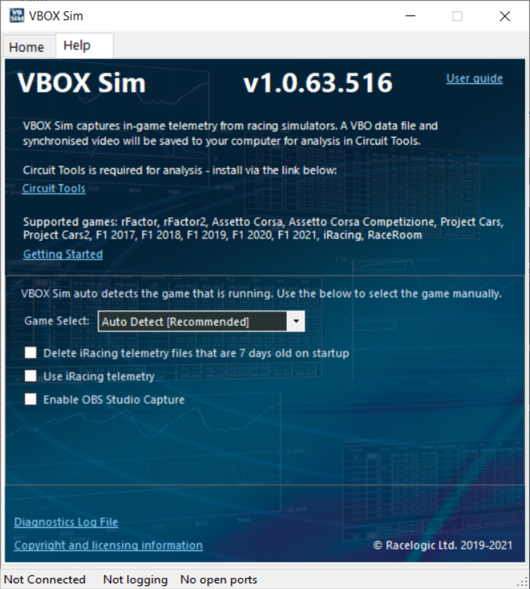
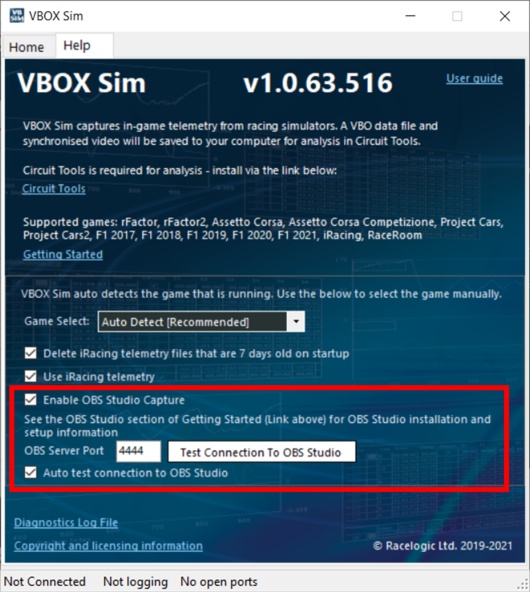
OBS StudioSelectable if 'Enable OBS Studio Capture' is selected within the Help tab. Selecting 'OBS Studio' will enable the VBOX Sim software to use OBS Studio software for video capture. More information on this is available here.
|
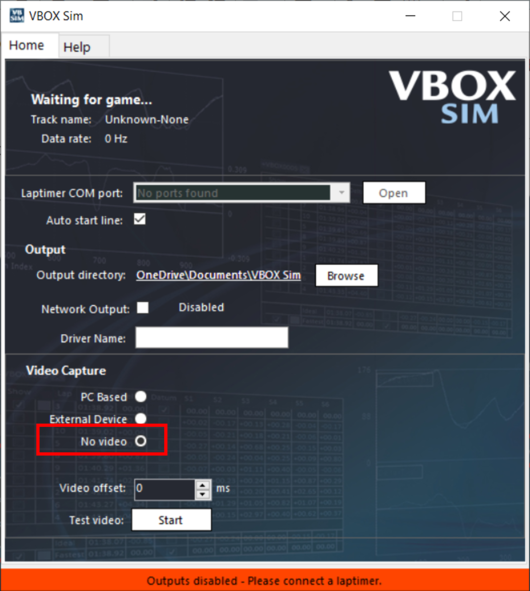
No VideoTicking 'No video' will disable video capture.
|
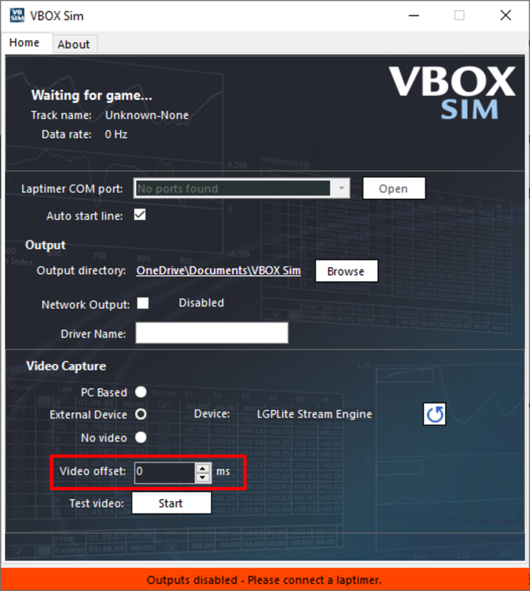
Video Offset
Factors such as computer performance may have an effect on the synchronisation of data and video, therefore an offset in milliseconds can be applied if required. Simply type in the required value or use the up and down arrows.
Test Video
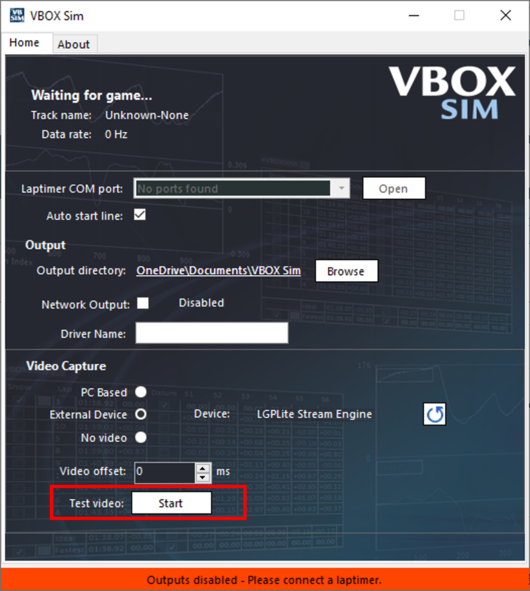
Use the test video button to check that the video capture is working correctly. Pressing the 'Start' button once will record a 5 second sample video to the log directory.
