Quick Start Guide – VBOX IISL - Dual Antenna
Antenna Placement
The GPS antennas supplied with the VBOX IISL are 3.5 V active antennas. For the best possible signal quality, it is important to maintain a clean connection between the antennas and the VBOX. Before you fix the antennas to the VBOX, make sure that there are no dust particles in either connector. Replacement antennas are available by contacting your VBOX distributor.
The antennas are the magnetic mounting type for quick and simple mounting to the vehicle roof. For optimum GPS signal reception, make sure that the antennas are fitted to the highest point of the vehicle and away from any obstructions that may block satellite reception. The GPS antennas works best with a metal ground plane underneath (eg. Vehicle roof).
Please also note that when using any GPS equipment, a clear sky view is important. Objects in the surrounding area such as tall buildings or trees can block the GPS signal causing a reduction in the number of satellites being tracked or introducing reflected signals that can decrease the accuracy of the system.
|
|
You can read more about the specifics of single or dual-antenna setup with VBOX IISX - Dual Antenna in the User Guide under Installing your VBOX IISX - Dual Antenna in our vehicle.
Display Screen Overview
The screen will display data when the VBOX IISL - Dual Antenna is operating. It also displays all the menus you need to configure the VBOX IISL via the front panel controls.
On start-up, the display screen will show the unit’s firmware version and the current offset value.
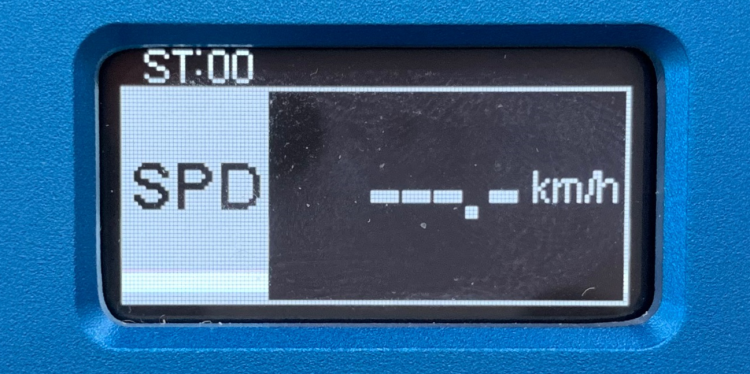
During normal operation, the display screen displays Speed (mph or km/h) and Slip Angle, as well as the number of satellites that the VBOX IISL - Dual Antenna has locked on to, there are also three status indicators at the top of the display. Scroll left or right ( ‘◄’ and ‘►’), to display the Pitch or Roll Angle instead of the Slip Angle.
 |
| GPS Status | Display notifications | ||
|---|---|---|---|
| Left Position | Middle Position | Right Position | |
| No Satellite Lock | - | SAT (flashing) | RTK (flashing) |
| Full Lock | OK | - | - |
| Antenna A only SAT Lock | - | RTK (flashing) | RTK (flashing) |
| Antenna A and B SAT Lock | - | RTK | RTK (flashing) |
If you have enabled a DGPS mode, this is indicated by the middle indicator light with one of the following messages.
| DGPS Mode | Light Status |
|---|---|
| WAAS, SBAS or EGNOS Differential correction | WAAS |
| 40 cm Differential correction from Base station | 40 cm |
Logged Filename:
When you insert an SD card, the filename of the logged file appears on the screen while the data is being logged.
Front Panel Buttons
You can configure VBOX IISL - Dual Antenna units by using the front panel buttons. This makes it possible to configure your unit without the need for a computer. Alternatively, you can configure it in the VBOX Setup Software.
From the main screen, press the ’■’ button to enter the configuration screen.
Note: Entering the configuration screen will cause the VBOX to stop logging to the SD card. When in continuous logging mode, please ensure that the ’■' button is pushed prior to removing the SD card to avoid data loss.
Once in the configuration screen, press the ‘◄’ and ‘►’ buttons to highlight the next or previous choice in any menu, and press ’■’ to select the highlighted option. Most Main menus contain sub-menus, for example, the Settings and Setup Antennas menus contain separate menus for each parameter.

You can read more about the functionality of the front panel buttons in each submenu here.
SD Cards and Logging

The VBOX IISL - Dual Antenna stores logged data onto SD cards. The supplied SD cards are already optimised to be used with the VBOX IISL and as such they do not need formatting before you use them. Should the SD card subsequently need formatting due to card errors, you can do this in Windows:
- Insert the SD card into an SD card reader.
- Right-click on the drive in the 'computer' section and select 'format'.
- To run a full format, make sure that 'quick format' is not ticked.
When the VBOX IISL is logging data to an SD card, the OLED display will show a small disk icon next to the name of the current file at the bottom of the display. It is important that you do not remove the SD card while the VBOX IISL is logging. If you do remove the card while the VBOX IISL is writing data to it, there is a risk that the data file may be corrupted and you could lose data.
There are two logging modes:
- Log only when moving: In this mode, the VBOX IISL will start to log data only when the unit detects that the vehicle reaches a speed higher than 0.5 km/h. This mode requires a satellite lock.
- Log continuously: Data is continuously logged to the SD card regardless of vehicle velocity or the number of satellites.
If the selected logging mode is ‘Log only when moving’, wait a short time after the vehicle has stopped for the logging to finish and the disk icon to disappear from the screen. Once the disk icon has gone, it is safe to remove the SD card.
If the selected logging mode is ‘Log continuously’, press the start/stop logging switch (if connected) to stop logging so that you can remove the card safely. If you do not have a start/stop logging switch available, press ’■’ on the front panel to enter the onboard configuration screen. This will close the file so that you can remove the card safely.
We recommend that you remove files from the disk regularly as it is easy to write continuously without fragments. The more file fragments there are on an SD card, the harder it is to stream data to the card.
To set the channels you want to log, select them in the VBOX Setup Software.
The maximum number of CAN channels available for logging varies according to whether or not the Kalman Filter is enabled:
- Maximum logged channels without the Kalman Filter enabled (both velocity and position set to zero) – All standard channels plus 20 CAN channels.
- Maximum logged channels with the Kalman Filter enabled (and either velocity or position set to non-zero values) – All standard channels plus 10 CAN channels.
VBOX IISX units are equipped with a CAN bus interface, an RS232 serial socket, and a USB socket. You can use either of the SERIAL or USB sockets for all communication between the VBOX IISX and a PC, including configuring the VBOX II and transmitting live data from the VBOX II to the PC for viewing and performing real-time tests.
Note: Only the USB socket can be used to upgrade the VBOX IISX’s firmware.
You can read more about the different ports and modes for CAN here.