Lap Timing Mode - VBOX Touch (v2/v3)
|
The Lap Timing Mode allows you to view Lap Timing information in relation to a set Start/Finish line. The available information includes:
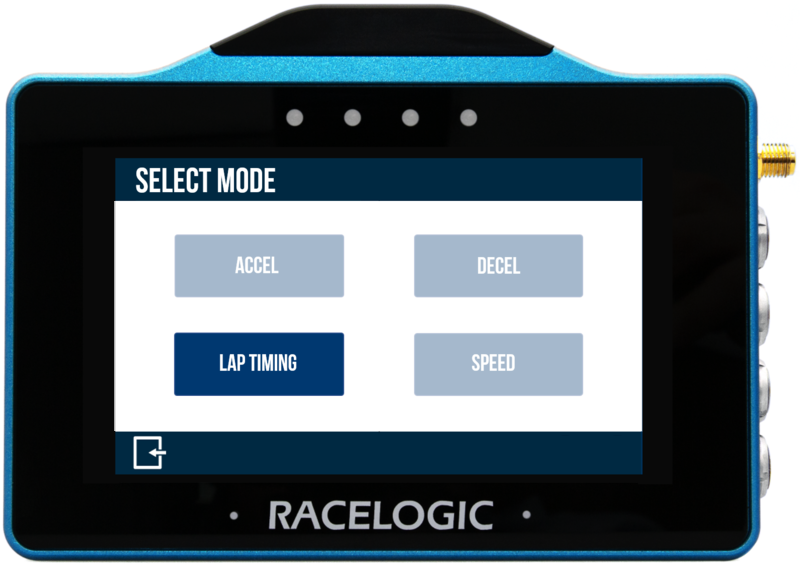
You can access the Lap Timing mode by pressing the Mode button at the bottom of the screen and selecting Lap Timing. |
 |
|
The last selected Lap Timing Mode will be displayed after each power cycle. The speed and distance units used for the Lap timing depend on what is set under General Settings.
|
Lap Timing Mode Overview
| There are 2 different Lap Timing screens that you can access by using the Forward and Back arrows at the bottom right of the screen or by swiping left or right. |
Lap Timing - Main Screen
|
This is the default lap timing screen and it displays live lap timing information in relation to:
|
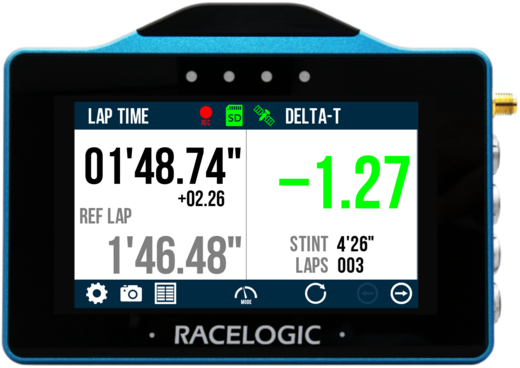 |
| The screen is split into two halves: |
|
Left-hand side:
|
Right-hand side:
OR
|
| You can reset the data on the Main Lap Timing screen by pressing the Reset button at the bottom of the screen, or by pressing and holding on the screen. |
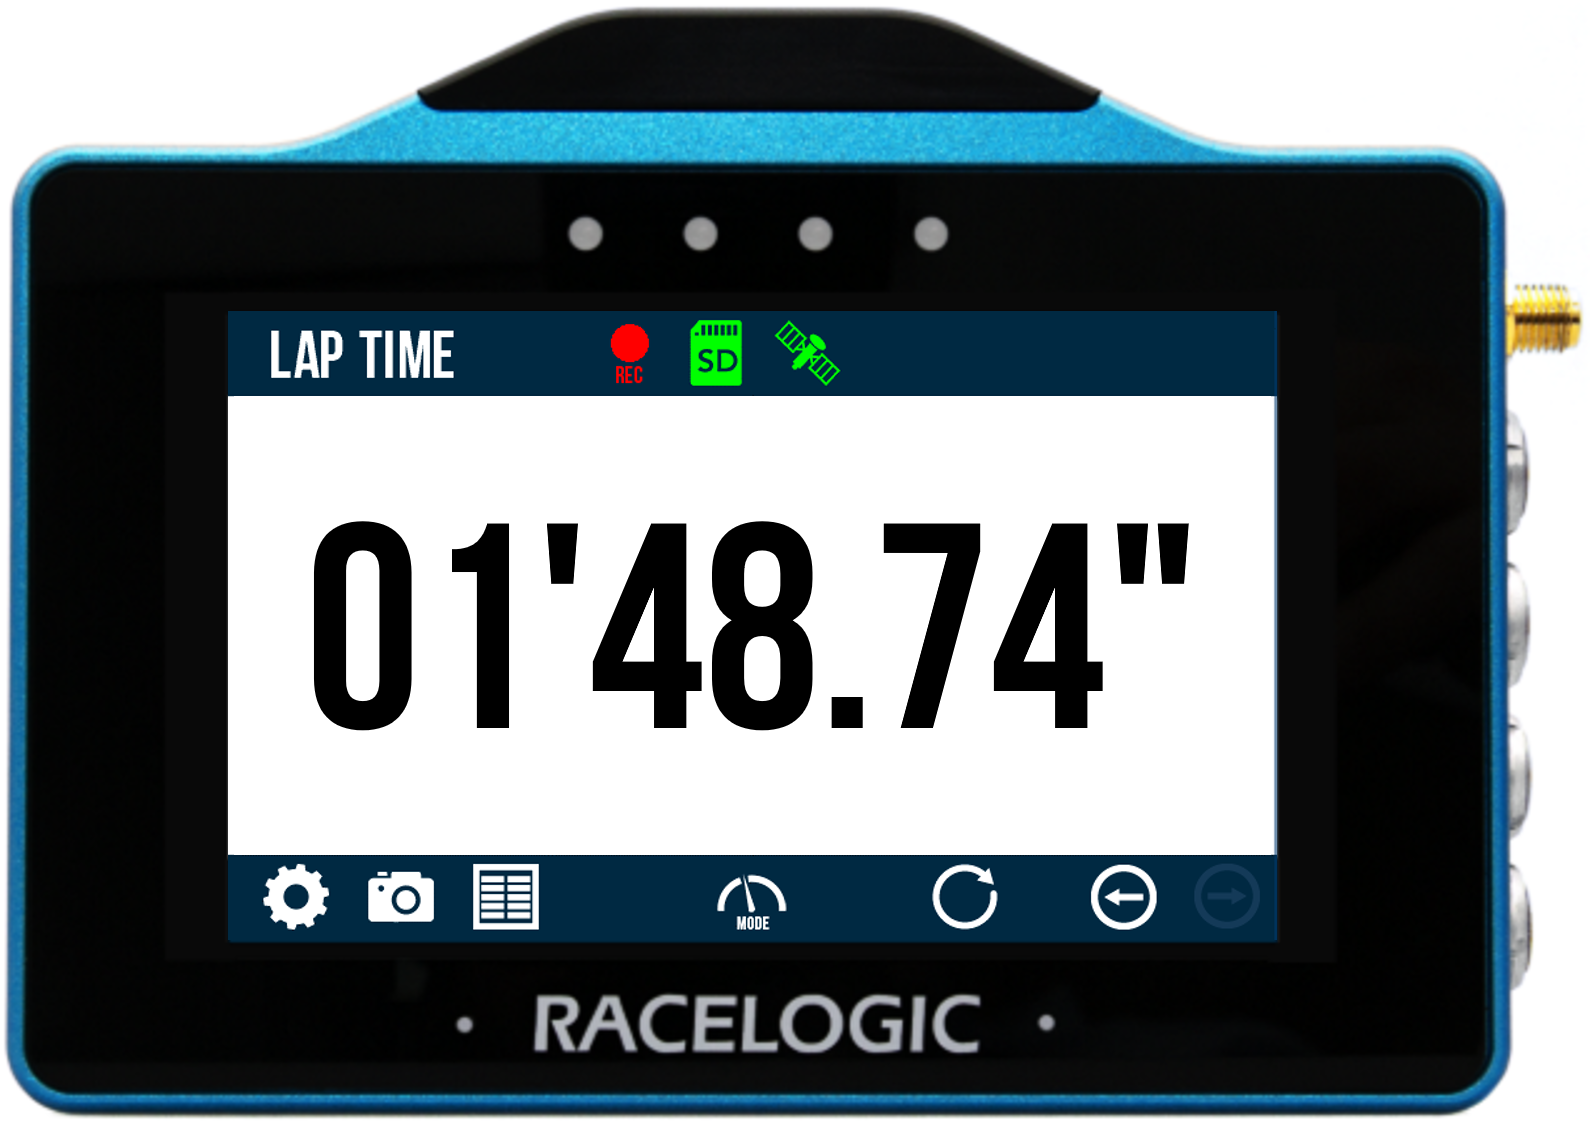
Lap Timing - Basic Screen
|
This lap timing screen displays a lap time in relation to:
|
 |
|
|
How to Manually Set a Start/Finish Line
|
You can set a Start/Finish line manually when moving. This will overwrite the line detected in the circuit layout. To manually set a Start/Finish line, tap the screen once when on the Basic Lap Timing Screen or select Set Start Gate in the Settings. If you are defining a separate Finish Line, this gate will act as the Start Line only. |
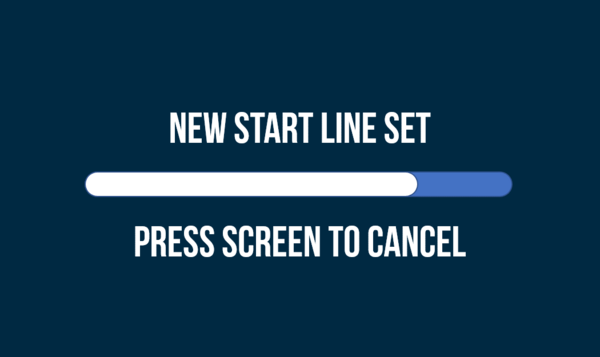 New start/finish line cancellation screen |
|
Notes:
|
|
How to Manually Set a Separate Finish Line
|
You can set a separate Finish line when moving manually, overwriting the Finish line detected in the circuit layout. If you have selected Standing Start, you can tap the screen once when on the Basic Lap Timing screen. Alternatively, you can select Set Finish Gate in the settings. You must set a separate Finish line if you are using Standing Start Mode. |
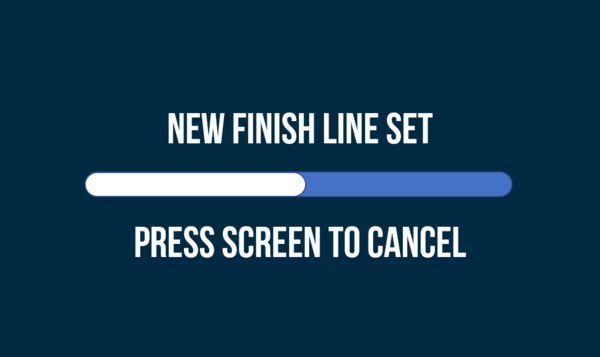 New finish line cancellation screen |
|
Notes:
|
|
Lap Timing Settings
|
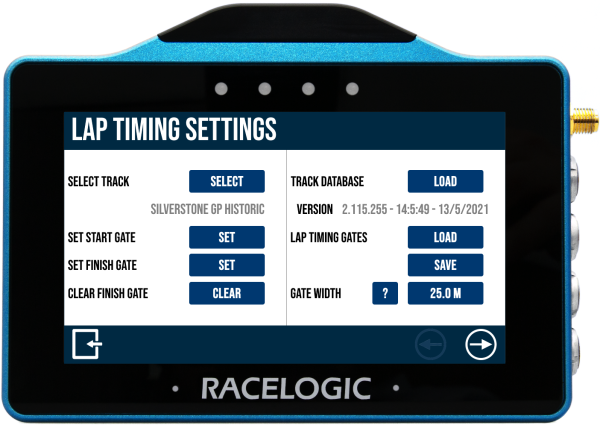
You can access the Lap Timing settings screen by pressing the Settings button at the bottom left of the screen and selecting the Lap Timing option. It is split over 2 pages and lets you choose the lap timing parameters. You can move between the different pages by selecting the Forward and Back arrows at the bottom right of the screen or by swiping left or right. |
 |
 |
| To return to the main screen, press the Exit button on the bottom left. | |
Select a Track
|
VBOX Touch has an inbuilt track database containing a vast number of circuits throughout the world. You can find a list of the currently supported circuits here. The unit will display the currently selected track based on the current GPS location. If multiple layouts are available, you can press the Select button to scroll through the different options. Choose a layout by pressing the desired option and then the Confirm button at the bottom right of the screen. Press the Cancel button at the bottom left of the screen to return to the Lap Timing Settings screen without saving. Note: If you press the Select button when you are not in the vicinity of a known track, the unit will display a NO LIST AVAILABLE message. |
 |

|
If the layout is changed, the LEDs will briefly flash green twice and the unit will emit an audible confirmation notification. The layout will be remembered after each power cycle if it is determined to be local to the detected location. Note: When the selected track is changed, all existing lap timing values will be cleared and the new lap timing gates will be used. |
Set Start/Finish Gate
 |
|
By using the Set Start Gate option in the Lap Timing Settings will manually set a start/finish line when moving, and overwrite the line detected in the circuit layout. If you are defining a separate Finish Line, this gate will act as the Start Line only. Note: The vehicle must be moving >0.8 km/h and the unit must have a satellite lock to be able to set a Start/Finish Line. |
Set Finish Gate
 |
|
Selecting the Set Finish Gate option within the Lap Timing Settings will manually set a Finish line when moving, overwriting the finish line detected within the circuit layout. A separate finish line must be set if you are using Standing Start Mode. Note: The vehicle must be moving >0.8 km/h and the unit have a satellite lock to set a Finish Line. |
Clear Finish Gate
(Only selectable if a Finish gate has been set)
|
Selecting the Clear Finish Gate option within the Lap Timing Settings will clear the separate finish line and will use the active Start line as a combined Start/Finish line. If the finish line is cleared, the LEDs will briefly flash green twice and the unit will emit an audible confirmation notification. |
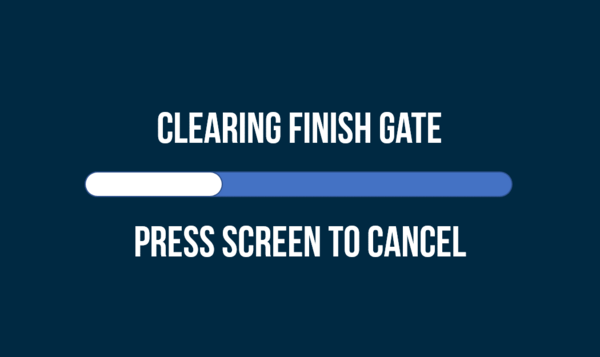 Clear finish line cancellation screen |
|
Notes:
|
|

Load a Track Database
 |
|
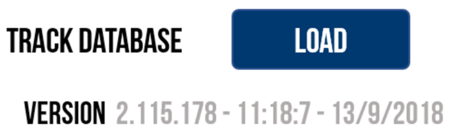
The Track Database installed in VBOX Touch is updated whenever a new firmware file is uploaded onto the unit. However, you can update the Track Database independently by pressing the Load Track Database button in the Lap Timing Settings. If VBOX Touch detects an SD card with a saved .tdb or .bdb track database file in the root directory (not in the media or any other folder), the unit will load the file. This will update the track list but not overwrite any existing track information. The progress of the track database update will be indicated by the LEDs; each lit LED will represent 25% of the process with all LEDs extinguishing when the process is complete. This area also displays the currently installed track database version information. |
You can find more information on loading a Track Database here.
Lap Timing Gates
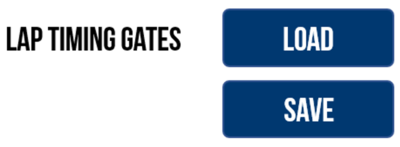 |
Load Start/Finish or Finish Line GatesYou can load previously saved or provided Start/Finish line gates by inserting an SD card with gate files contained in an SF LINES folder and pressing the Load Lap Timing Gates button in the Lap Timing Settings. If only one file is located on the SD card, the file will be loaded immediately. If multiple files are located on the SD card, the unit will display all the available files. Select a file and press the Confirm button at the bottom right of the screen. You can also press the Cancel button at the bottom left of the screen to return to the Lap Timing settings screen without saving. A success screen will briefly display to show that the file is loaded successfully. If there are splits saved in the file, these will also be uploaded to the unit (max 10 gates/splits). Note: When a new Start/Finish or Finish line gate is loaded, all existing lap timing values will be cleared and the new lap timing gates will be used. |
Save Start/Finish GatesTo save the currently defined Start/Finish gates, press the Save Lap Timing Gates button in the Lap Timing Settings. If VBOX Touch detects an SD card, it will be saved as a file named gates.spl in an SF LINES folder on the SD card. A save success screen will briefly display. If a gate file already exists on the SD card, VBOX Touch will display an overwrite cancel screen. This gives you 5 seconds to cancel the overwrite by pressing on the screen. |
Gate Width
|
You can change the width of the Start/Finish Line by pressing the value box and using the presented keypad. To save the your selected value, press the Confirm button at the bottom right of the screen. You can press the Cancel button at the bottom left of the screen to return to the Lap Timing Settings screen without saving. The default setting is 25 m / 82 ft, but you can select between 3 and 100 m / 10 and 330 ft. This value will be remembered after each power cycle. Note: The width can be entered with 1 decimal place. |
_-_No_Frame_600px.png?revision=1) Gate Width Keypad Example |
| This option is particularly useful if the VBOX Touch is not detecting the correct number of laps. For example, when racing at a very narrow circuit where the pit lane is right next to the start line, it could be possible to trigger lap timing in the pit lane, which would give an incorrect number of laps. | |

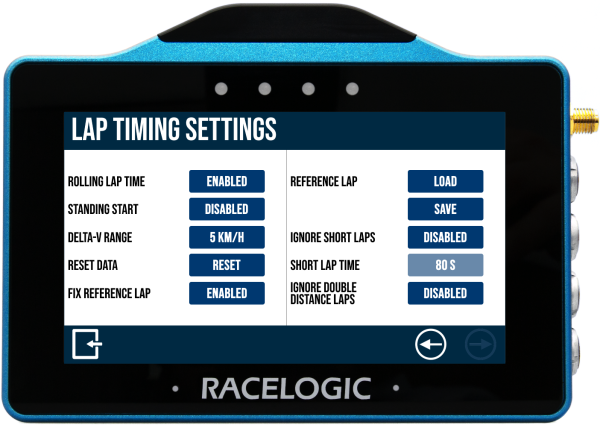
Rolling Lap Time
 |
|
If enabled, the Main Lap Timing Screen or Basic Lap Timing Screen will display the current live lap time. When a new lap starts, the previous lap time will be displayed for 5 seconds before it reverts to displaying the current live lap time. When this is disabled, the previous lap time will be displayed until you start a new lap. Note: This setting is enabled by default. |
Standing Start
|
When Standing Start is enabled, VBOX Touch can use the logged position at the start of a movement to trigger the lap timing. This is particularly suitable for sprint-style events. In this mode, the Lap Timing will only stop at a defined finish gate. With standing start enabled, any existing Start/Finish or start gate will be ignored. Once enabled, the LEDs will briefly flash green twice and the unit will emit an audible confirmation notification. You are then required to return to a Lap Timing Screen by pressing the Exit button at the bottom left. When stationary (<0.5 km/h) for 2 consecutive seconds, it will display an activation screen. This will ask you to wait 5 seconds before you move the vehicle. If you press the screen, move, or lose the satellite lock before the standing start activation period has expired, the feature will be cancelled. |
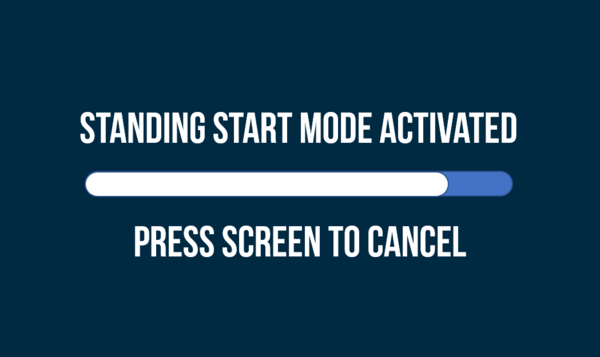 Standing start activated cancellation screen |
|
When the activation period has completed, you will see a 'Standing Start Mode Armed' screen notifying you that the unit is ready for movement. Pressing the screen will take you back to the Lap Timing Settings menu. When VBOX Touch detects vehicle movement (>0.5 km/h), it will assign the Start gate at 90° to the detected heading. Lap Timing will only be complete once you cross a defined separate Finish Gate. |
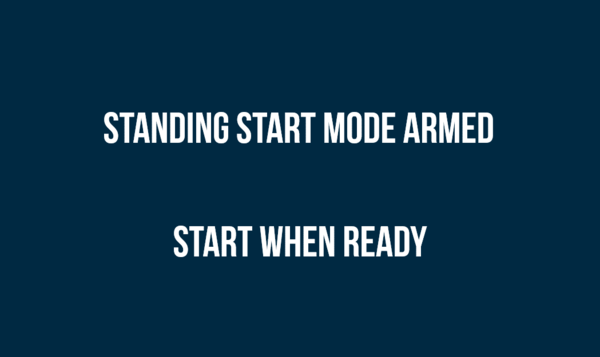 Standing start armed notification screen |

Delta-V Range
 |
|
The brightness of the LED feedback in relation to the Delta-V speed is adjustable. You have 3 available options; 2 km/h / 1.2 mph, 5 km/h / 3.1 mph (default) and 10 km/h / 6.2 mph. These relate to the maximum speed difference at which the LEDs are brightest.
|
|
The current lap is >5 km/h quicker than the reference lap |
LEDs will show bright green
|
|
The current lap is 2.5 km/h quicker than the reference lap |
LEDs will show dull green
|
|
The current lap is the same speed as the reference lap |
LEDs will be off
|
| The current lap is 2.5 km/h slower than the reference lap |
LEDs will show dull red
|
|
The current lap is >5 km/h slower than the reference lap |
LEDs will show bright red
|


|
Alternatively, if you have selected 10 km/h and the current lap is 5 km/h quicker than the reference lap, the LEDs will show dull green as it is halfway to the maximum value.
|
Reset Data
 |
| Selecting this option will reset the lap timing data, the lap time history and the reference lap. Once you have selected Reset, you will see a cancel timeout screen giving you the option to cancel the reset (within 5 seconds) by pressing the screen. After 5 seconds, the LEDs will briefly flash green twice and the unit will emit an audible confirmation notification. |
Fix the Reference Lap
 |
| This option will fix the current reference lap. When fixed, the stored reference lap will not update if a faster lap is achieved. If there is no stored reference lap, the next complete lap will be used as the fixed reference lap. Alternatively, you can fix the reference lap by triple-tapping on the Main Lap Timing Screen. After triple-tapping, you will see a cancel timeout screen giving you the option to cancel the fixing within 5 seconds by pressing the screen. |
|
When you have fixed a reference lap, you will see a padlock icon to the right of the reference lap on the Main Lap Timing Screen. To unfix a reference lap, press the button again to change it from enabled to disabled. Alternatively, you can unfix the reference lap by triple-tapping on the Main Lap Timing Screen. After triple-tapping, you will see a cancel timeout screen giving you the option to cancel the unfixing within 5 seconds by pressing the screen. |
Reference Lap
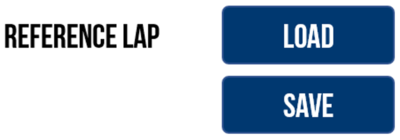 |
Load a Reference LapYou can load a previously saved or provided reference lap by pressing the Load button (as long as the unit is not logging and the vehicle is not moving). If an SD card is detected, the unit will display all the .ref files located in the REF LAPS folder on the SD card. Select a file and press the Confirm button at the bottom right of the screen, or press the Cancel button on the bottom left of the screen to return to the Settings screen without saving If confirmed you will briefly see a load success screen. If there are splits stored in the file, these will also be uploaded to the unit (max 10 gates/splits). Note: When a new reference lap is loaded, the Start/Finish gate stored in the .ref lap will be applied as the active Lap timing gate if it is different to the currently loaded gate. If the gates are changed, all existing lap timing values will be cleared and the new lap timing gates will be used. |
Save a Reference LapIf you have created a reference lap, you can save the lap for future use (as long as the unit is not logging and the vehicle is not moving) by pressing the Save button. If the unit detects an SD card, it will be saved as a file named lap.ref in a REF LAPS folder on the SD card. You will see a save success screen. If a reference lap file already exists on the SD card, VBOX Touch will display an overwrite cancel screen, giving you 5 seconds to cancel the overwrite by pressing the screen. |
Ignore Short Laps
|
You can choose to ignore short laps so that they do not create the reference lap. When enabling this setting you can set a minimum lap time that is acceptable to be used as a reference lap. To change the time, press the Short Lap Time button and use the keypad presented. |
_-_No_Frame_600px.png?revision=1) Minimum Lap Time Keypad Example |
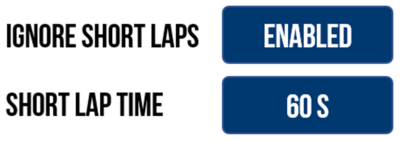
Save the selected time by pressing the Confirm button at the bottom right of the screen, or press the Cancel button at the bottom left of the screen to return to the Settings screen without saving. The default setting is 60 seconds, but you can choose between 10 and 86400 seconds. The value will be remembered after each power cycle.
Note: Time can only be set in whole numbers.
Ignore Double Distance Laps
 |
|
By default, this setting is disabled, and a new reference lap will be created if the lap distance is more than double the stored reference lap. This is useful if you are, for example, warming up on a smaller part of a longer circuit (such as the Nurburgring circuit and Nordschleife) and you want the reference lap to update once you have moved on to the longer circuit. Alternatively, with this option enabled, the reference lap will not update when the lap distance is more than double the stored reference lap. This can be useful in circumstances such as when the in-lap covers more than double the distance of the reference lap. |
Lap History
|
You can view a history of the lap results by selecting the Results button at the bottom of the screen. Lap results will display until you press the Reset button. |
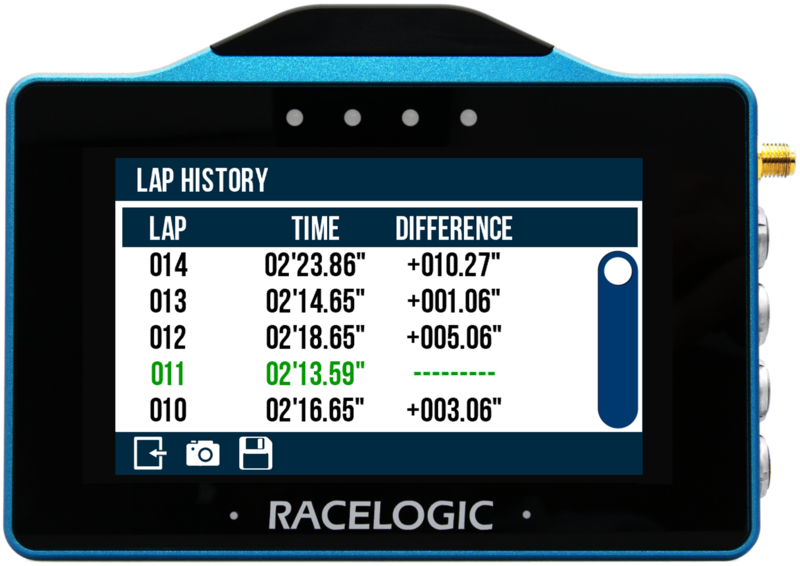 Sample history screen |
|
The most recently completed lap will show at the top of the screen and the fastest lap will be highlighted. To scroll through the history, use the scroll bar on the right-hand side of the screen. Information includes:
You can take a screenshot of the lap history by pressing the Screenshot button. To return to the main screen, select the Exit button on the bottom left of the screen. |
| IMPORTANT Up to a maximum of 127 laps can be displayed. However, if you complete more laps, they will still be recorded on the SD card. When the limit has been reached, you will see a warning message advising that further laps will not be saved to the Lap History. The message will show again if the unit is power-cycled. To view new lap history results, press the Reset button. |