LabSat 3 Wideband records data files on the internal SSD. With Labsat 3 Wideband connected to a LAN via the Ethernet link, it is possible to use a computer on the same network to manage the files stored on the SSD. Files can be renamed and folders created as necessary. If renaming files, make sure that the '.LS3W' and '.ini' files are given the same name but do not change the '.LS3W' or '.ini' filename extensions. Previously recorded files can be rearranged into a folder structure.
The example below shows the folder layout on a LabSat 3 Wideband SSD. The LabSat internal SSD can use multiple folders. When folders are detected, LabSat 3 Wideband will display them in a similar fashion to a PC using the DIR indicator.
When recording to the SSD, LabSat will save scenario files to the first folder in the directory (root directory) unless an alternative location is defined.

<DIR> indicates a folder and not a scenario.
Pressing ‘OK’ will navigate to the next stage of the scenario directory.
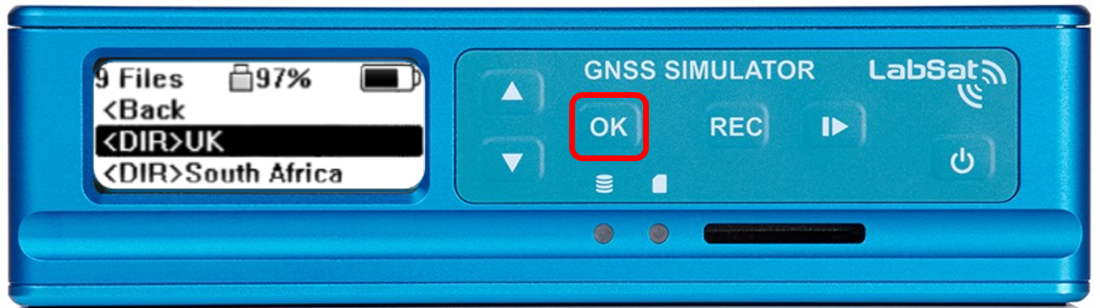
Continue pressing ‘OK’ until <DIR> is no longer shown, this indicates the file is a scenario not a directory.
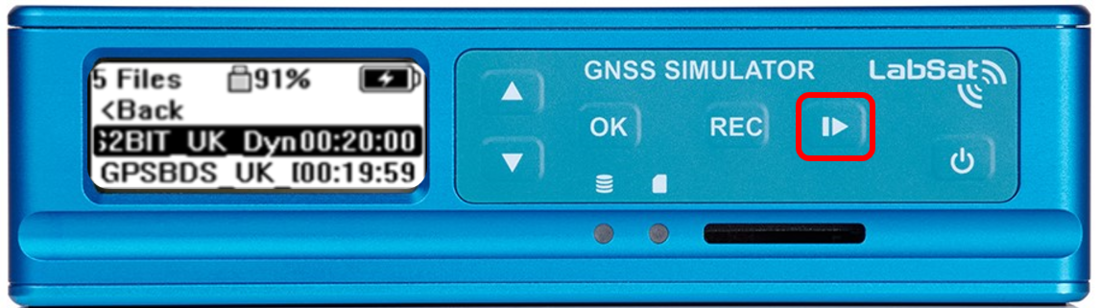
Press PLAY to start the replay of the highlighted individual scenario.
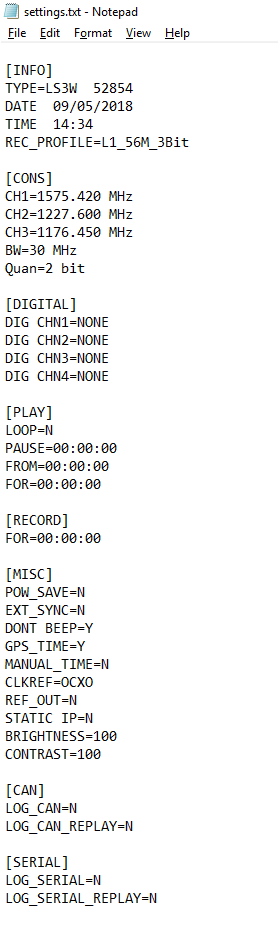
When 'Export Config' is selected (Menu > Setup > Export Config) a file called settings.txt will be placed in the root directory of the LabSat 3 Wideband internal SSD.
The settings.txt file contains details of the LabSat's current configuration, an example of this file can be seen below.