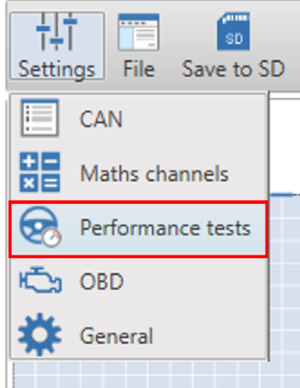
To add any of the eight available tests, navigate to the performance tests setup screen. This area can be accessed by selecting the ‘Settings’ button in the top left menu bar.
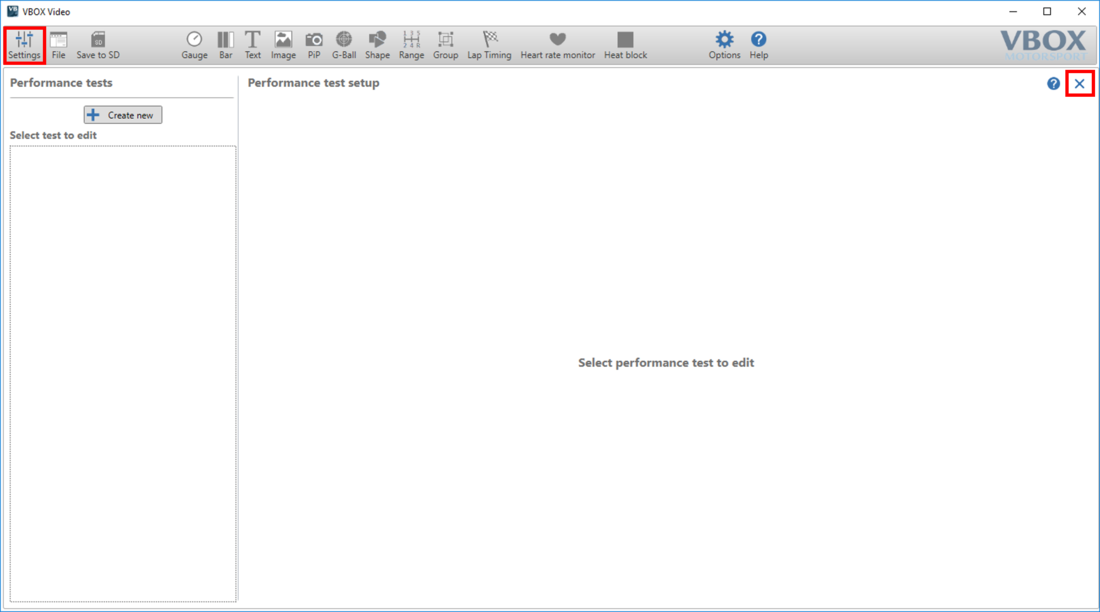
To return to the scene designer, either use the ‘Settings’ button again, or press the ‘X’ in the top right corner of the general settings area.
There are eight standard performance tests which can be selected within the scene designer. To add a test, click on the 'Create new' button. This will add the tests one by one in the order shown below:
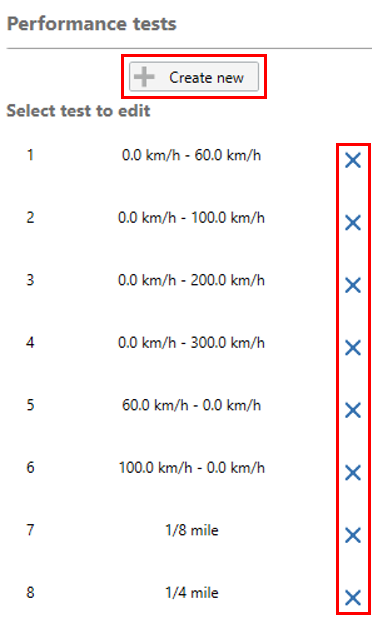
Pressing the ‘X’ next to a test will remove that test from the scene.
These tests can be assigned to any text elements. To add a performance test into a scene, click the ‘Text’ icon shown below.

This will add a new text element into the main view window.
Within the right hand panel, the parameter settings can be set to ‘Performance tests’ and then the desired test chosen.
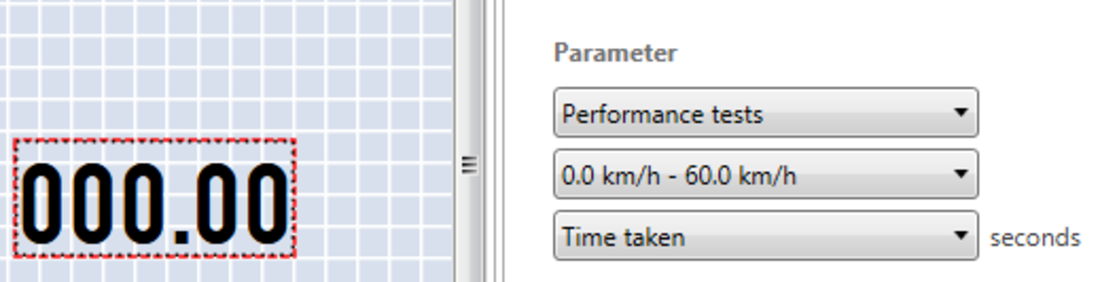
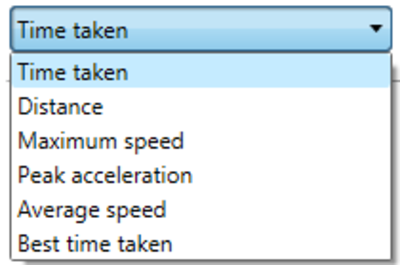
Performance Test results will show as ‘Time taken’ by default. The following format options can be selected.
Once the parameter has been set as desired, the performance test will actively display on the video overlay.
Note that all on-screen performance tests will start in a stopwatch-style counter when the start conditions are met, and will freeze holding results on screen as soon as test end conditions are achieved.
Tests will be reset and started again after a completed test has been done when the start conditions for the test are met again.
To edit a performance test, select the test from the left-hand list. The settings for this test will then be shown in the main view window.
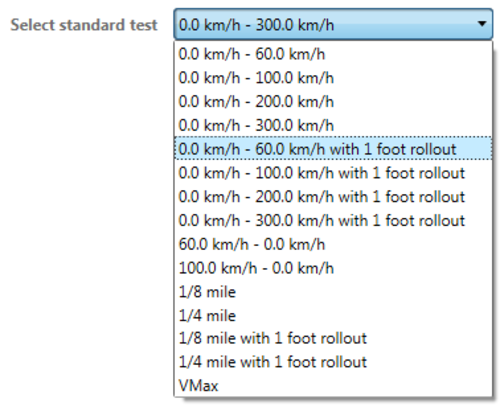
There are a number of standard tests which can be easily selected using the ‘select standard test’ drop-down list.
When a new test is selected, press the 'OK' button to save the changes. This will update the name shown in the left hand list, and will then appear for selection within the scene designer screen.
Tick the ‘User defined’ box to access all performance test settings.

Here, the start speed for the test can be set. If the ‘one foot rollout’ box is marked, this will fix the start speed to zero.
For more information about one foot rollout, click here.

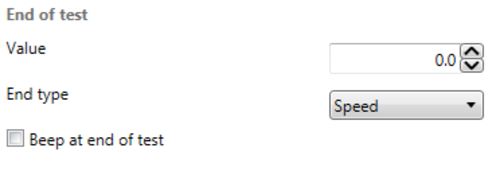
This area allows the test end conditions to be defined. Either set an end speed, or distance value.
Marking the ‘beep at end test’ box will cause the HD2 to sound a single tone upon test completion.
Enabling this setting allows a mid-speed to be added to the test – for example ‘0 – 100 – 0’ tests.
When this box is marked, a speed value area will appear as shown below.

NOTE
Mid-speed is disabled when running speed to distance tests.
Use these two drop down boxes to set the units of measurement used in the tests.
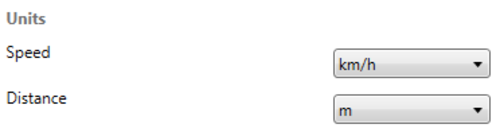
Speed – select from:
- km/h (default)
- mph
- kts
- m/s
- ft/s
Distance – select from:
- m (default)
- ft
- km
- mi
- nmi
Press the 'OK' button to save any changes. This will update the name shown in the left hand list, and will then appear for selection within the scene designer screen.
Note that performance tests are saved within individual scene files.