04 VBOX Setup Overview
Introduction
This is a general overview of the VBOX Setup software, connected to the VBOX 100 Hz Speed Sensor (v5), and its functionality. You can use the VBOX Setup Software to configure your VBOX unit. It provides greater functionality in comparison to using the Front Panel.
Connection
To configure a VBOX Speed Sensor unit, it needs to be connected to a power source and a computer.
Configuration is performed using VBOX Setup Software, which can be downloaded here. Using the supplied loom, connect an RLCAB001 cable to the SERIAL lead and connect the serial plug to the computer's serial port – this can be done via a serial > USB converter if required.
IMPORTANT
Microsoft Windows 7 SP1 or newer is required (must be compatible with .Net Framework 4.7.1)
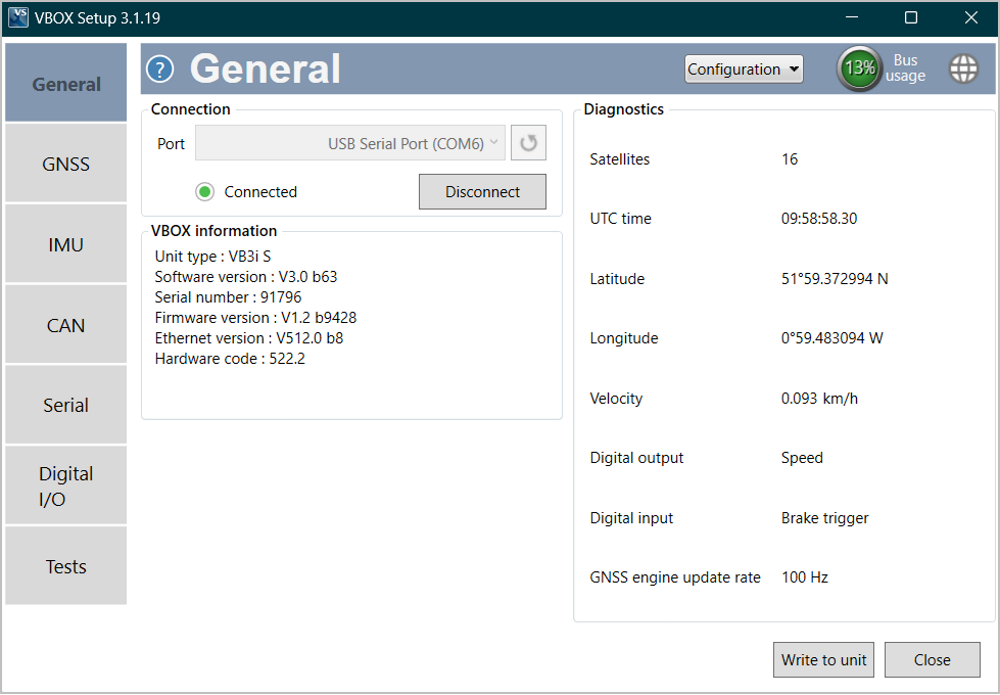
Once physically connected and powered, open the software and use the drop-down list to select the correct COM port that your VBOX unit is connected to. VBOX Setup automatically connects to the selected device and enters the setup screen for your unit.
.png?revision=1)
Note: An auto-detect message may appear if the baud rate has been changed from the default value - select ‘Yes’ to allow the different baud rates to be scanned.
Software Overview
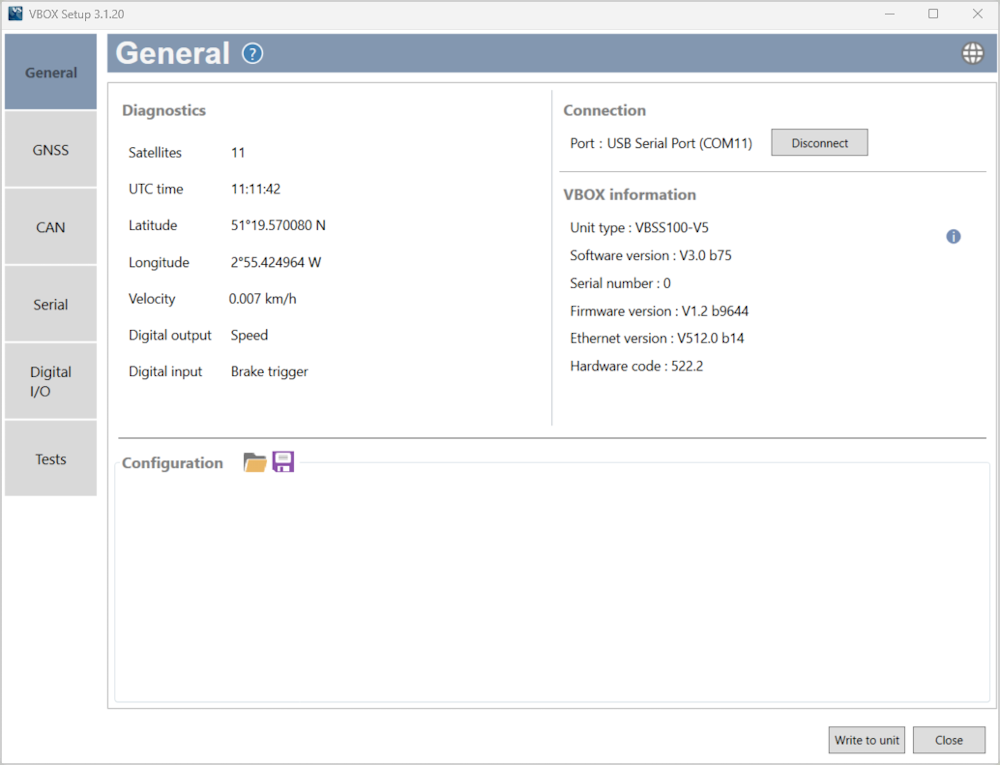
| Available menus | The menu buttons in the sidebar allows you to navigate between the different settings menus. Click the buttons to select the desired menu. |  |
| Help | Clicking on the question mark icon when you have an active internet connection will open the corresponding user guide page for the menu within the Racelogic Support Centre. | |
| Current menu | The header displays the name of the menu that you have currently selected. |  |
| Language | By clicking the globe icon, you can select the language that VBOX Setup is displayed in. |  |
| Settings area | This is the main area of the screen that will show relevant settings and information. |  |
| Write to unit | After making changes to your setup, the Write to Unit button should be selected to ensure the settings have been uploaded to the connected VBOX unit. |  |
| Close | Clicking this button closes the software. You will be prompted to save the settings if the changes have not been written to the VBOX unit. |  |
Settings Menus
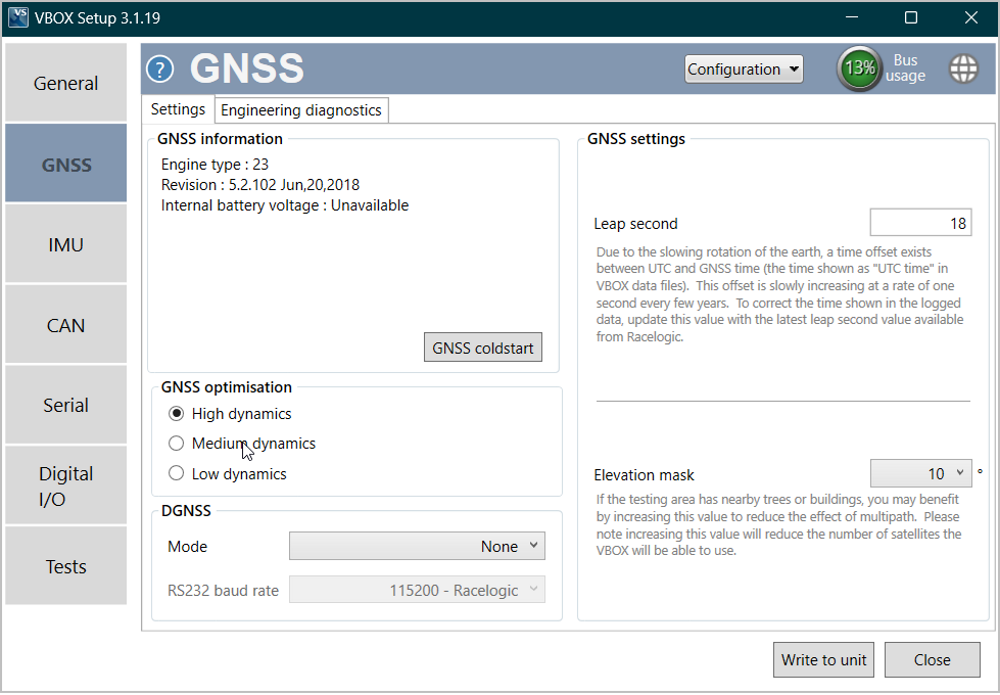
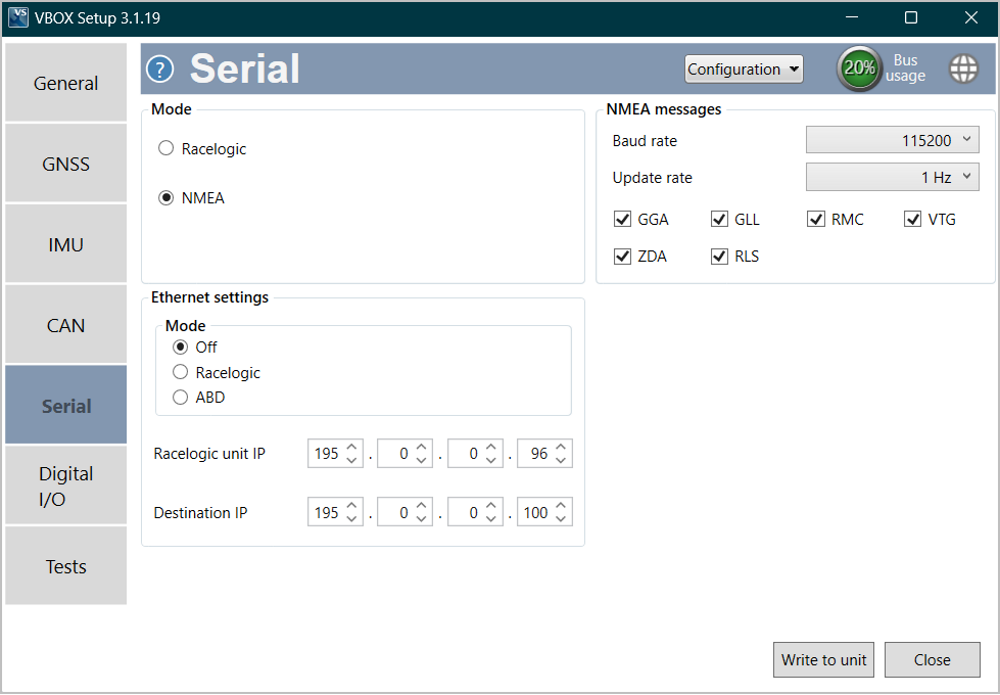
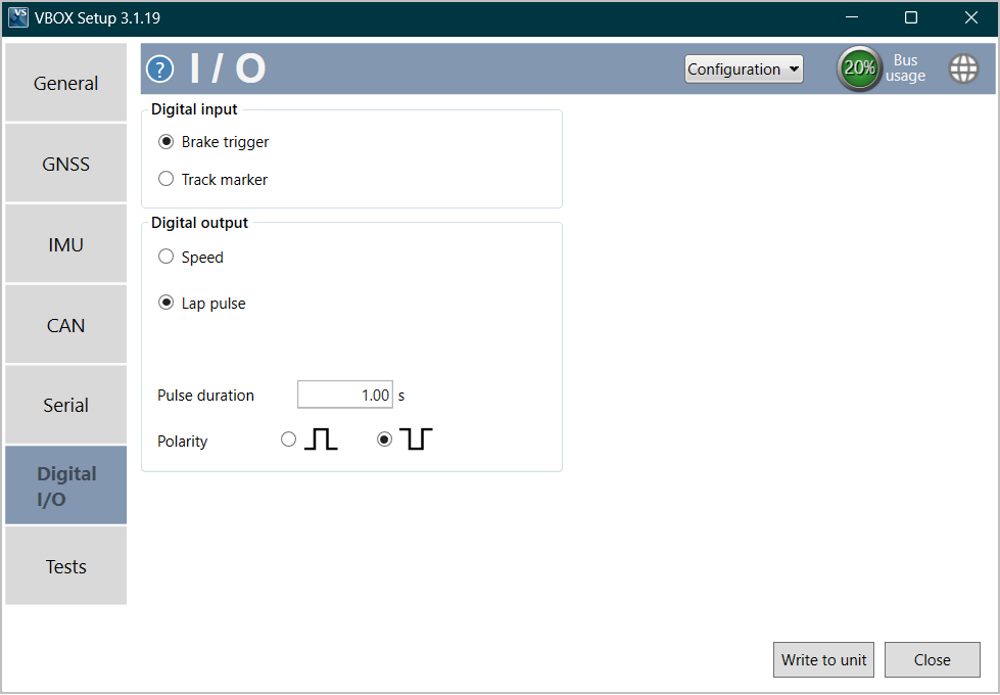
The sidebar enables you to switch between the different settings menus; General, GNSS, CAN, Serial, Digital I/O and Tests. Click on the menus below to view more information.

