Software Overview - SatGen 4
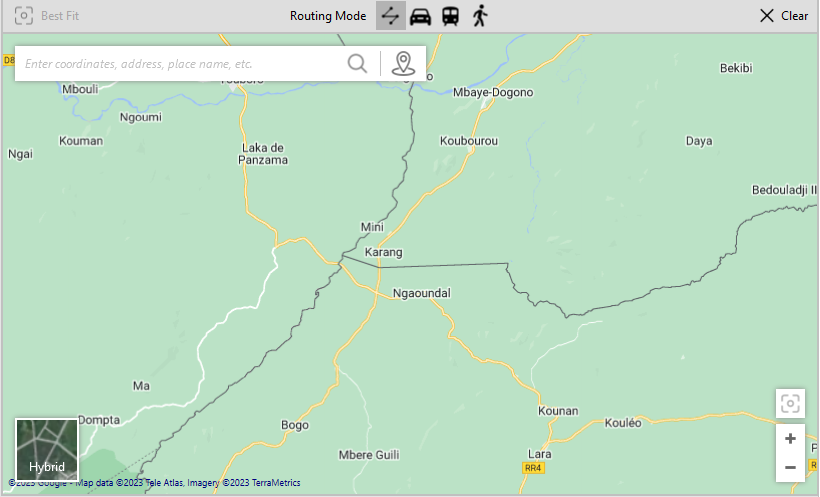
SatGen 4 will load the default view upon start-up:

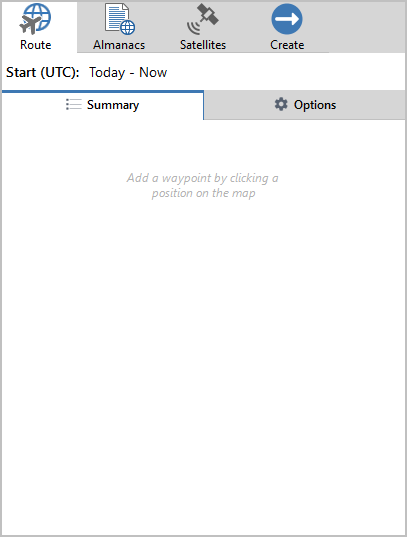
There are two main stages of scenario creation in SatGen 4. The first stage is to define the route of the test, and the second is to convert this route into a scenario file that can be replayed on a LabSat product or into a simulation.
Note: You must have an internet connection so that map and almanac details can be downloaded automatically.
The UI Sections in SatGen 4
The Toolbar
|
|

The Route ViewThis is where you can preview your route as you create it. This area will look differently depending on if you are using Map Mode or Script Mode. |
 |
The Graphs AreaThe graphs area will display relevant data based on the selected graph type and the route in your scenario. The graph will be updated with each new waypoint that is added to the route. You can change the graph type by clicking on the graph name and select one of the following options:
The yellow line on the graph indicates active satellites. You can see the satellite count indicated on the right-hand side of the graph when your graph type includes active satellites. Note: The graph is pinned to the default view, but you can change this if required by clicking on the pin icon in its top right corner. This will minimise the graphs. You can maximise the graphs again by clicking on the Graphs tab at the bottom left-hand corner of the SatGen 4 window. |
 |
The Settings Area
|
 |
|
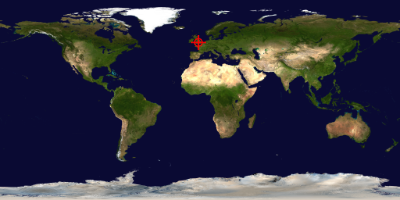
World Map This area contains a world map that will indicate the location of your current route. |
 |
The QueueThe Queue is where your simulations are created from your scenarios. When you click on the Create File button at the bottom of the Create tab, the queue will automatically open and you will see the progress bar for the creation of the file. When you click on the Add to Queue button at the bottom of the Create tab, the queue will automatically open with the current scenario configuration in it, but the scenario file will not be created until you manually tell the application to start the creation process. You can find more information about the controls for the queue and the simulations in the queue below. |
|
|
The number in parenthesis in the header on the Queue displays the number of scenario configurations that are currently in the queue. You can click on the Pin button in the top right of the Queue to make it stay open and pin it to the left side of the SatGen 4 window. |
 |
|
Click on the large Play button in the top toolbar of the queue to start the process of creating all the simulations in the queue. Click on the Stop button to cancel the creation of the file currently in progress. Click on the red cross with the green tick mark to remove all completed or cancelled simulations. Click on the red cross to clear the simulation queue. |
|
|
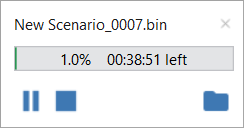
Each scenario in the queue will have its name, progress bar and control buttons. Click on the grey cross in the top right corner to remove the simulation from the queue. Click on the Play/Pause button to start/stop the file creation process. Click on the Stop button to cancel the file creation process. Click on the Folder button to open the output folder in Explorer. |
 |