Text elements can either be used to display live channels from CAN, GPS, Heart rate monitor (if being used with a heart rate element), Lap Timing, Maths Channels, OBD, OLED, Performance Tests or System Information.
To add a new text element, click the ‘Text’ icon from the top menu.

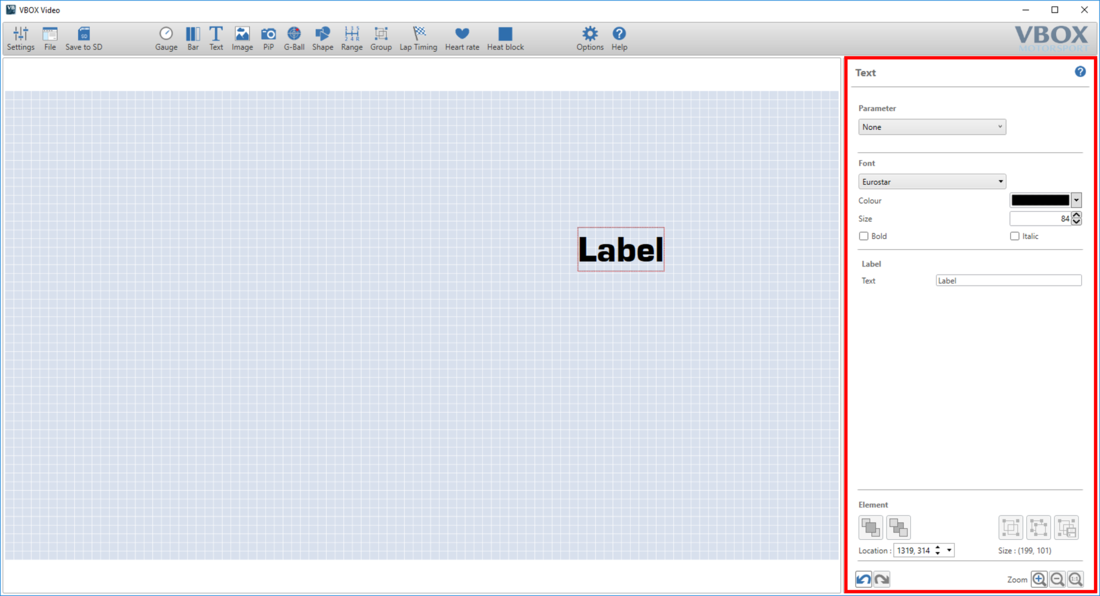
This will cause a new text element to be added to the top left corner of the main view window. Once a text element has been added to the scene, it can be clicked and dragged to the desired location.
When an element is selected, its settings are shown in the right-hand panel.
To set live data to display on the text element, the two drop-down menus within the 'Parameter' section must be used.
The first drop-down menu defines the source. Select either CAN, GPS, Heart rate monitor (if being used with a heart rate element), Lap Timing, Maths Channels, OBD, OLED, Performance Tests or System Information.
NOTE
CAN, Maths Channels and OBD options will only appear if they have been set up by the user.
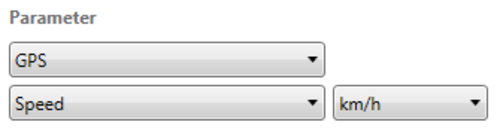
The second drop-down list defines the channel to be shown. In the example above, GPS Speed is set to display in km/h.
A number of GPS parameters are available to choose from, such as the following:
- Satellites
- UTC time
- Latitude
- Longitude
- Speed
- Heading
- Height
- Longitudinal acceleration
- Lateral acceleration
- Combined acceleration
- Vertical speed
- Local time
- Day of month
- Month
- Year
- Distance since power-up
- Distance since stationary
- Time stationary
- Time moving
- Radius of turn
- Gradient (%)
- Solution type
More information on the parameters can be found here.
There are a number of lap timing-specific parameters which are typically used within on-screen lap timing elements such as the ones included within the default scene. As well as standard parameters such as completed laps and last lap time, there are also trip meter-type parameters such as current lap distance and current split distance, which are particularly suitable within rallying environments.
If an OLED Display is being used with VBOX Video HD2, it is possible to add OLED-specific parameters as text items within the scene.
- Delta t: Presents a live difference in lap time between the current lap time and the stored and active reference lap at the current location on the track.
IMPORTANT
This parameter will only update within the scene if the Predictive Lap Timing screen is being displayed on the OLED.
- Reference lap time: Displays the current active reference lap time, which will update when the reference lap is superseded by a faster lap time unless the Reference Lap is Fixed.
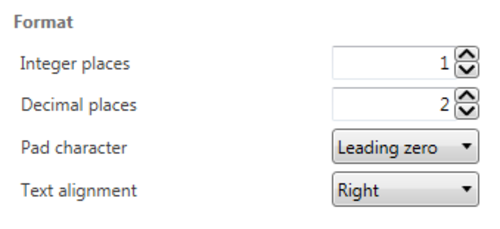
Within the parameter section, speed, acceleration or distance channels can be set to display in different units.
The options available are:
- Speed – km/h, mph, kts, m/s, ft/s
- Acceleration – g, m/s², ft/s²
- Distance – m, ft, km, mi, nmi
For static text elements, the parameter must be set to ‘None’.

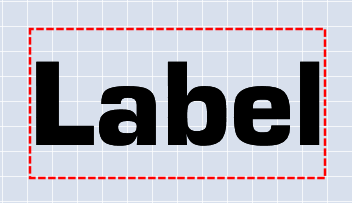
To edit a label, double click on the text element to turn on text edit mode, and type the desired text.
Alternatively, the ‘Label’ section within the text settings panel can be used.

This area can be used to select the desired font, colour and size used by the text element.

To set a specific RGB colour, click ‘Advanced’.

These options change depending on the parameter that has been defined. The example below shows the standard setting for a ‘GPS Speed’ display.
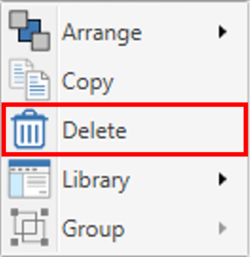
Elements and their associated settings can be duplicated within a scene by either right clicking on the element, selecting 'Copy' from the dropdown then right-clicking in an empty area and selecting 'Paste' from the dropdown, or by using keyboard shortcuts 'Ctrl + C' (Copy) and 'Ctrl + V' (Paste).


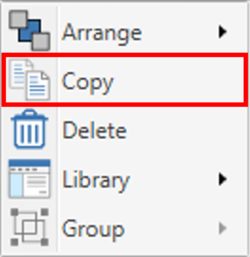

Elements can be removed from the scene in two ways; either by right-clicking on the element, selecting 'Delete' from the dropdown and confirming the prompt, or by pressing the 'Delete' key on a keyboard, and again, confirming the prompt.